Navie Effex Dynamics And Simulation Framework For Cinema4D Now Free
While the year 2018 may have started with a large meltdown for the rest of the world, we, the 3D folk are still getting some great news following my previous blog post. This time it's Effex by Navie (formerly DPit Nature Spirit) - a fast and robust Particles & Fluid Simulation framework for C4D which went free recently. Effex comes with lots of goodies including an excellent FLIP solver I think I'm in love with.
It can do lots of stuff. See for yourselves:
Anyway, just grab a copy from GitHub.
Although the fact that such great products go free makes me uneasy for some reason. Can't stop thinking about the developers. Hopefully they are ok and not doing this due to problems selling the product...
Mootzoid Plugins for Softimage, C4D, Maya and Modo Now Available For Free!
What an amazing NY2017 present from Mootzoid for all of Softimage/XSI zealots out there (and for Maya/C4D/Modo guys to some extent as well)!
Quoting Eric: "For the upcoming holidays I wanted to let you know that as of today all my plugins are available for free on my website www.mootzoid.com. Just download any plugin and you're ready to go without any license hassle and without making your wallet unhappy :)"
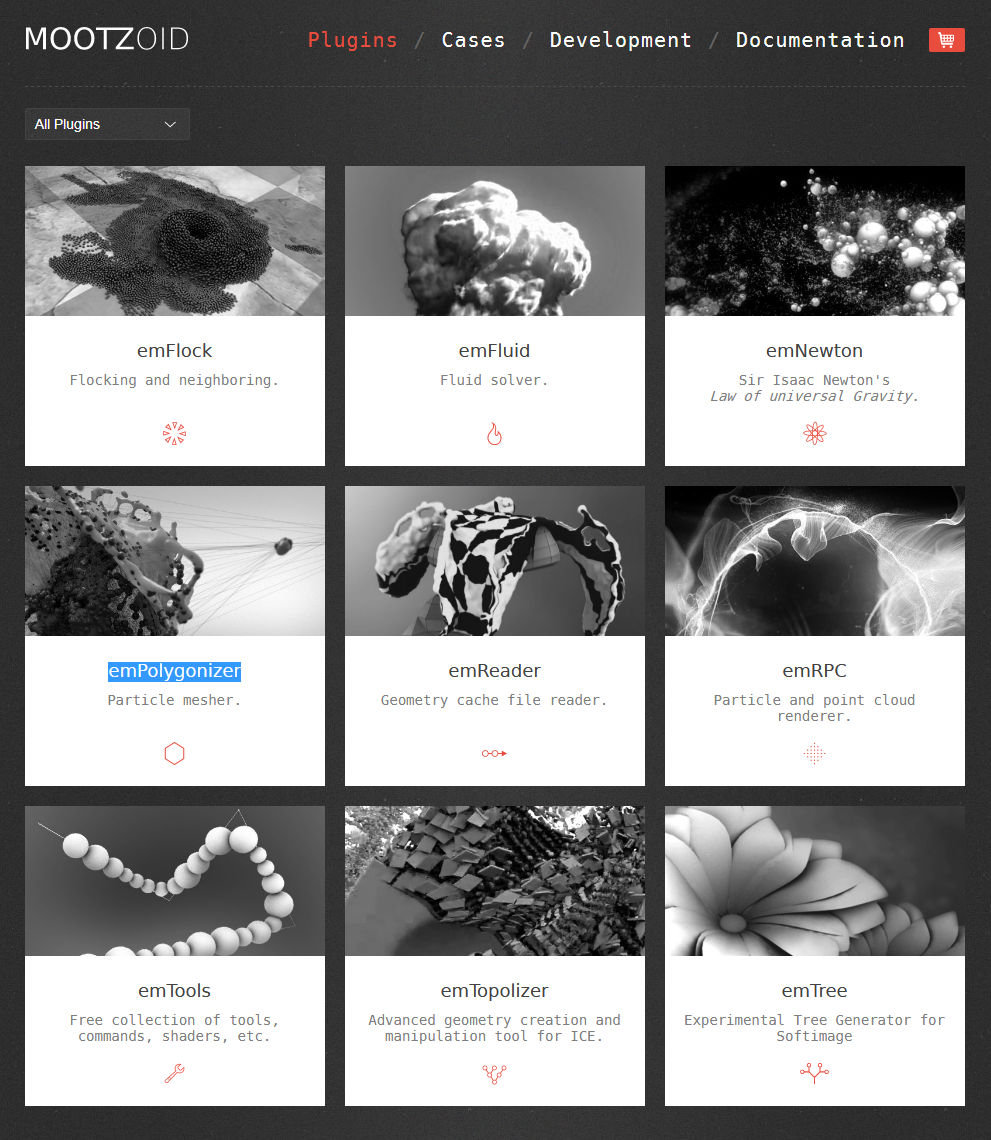
Plugins are available at Eric's website, as usual.
Can't wait to get my hands on the full versions of emFluid and emPolygonizer!
BTW, you know what makes Eric's plugins so special? Just a couple examples:
- They add complete OpenVDB support (read/write) inside Softimage! You can simulate fire and smoke whilst exporting frames to .VDB whilst having Redshift for example picking those frames to render. It's fast and it's reliable.
- emPolygonizer provides a powerful multithreaded mesher to use with any object, be it particles or just a bunch of meshes. I used a while ago to mesh hundreds of thousands of particles in my FleX Fluid Simulation studies and was thoroughly impressed. It is so, so much more powerful than XSI's native polygonizer.
Thank you, Eric!
Just a quick sculpt...
I swear, I only launched ZBrush to check and tweak my default start-up project scene.
...and accidentally picked up the stylus...
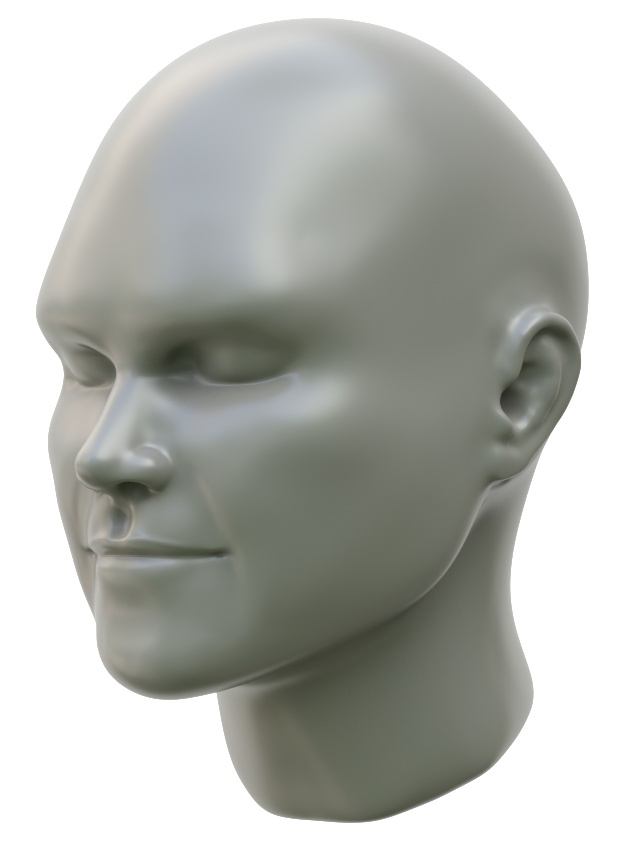
Seriously though, I think anatomy studies are starting to pay off.
Here's the "timelapse":
Making of Super Sonico School Swimsuit 3D Figure Set. Part 2: Choosing Sculpting Software
As I mentioned in my previous post, I had an idea for a practice sculpture project and needed to find some software to bring it to fruition.
If there is one thing I love doing, it's trying out different pieces of software. This time an app of my choice would need to be capable of providing a comfortable and intuitive sculpting workflow as well as being more or less affordable.
So let's check out the results of my quest to find the perfect sculpting app.
Making of Super Sonico School Swimsuit 3D Figure Set. Part 1: A New Project
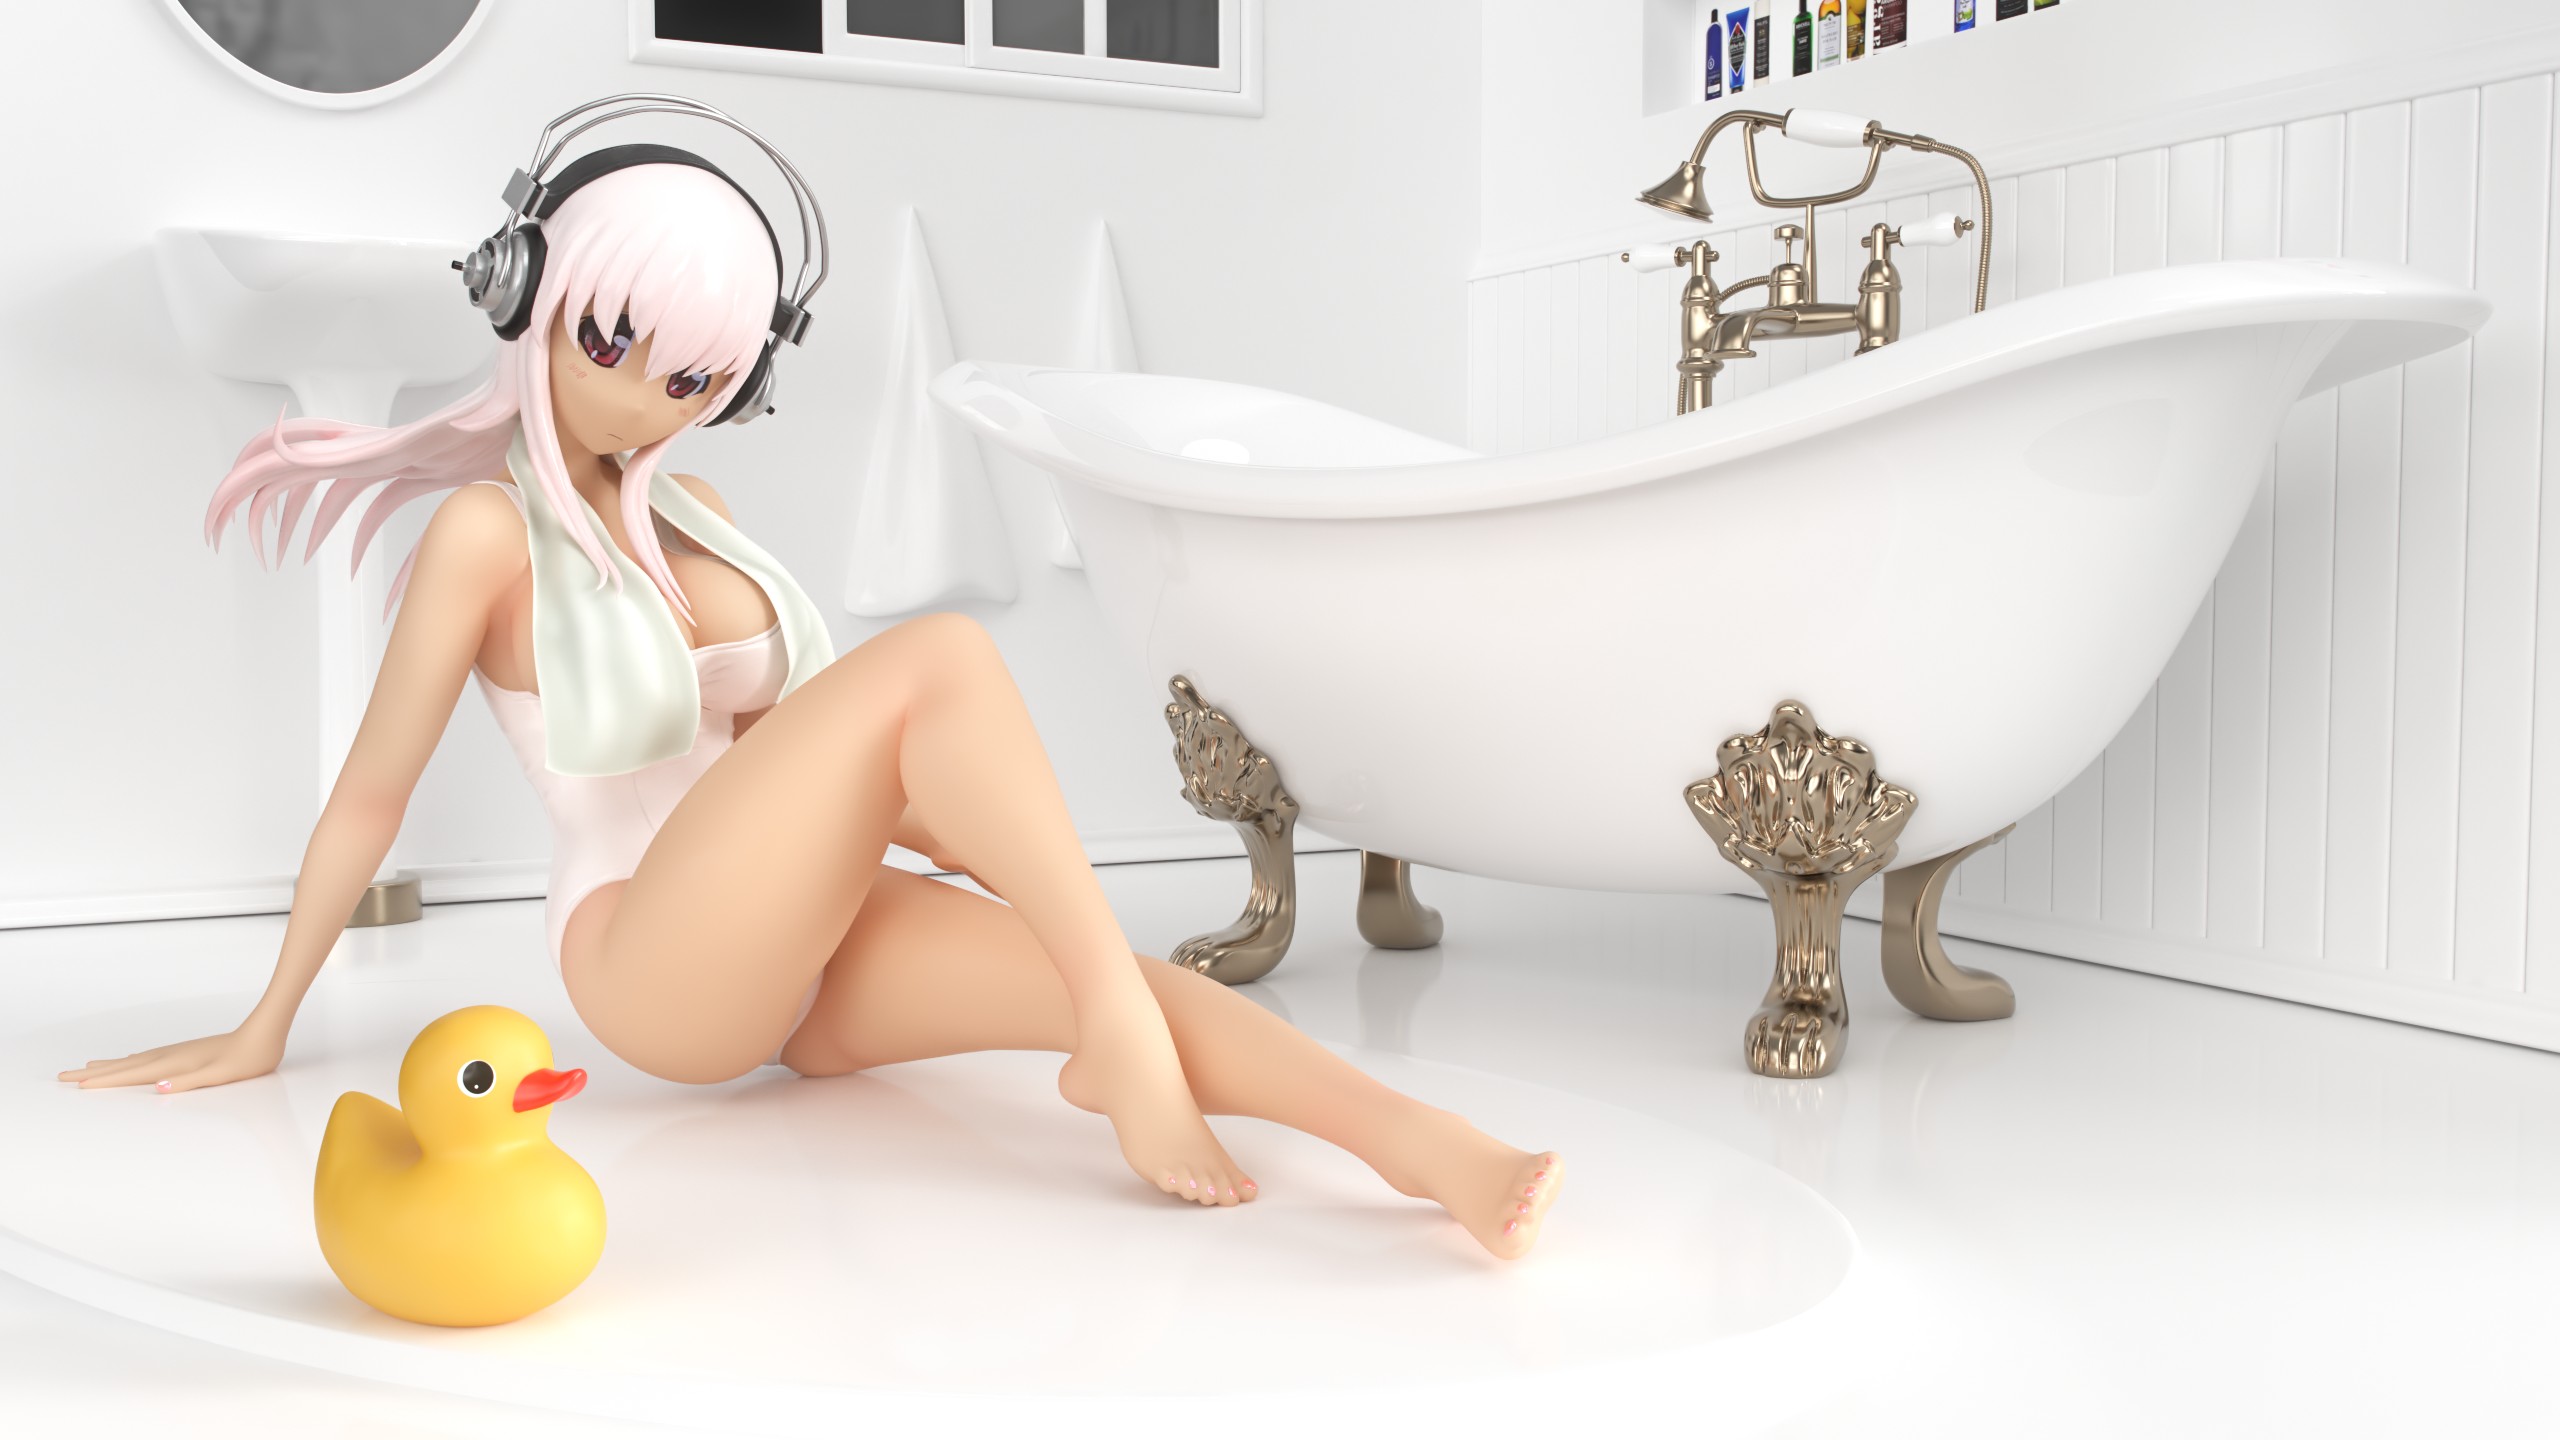
In the upcoming blog post series I will share my experience of creating a CG rendition of the Super Sonico School Swimsuit anime figure (with an OC bathroom set) which I was preoccupied with in October.
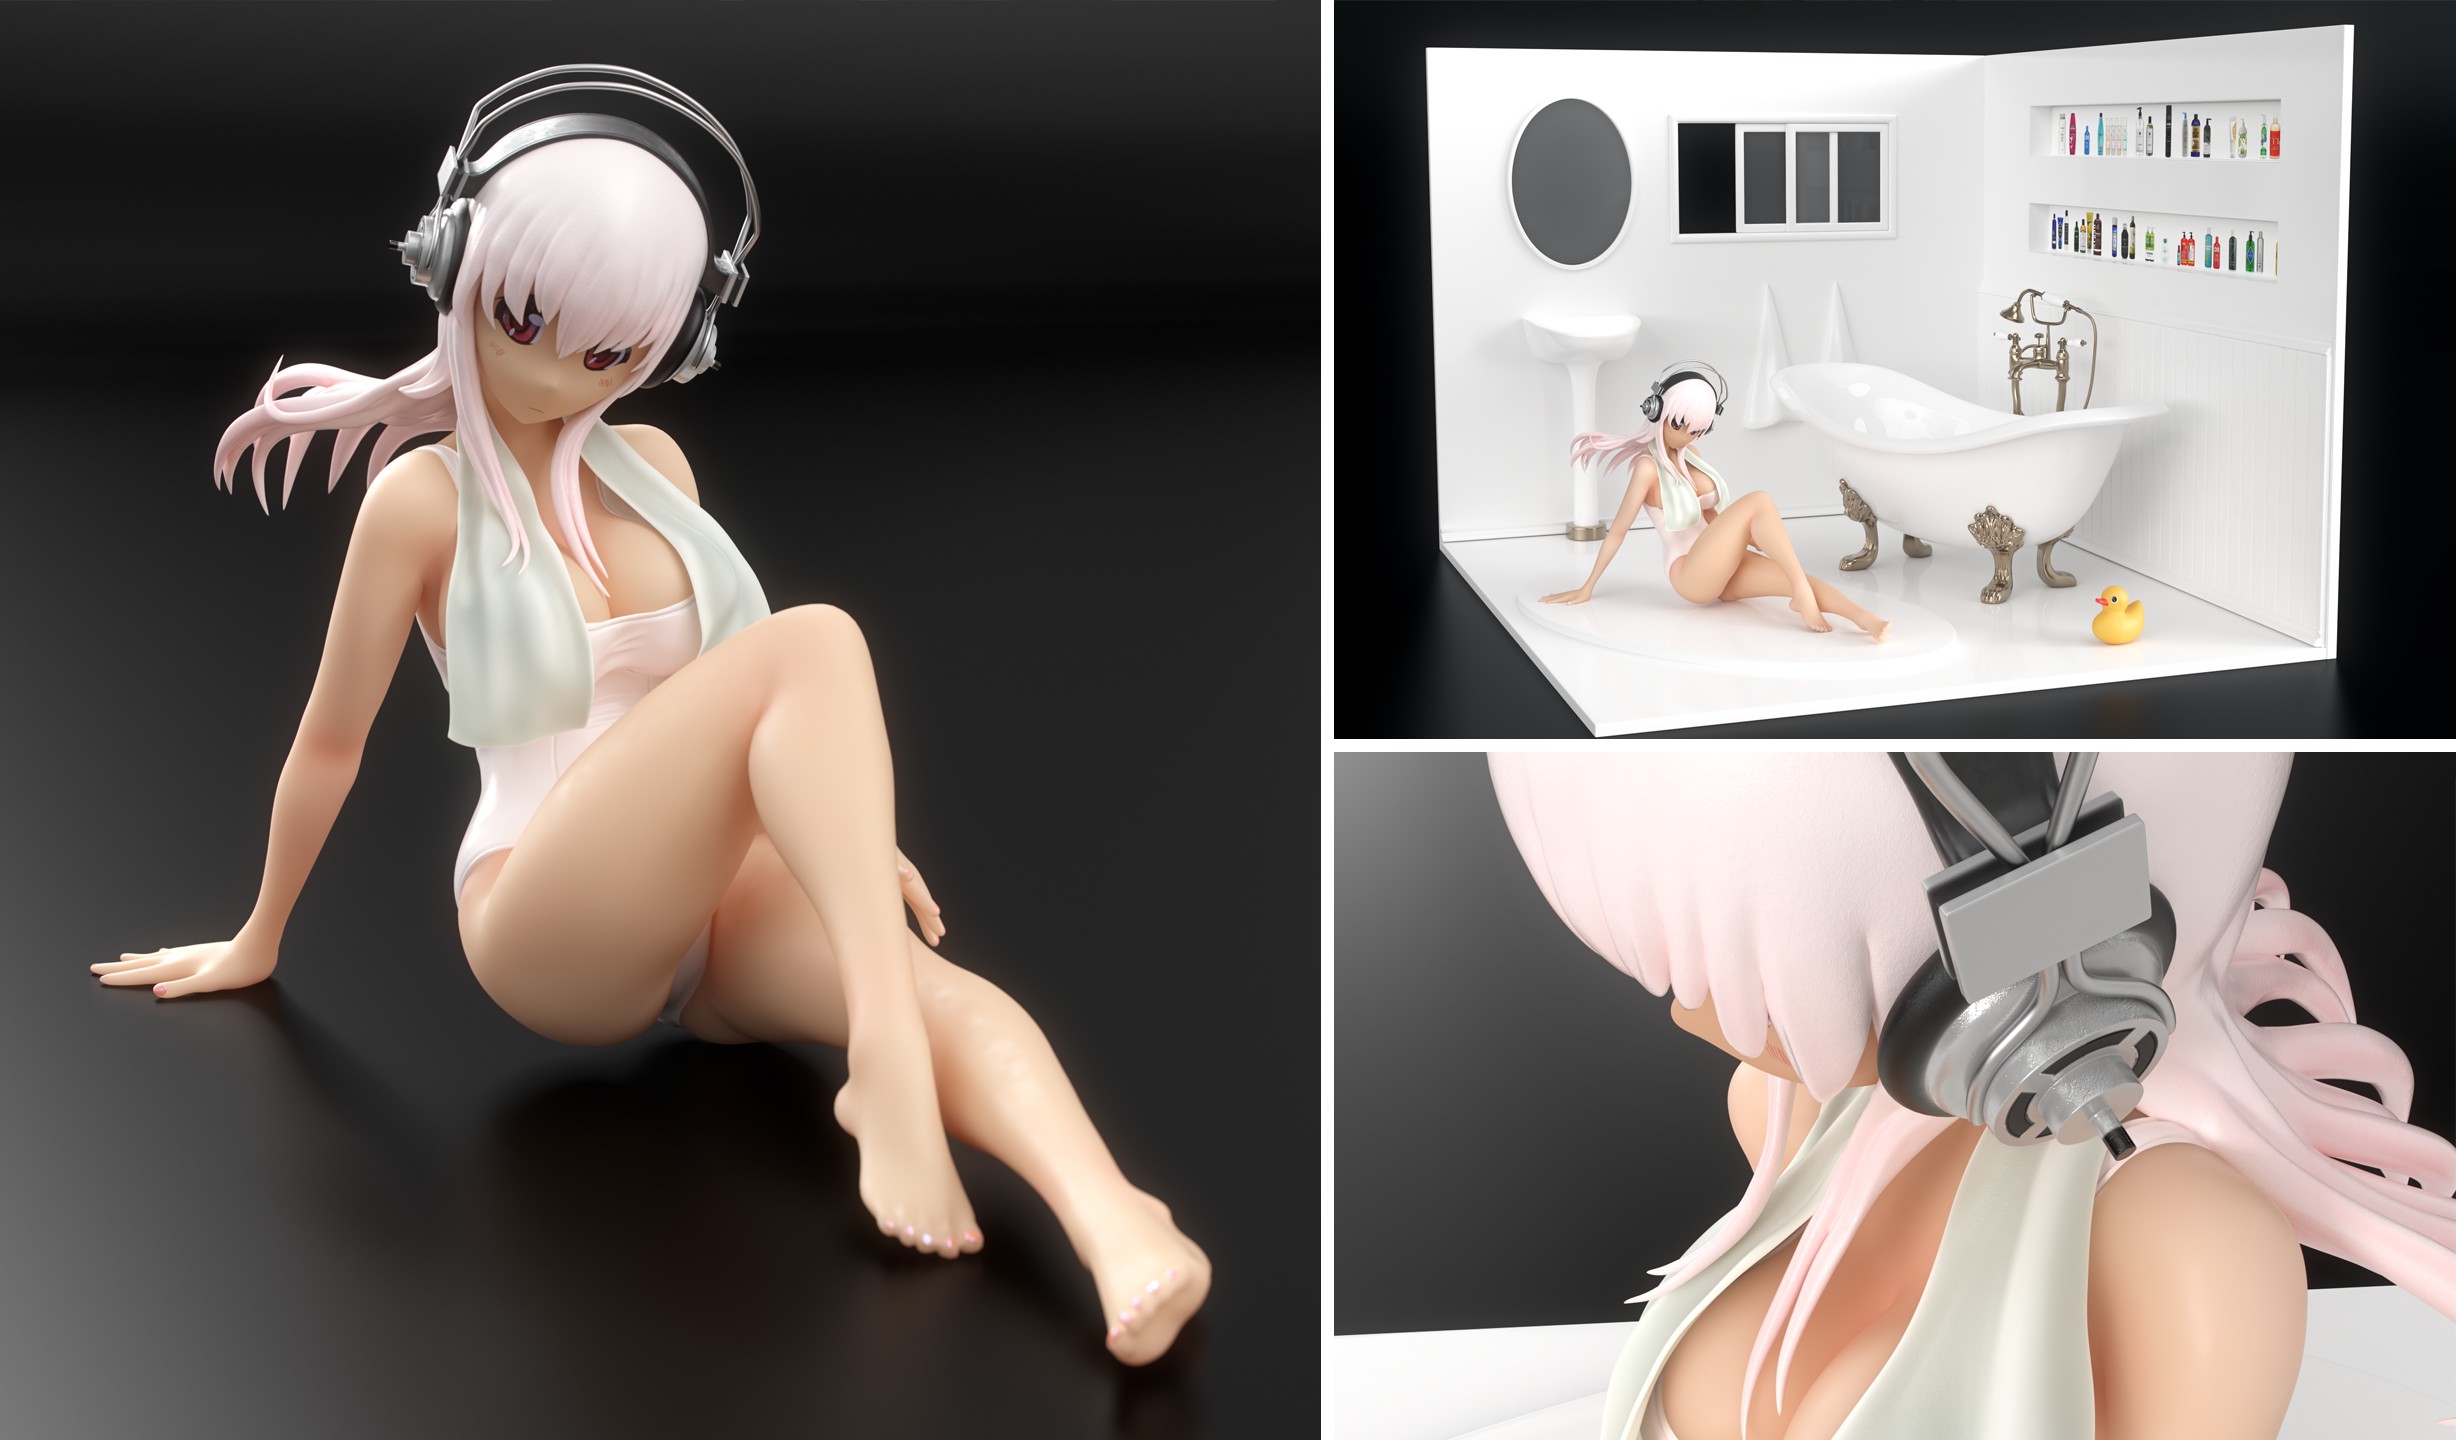
Back-story
In 2014 when I was working on a prototype of my first mobile game Run and Rock-it Kristie I initially decided to make the game 2.5D, which would mean assets would need to be produced as 3D geometry and not sprites.
In fact, here's the early rendered prototype (watch out, the video has sound):
In the video you can see the first iteration of 2D character development, but even before that I was going to have Kristie as a 3D CG character and decided to sculpt her myself.
I was young and naive back then and decided to recklessly dive deep into that amazing piece of software everyone was talking about. I'm of course talking about ZBrush.
So I tried Zbrush... and simply could not adapt to its navigation style. I was struggling for hours and finally installed a trial of a Maya-style navigation plugin called ZSwitcher. I was then actually able to get to sculpting. But due to the fact that the plugin changed many default hotkeys, it was very confusing to try and follow ZBrush docs and training videos. So in the end in terrible frustration I gave up and switched the game to use 2D sprites.
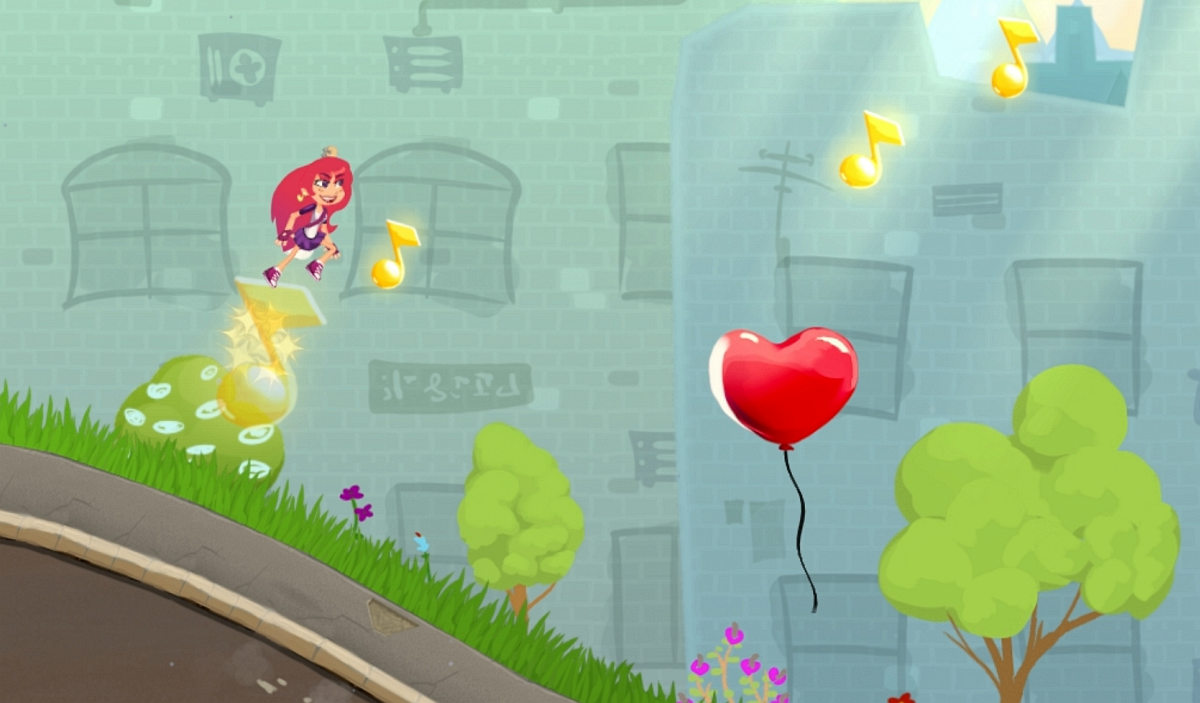
I then returned to Softimage|XSI and its old-school sub-d modeling workflows, thinking that sculpting simply wasn't for me.
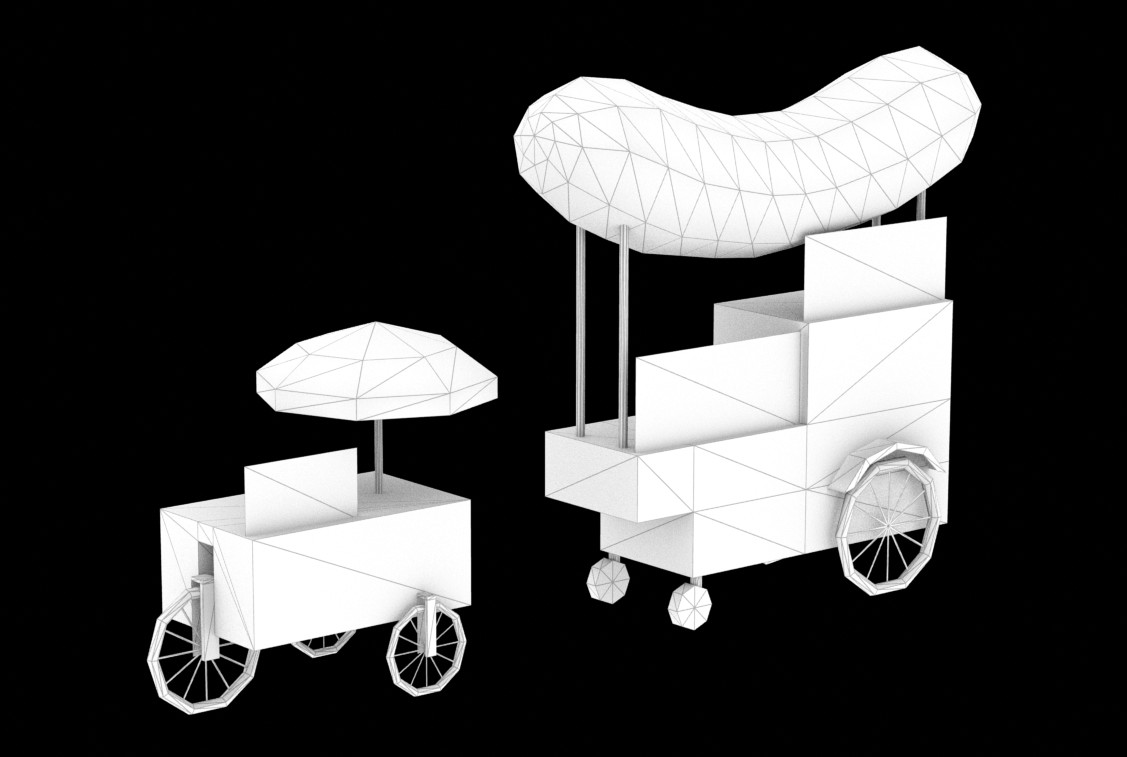
Present day
As I am slowly but surely working on my first animated CG film, I will at some point need to produce a bunch of realistic 3D assets for set dressing as well as develop the characters themselves.
As the animation-rich previz is in the process of making, I have to establish the sets, including placements of assets and overall presentation. I could simply place boxes and spheres around, but it's not fun and absolutely doesn't help to see what the movie would actually look like even if it's just a previz. So I've been creating assets in XSI with classic sub-d modeling workflow, when I remembered that there was another way.
The sculpting way.
Hence I had to get sculpting another chance, but this time – making an educated choice of the tool which would suit me the most.
Therefore I needed two things:
- Something interesting to sculpt.
- Some software to sculpt in.
Figures
Mass-produced quality figures (or "statues") never seized to amaze me. Not just because most of them are small pieces of art, but also of the sheer production quality of such mass-manufactured products.
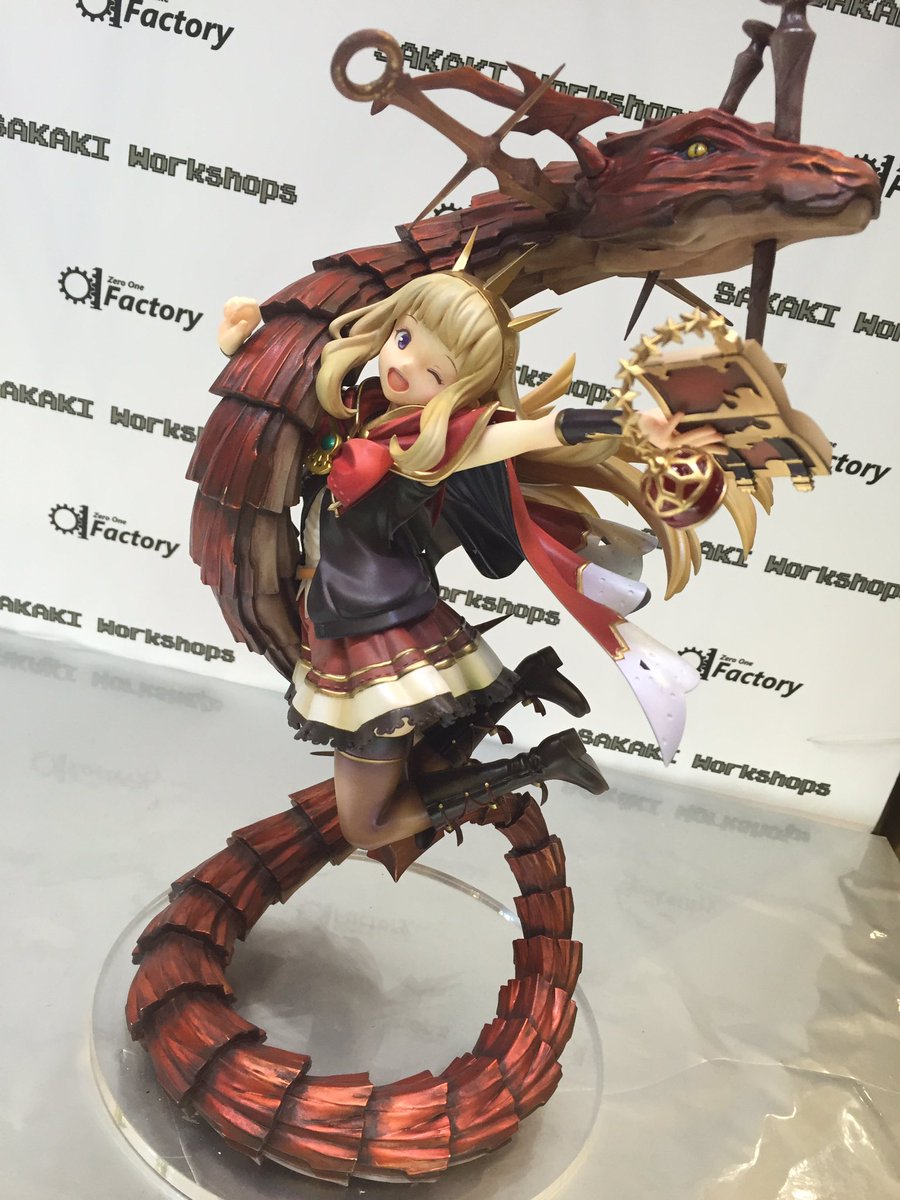 Granblue Fantasy - Cagliostro by Sakaki Workshops
Even though I never cared for anime it never stopped me from admiring the enormous figure market and the variety of figures available.
A couple of weeks ago I had a conversation with a talented engineer. We mostly discussed 3D printing and that's when a question popped up: "how are figures produced"? I mean it's obvious that mass-production of PVC products is done with Plastic Injection Molding, but what about the prototypes? Are they still being created with classic sculpting techniques or did 3D finally come into the mix?
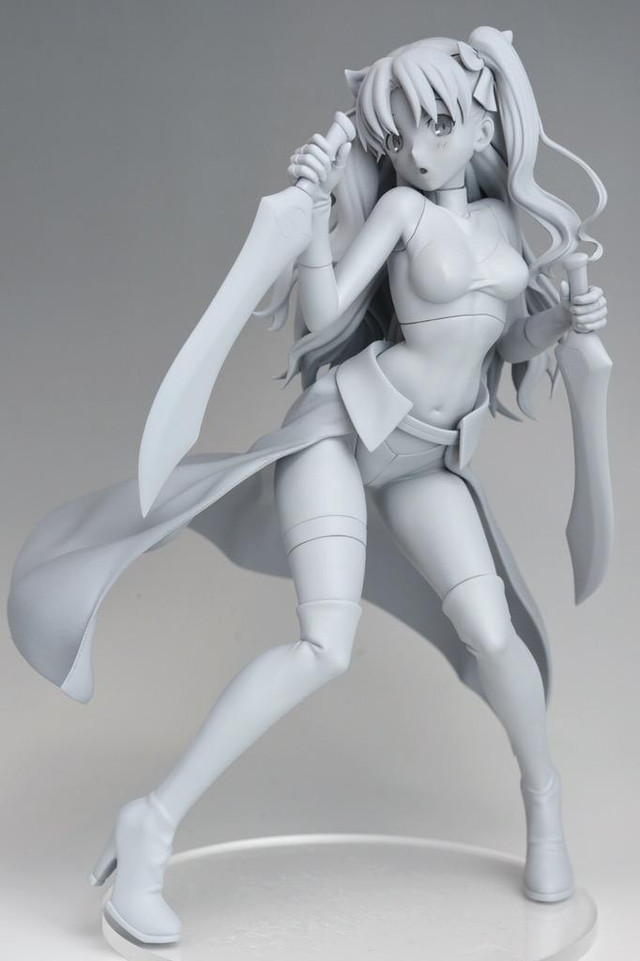 Rin Tohsaka Archer Costume ver Fate/stay night Figure (prototype)
That's when I started digging up through the web to find the answer.
Culture Japan
While sifting though the Internets I stumbled upon a TV show called Culture Japan. It is a Japanese TV show developed by Danny Choo – a British-born pop culture blogger currently working in Japan. The first pilot episode of Culture Japan was broadcast on Animax Asia and in it Danny Choo visited the offices of the Good Smile Company – one of the Japanese manufacturers of hobby products such as scale action figures.
You can watch the episode on Youtube. The GSC-segment begins at 33:22:
So that's how it's done!
Welcome to the future, where an artist creates digital prototype sculptures with a force-feedback haptic device called Touch X, then sends them to an in-house 3D printer. What a great idea!
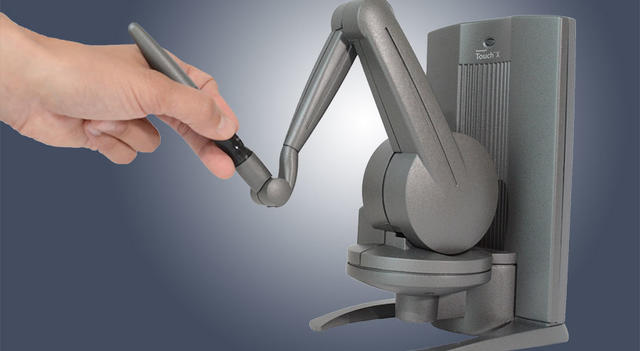
"You should totally sculpt this!"
Since I was already going to look for an amateur-friendly sculpting app, naturally, being a control freak, I decided to create a project out of it.
Some time ago out of curiosity I ordered an anime figure from the Super Sonico series by Nitroplus, a Japanese visual novel developer. Super Sonico character was originally created by Tsuji Santa and first appeared as a mascot for a Nitroplus-sponsored music festival in 2006.
The figure turned out to be a bootleg, but it was one of a decent quality (save for the missing signature Sonico metal headphones frame), so I didn't care to order the original version.
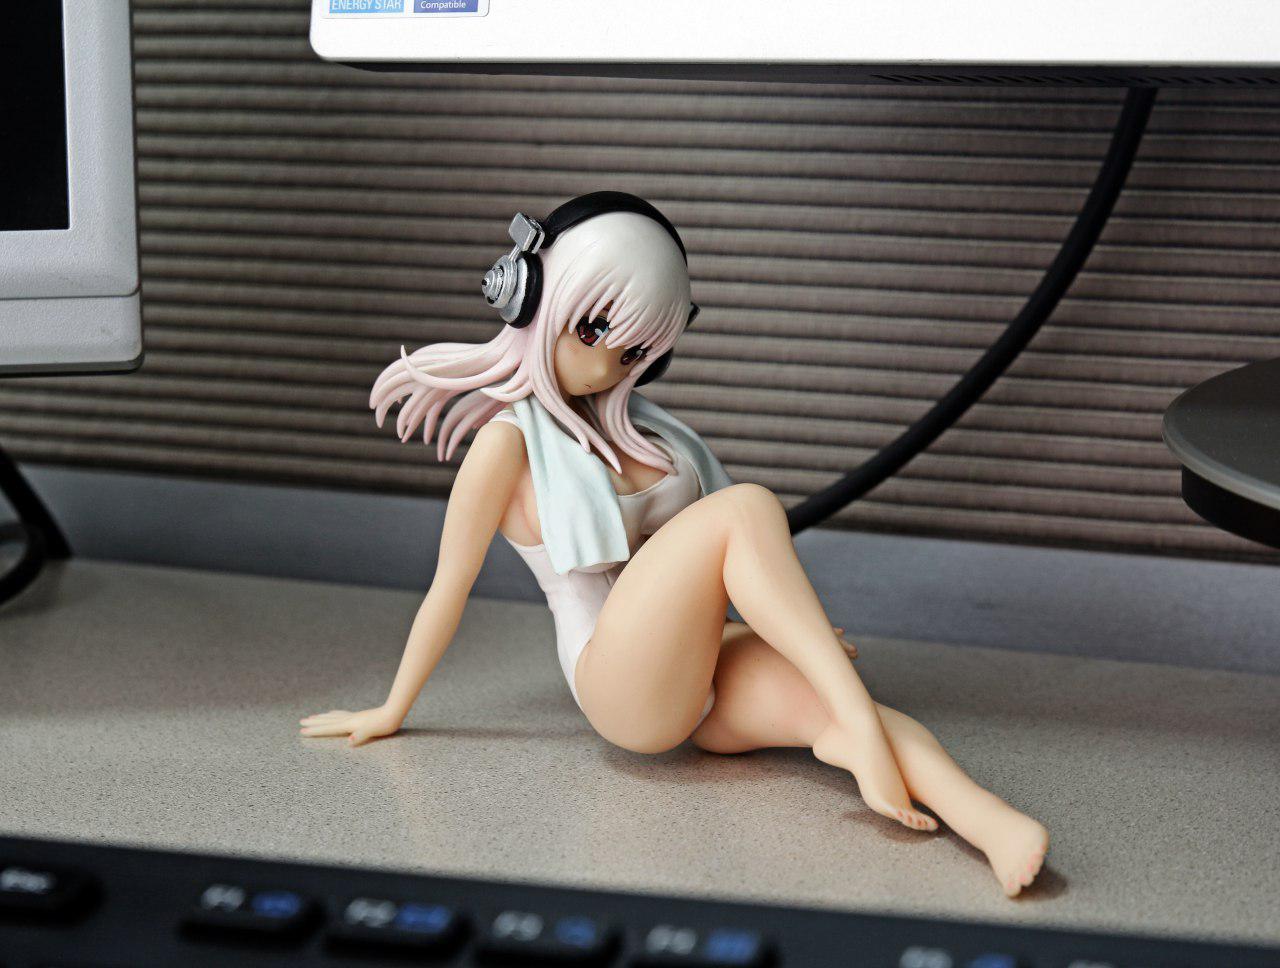
When the figure arrived I showed it to a friend and he suggested I should sculpt it as a practice project.
It seemed like quite a challenge for someone without any artistic training, but I liked the idea and accepted the challenge.
So having something to sculpt already picked, I went on to look for an amateur-friendly sculpting app, and will share the results of my search in the next post.
Stay tuned!
Textured Human Skeleton 3D Model (OBJ)
Nov, 2025 Update: If you're looking for a free skeleton model with the cleanest topology, check out Human Base Meshes v1.4.0 by Blender Studio and community contributions, as a realistic skeleton asset was added in the latest version of the asset.
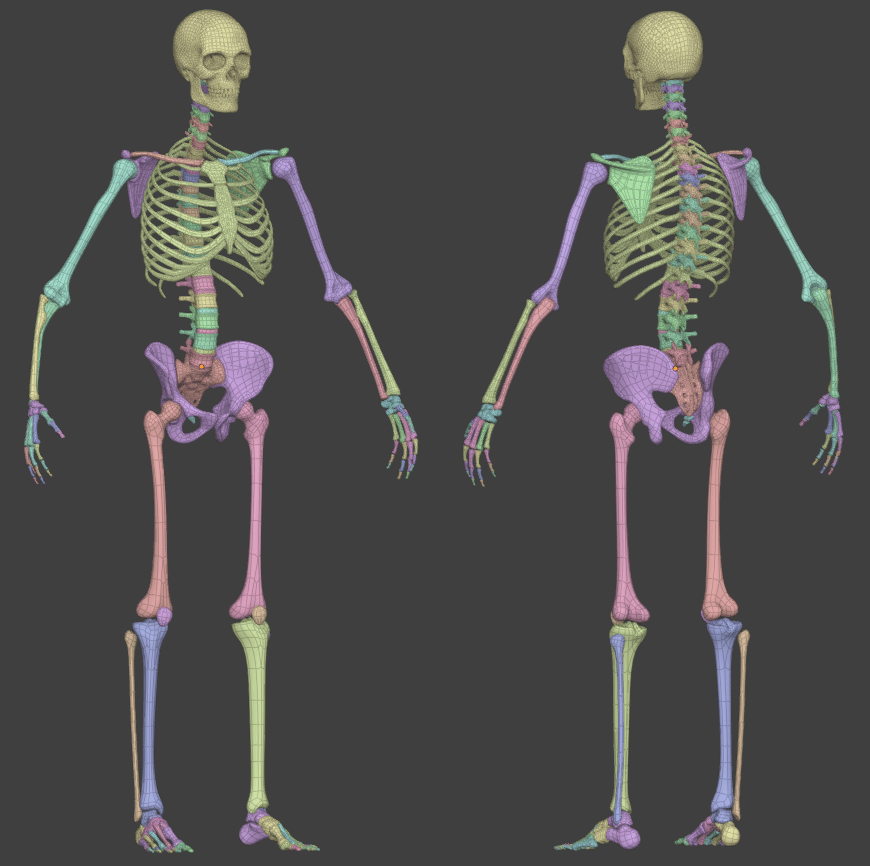
It's a great asset that comes with a lot of clean models to use for blocking or sculpting.
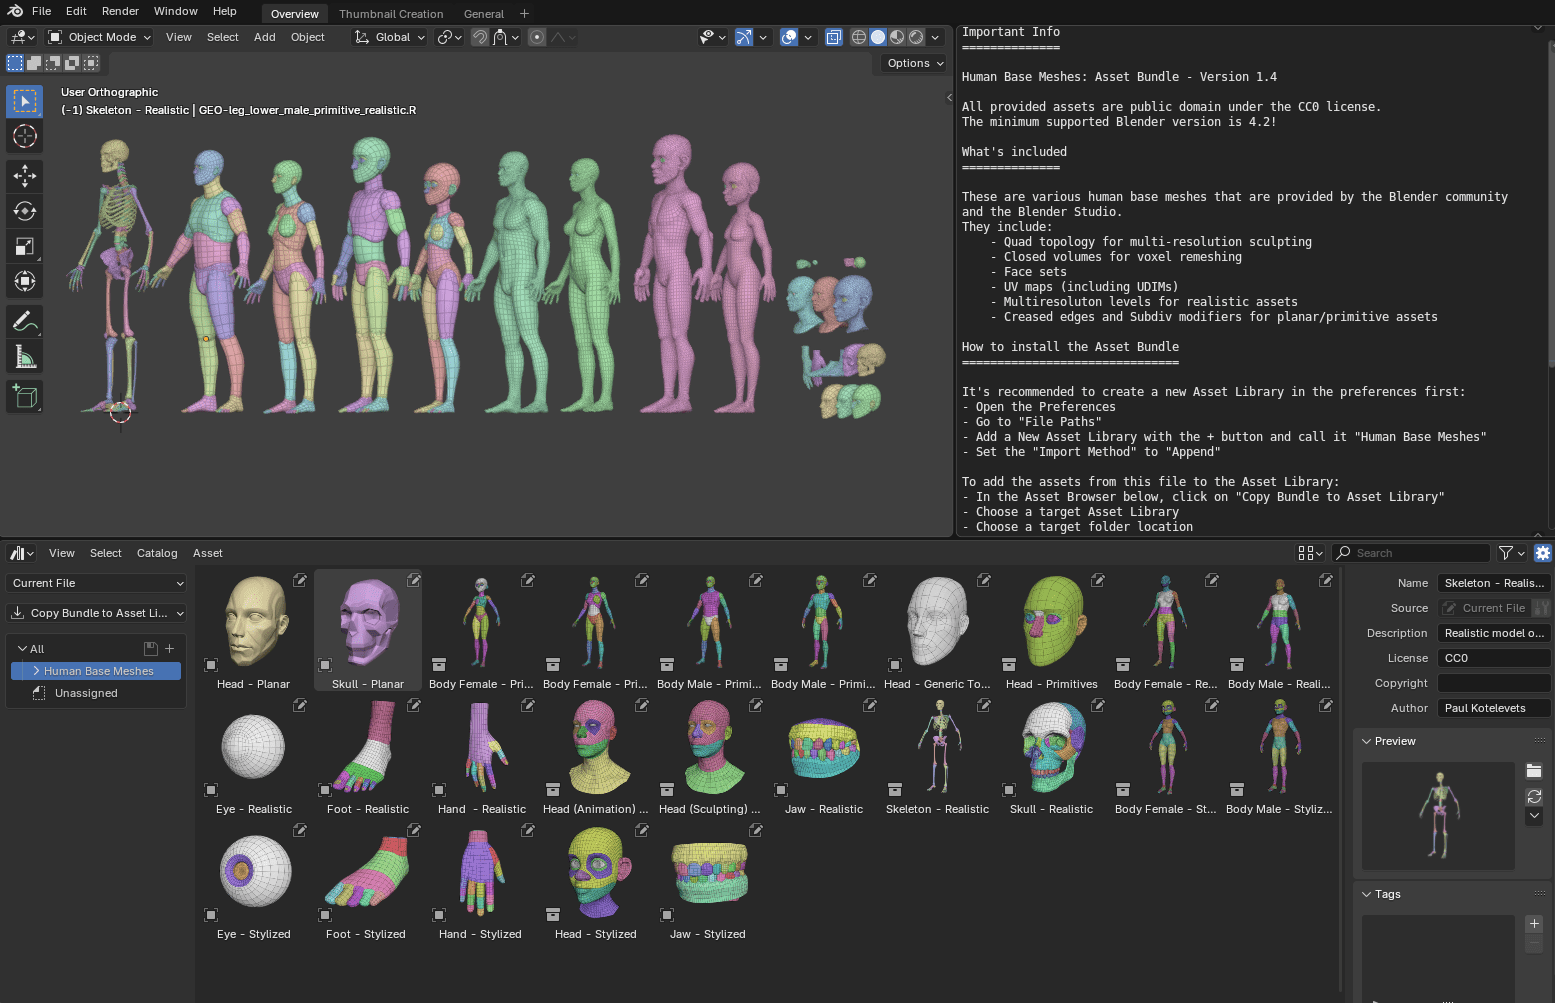
My legacy model is inferior, so you really shouldn't use it and go with the one from the Human Base Meshes asset.
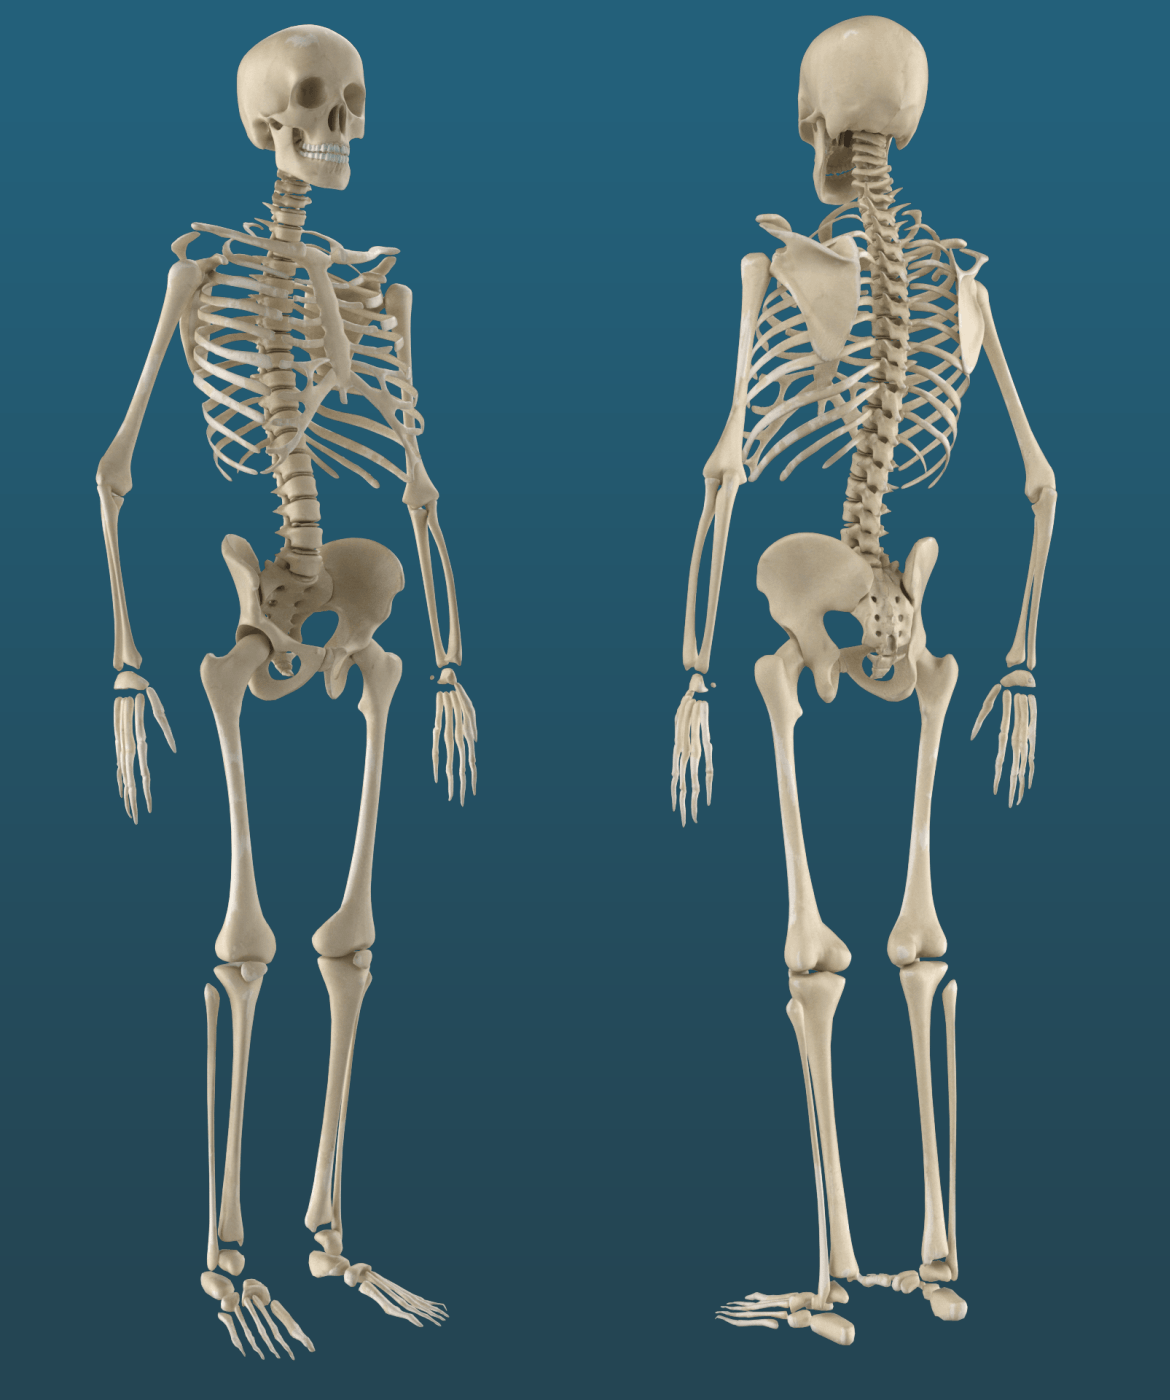
Still, if you want it — download here (OBJ file format, textures optimized for the Metalness PBR workflow: albedo, glossiness, metalness, roughness).
License: CC0 “No Rights Reserved”
Official Apology To Pixologic ZBrush
I'm sorry ZBrush. Sorry I doubted your UI. Sorry for thinking your navigation was unbearable. Sorry for everything, really.
I love you, ZBrush.
From now on you're family.
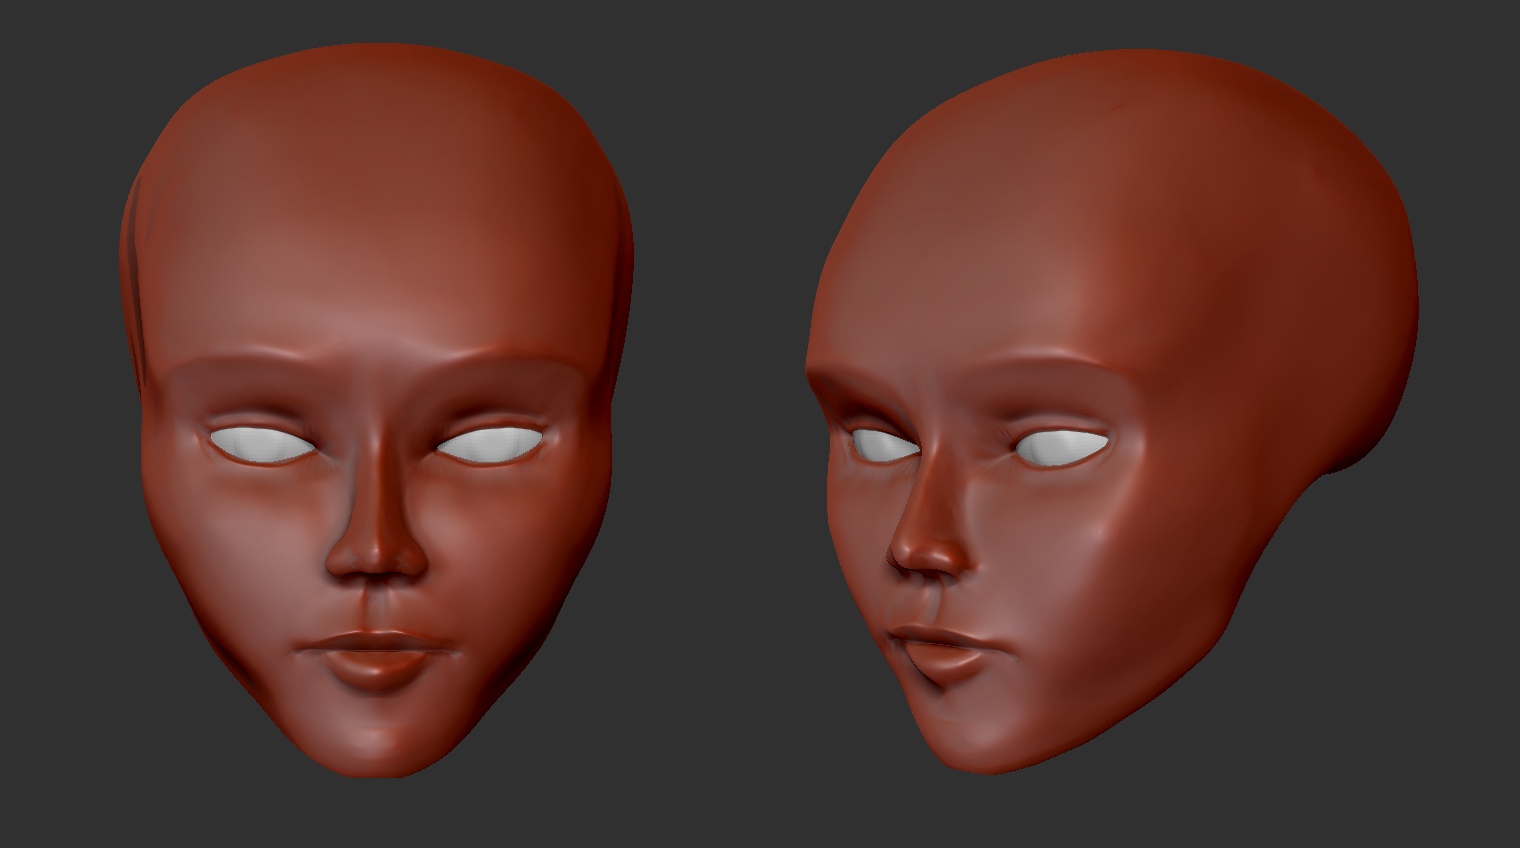
Thank you, Pixologic. You got yourself a new customer and he couldn't be happier.
