Production blogs
Change of Course and a New Beginning
An overwhelming majority of my readers (a whopping 2 out of 3!) have keenly noticed that the latest string of posts didn't really fit the primary "CGI" nature of the blog. True, I mostly touched upon marketing (something I predominately deal with at work nowadays) and some down-to-life topics which held particular importance to me personally. Some might even go so far as to blame me of procrastinating rather than working on the short film.

That's... Actually pretty close to ground truth, as you will momentarily find out, and it's something I need to finally admit. However embarrassing it might be.
This is a long post that starts slow, takes a dark turn, raises serious questions, but ultimately changes gears and sets everything right. With some cool stuff and a look at the industry from the eyes of an amateur along the way, as usual.
So get yourself a glass of some sparkling beverage and a couple snacks, and let's roll.
How It All Began
In 2016 I started this blog as a means of documenting the everlasting journey into the world of computer graphics. Luckily, I didn't go unprepared: with a fair amount of experience in video production, editing, 2D VFX and compositing as well as basic understanding of the most important aspects of 3D, as well as a released mobile game project in the portfolio, I was armed with just enough tools and knowledge to challenge myself further.
That "further" somehow turned into an animated short film project I've been working on ever since.
Dynamic Sloshing Liquid Rig. Making It Look Like a Simulation With Nothing but the Awesome Power of Math. Part 1: The Basic Rig
Check this out:
Looks delicious, doesn't it?
What you see here is not a result of a fluid simulation. It's a combination of Linear Algebra and some neat mesh manipulation tricks to make the surface deform and behave as if it were a small body of water in a container reacting to being thrown around a scene, sloshing and splashing back and fourth.
This is what you call a rig. A "sloshing liquid rig" as I decided to name it. Intended to be used in a couple of scenes of the animated short film I'm working on.
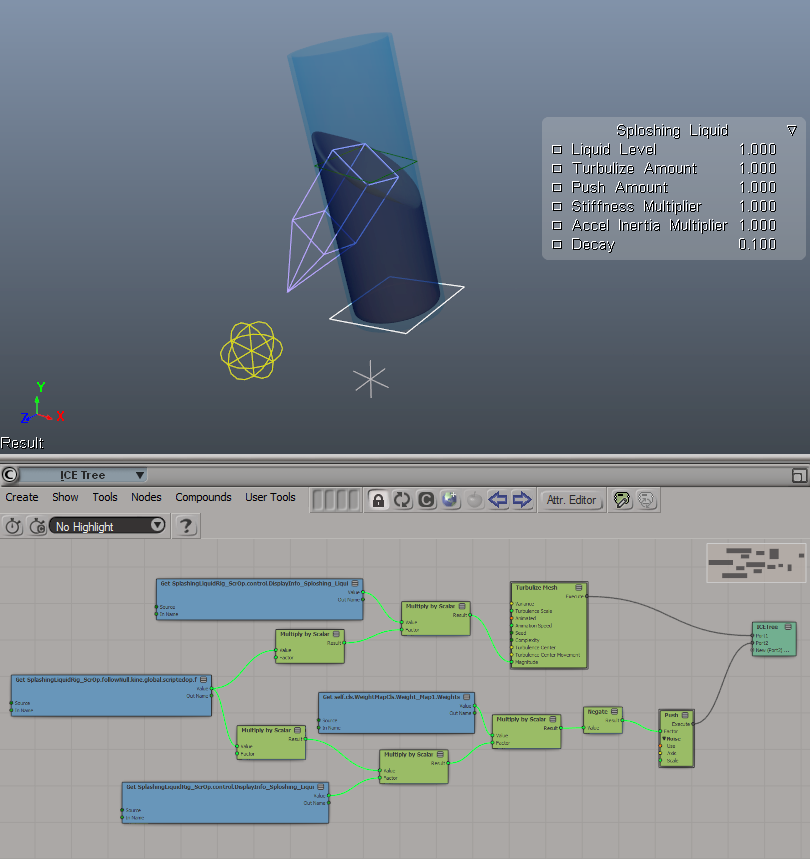
This bad boy will save me so much time when I get to animating liquids for background objects.
Let's now dive in and see what's happening under the hood. There's some math involved, but be not afraid: as always, I will try to make it as entertaining as possible and visualize everything along the way.
Unity and Unreal Engine: Real-Time Rendering VS Traditional 3DCG Rendering Approach
(Revised and updated as of June 2020)
Preamble
Before reading any further, please find the time to watch these. I promise, you won't regret it:
Now let's analyze what we just saw and make some important decisions. Let's begin with how all of this could be achieved with a "traditional" 3D CG approach and why it might not be the best path to follow in the year 2020 and up.
Linear pipeline and the One Man Crew problem
I touched upon this topic in one of my previous posts.
The "traditional" 3D CG-animated movie production pipeline is quite complicated. Not taking pre-production and animation/modeling/shading stages into consideration, it's a well-known fact that an A-grade animated film treats every camera angle as a "shot" and these shots differ a lot in requirements. Most of the time character and environment maps and even rigs would need to be tailored specifically for each one of those.
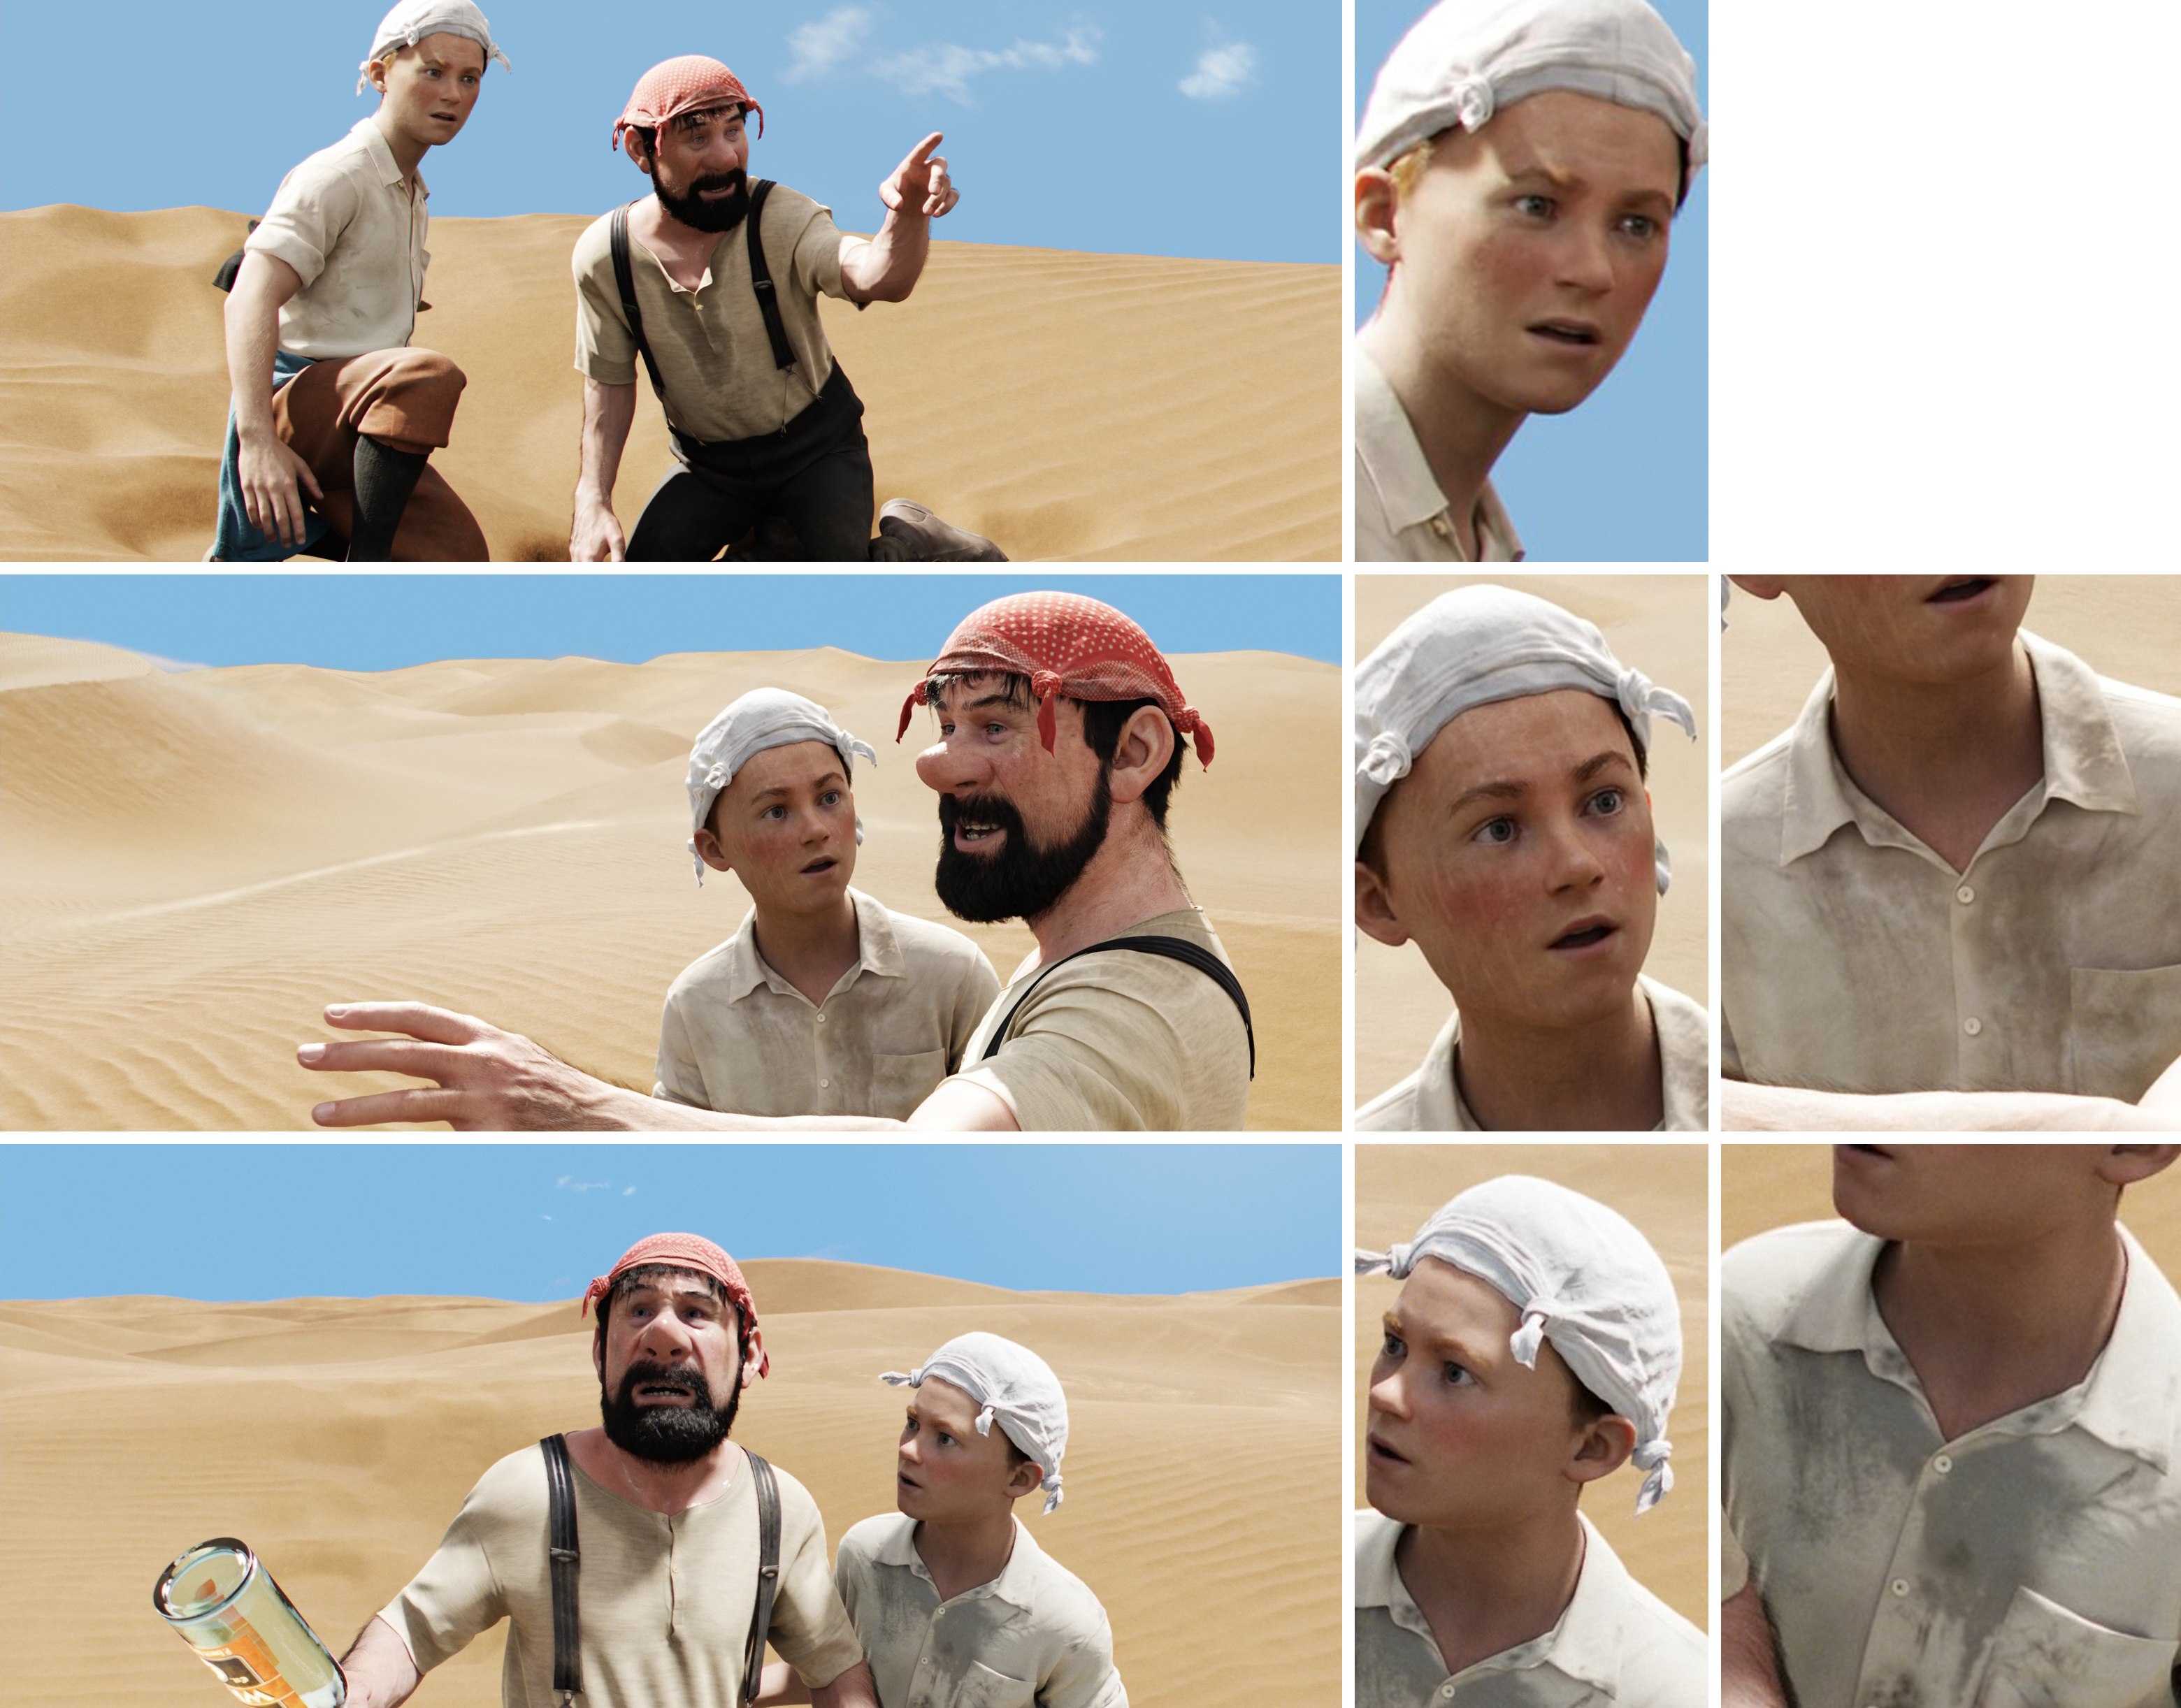 Shot-to-shot character shading differences in the same scene in The Adventures of Tintin (2011)
For example if a shot features a close-up of a character's face there is no need to subdivide the character's body each frame and feed it to the renderer, but it also means the facial rig needs to have more controls as well as the face probably requires an additional triangle or two and a couple of extra animation controls/blendshapes as well as displacement/normal maps for wrinkles and such.
But the worst thing is that the traditional pipeline is inherently linear.
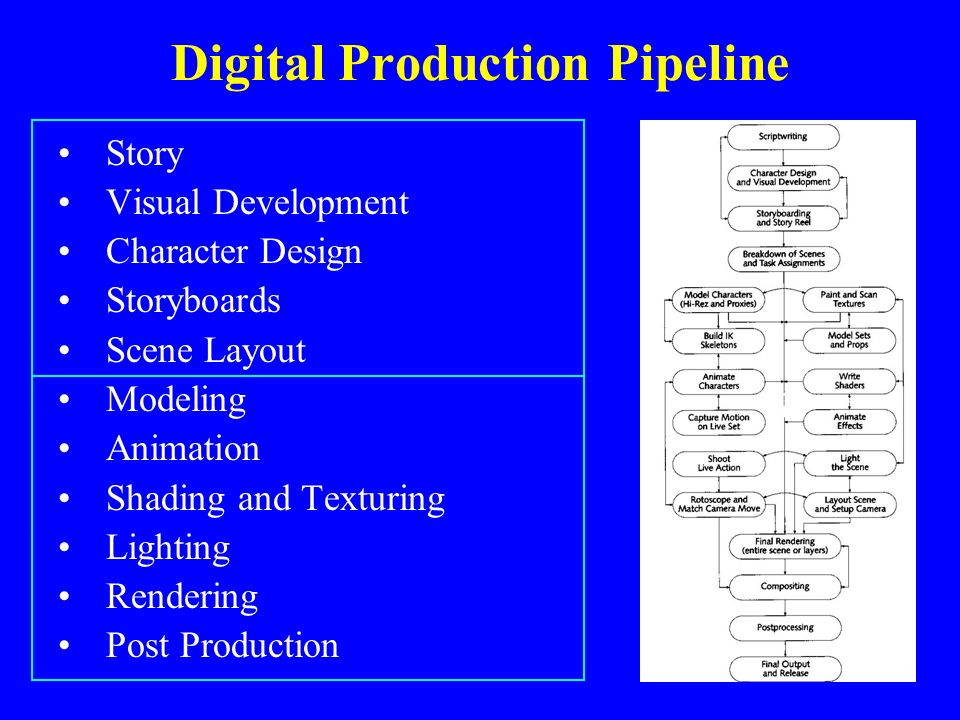
Thus you will only see pretty production-quality level images very late into the production process. Especially if you are relying on path-tracing rendering engines and lack computing power to be able to massively render out hundreds of frames. I mean, we are talking about an animated feature that runs at 24 frames per second. For a short 8-plus-minute film this translates into over 12 thousand still frames. And those aren't your straight-out-of-the-renderer beauty pictures. Each final frame is a composite of several separate render passes as well as special effects and other elements sprinkled on top.
Now imagine that at a later stage of the production you or the director decides to make adjustments. Well, shit. All of those comps you rendered out and polished in AE or Nuke? Worthless. Update your scenes, re-bake your simulations and render, render, render those passes all over again. Then comp. Then post.
Sounds fun, no?
You can imagine how much time it would take one illiterate amateur to plan and carry out all of the shots in such a manner. It would be just silly to attempt such a feat.
Therefore, the bar of what I consider acceptable given the resources available at my disposal keeps getting...
Lower.
There! I finally said it! It's called reality check, okay? It's a good thing. Admitting you have a problem is the first step towards a solution, right?
Right!?..
 Oups, wrong picture
All is not lost and it's certainly not the time to give up.
Am I still going to make use of Blend Shapes to improve facial animation? Absolutely, since animation is the most important aspect of any animated film.
But am I going to do realistic fluid simulation for large bodies of water (ocean and ocean shore in my case)? No. Not any more. I'll settle for procedural Tessendorf Waves. Like in this RND I did some time ago:
Will I go over-the-top with cloth simulation for characters in all scenes? Nope. It's surprising how often you can get away with skinned or bone-rigged clothes instead of actually simulating those or even make use of real-time solvers on mid-poly meshes without even caching the results... But now I'm getting a bit ahead of myself...
Luckily, there is a way to introduce the "fun" factor back into the process!
And the contemporary off-the-shelf game engines may provide a solution.
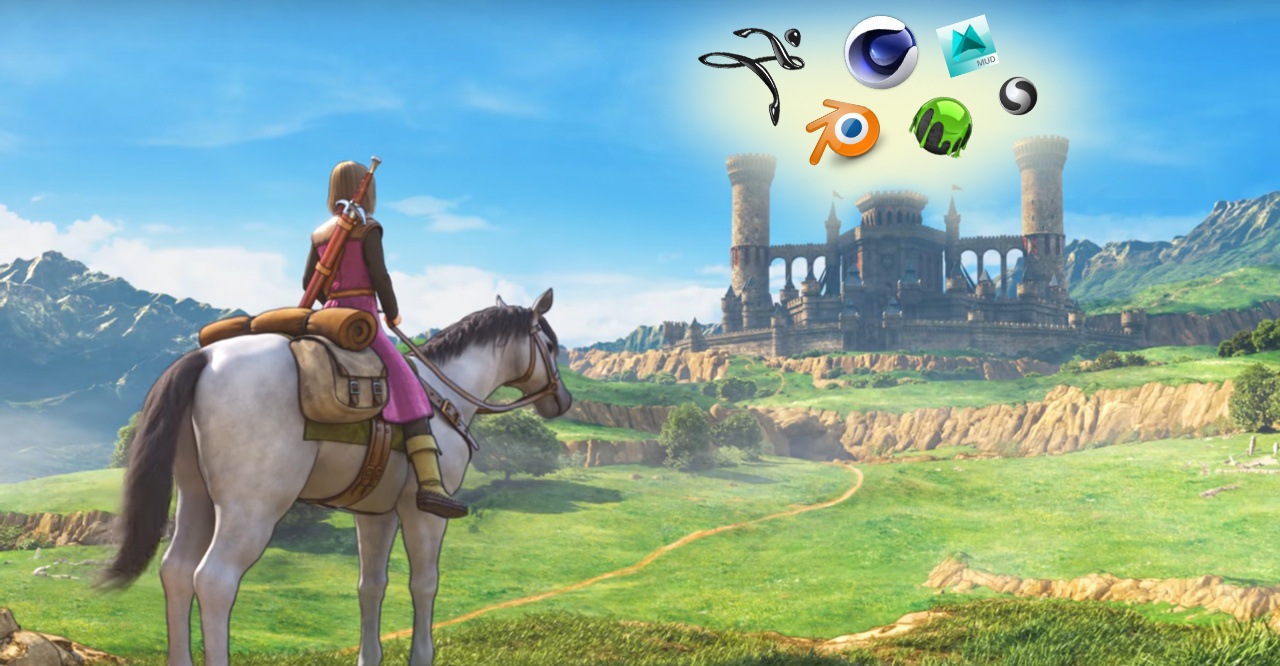
Making of Super Sonico School Swimsuit 3D Figure Set. Part 2: Choosing Sculpting Software
As I mentioned in my previous post, I had an idea for a practice sculpture project and needed to find some software to bring it to fruition.
If there is one thing I love doing, it's trying out different pieces of software. This time an app of my choice would need to be capable of providing a comfortable and intuitive sculpting workflow as well as being more or less affordable.
So let's check out the results of my quest to find the perfect sculpting app.
Making of Super Sonico School Swimsuit 3D Figure Set. Part 1: A New Project
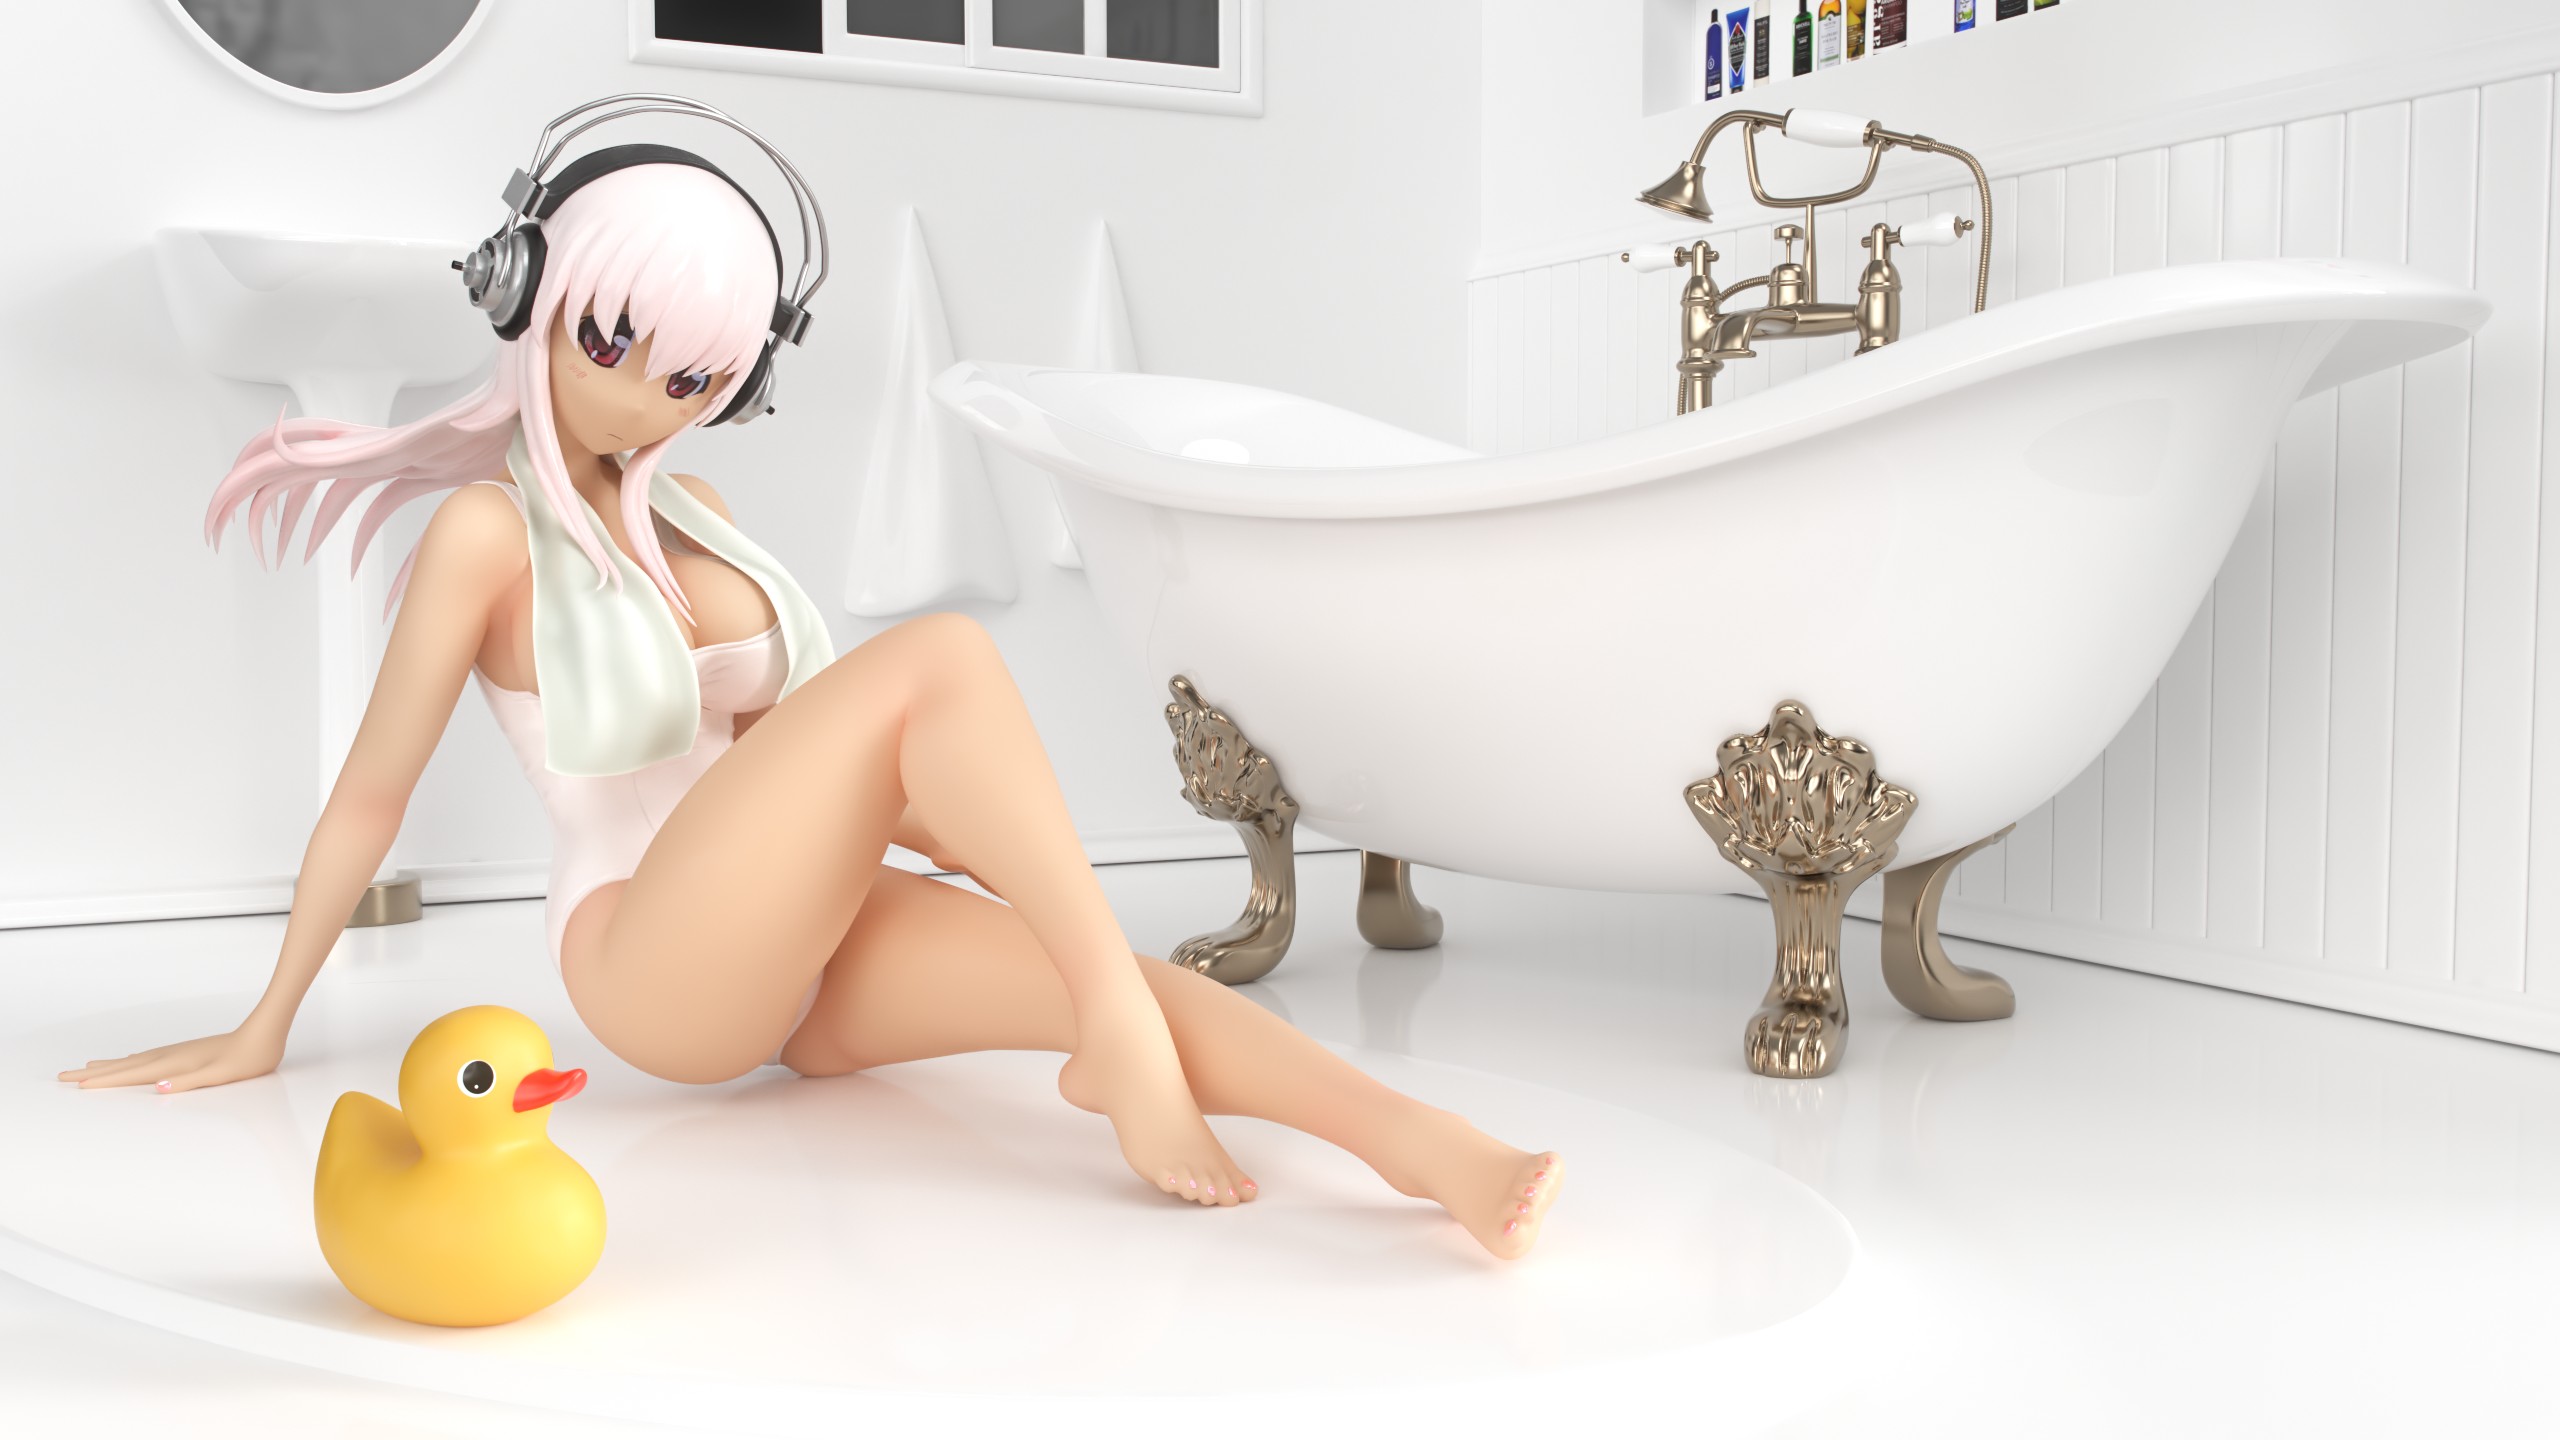
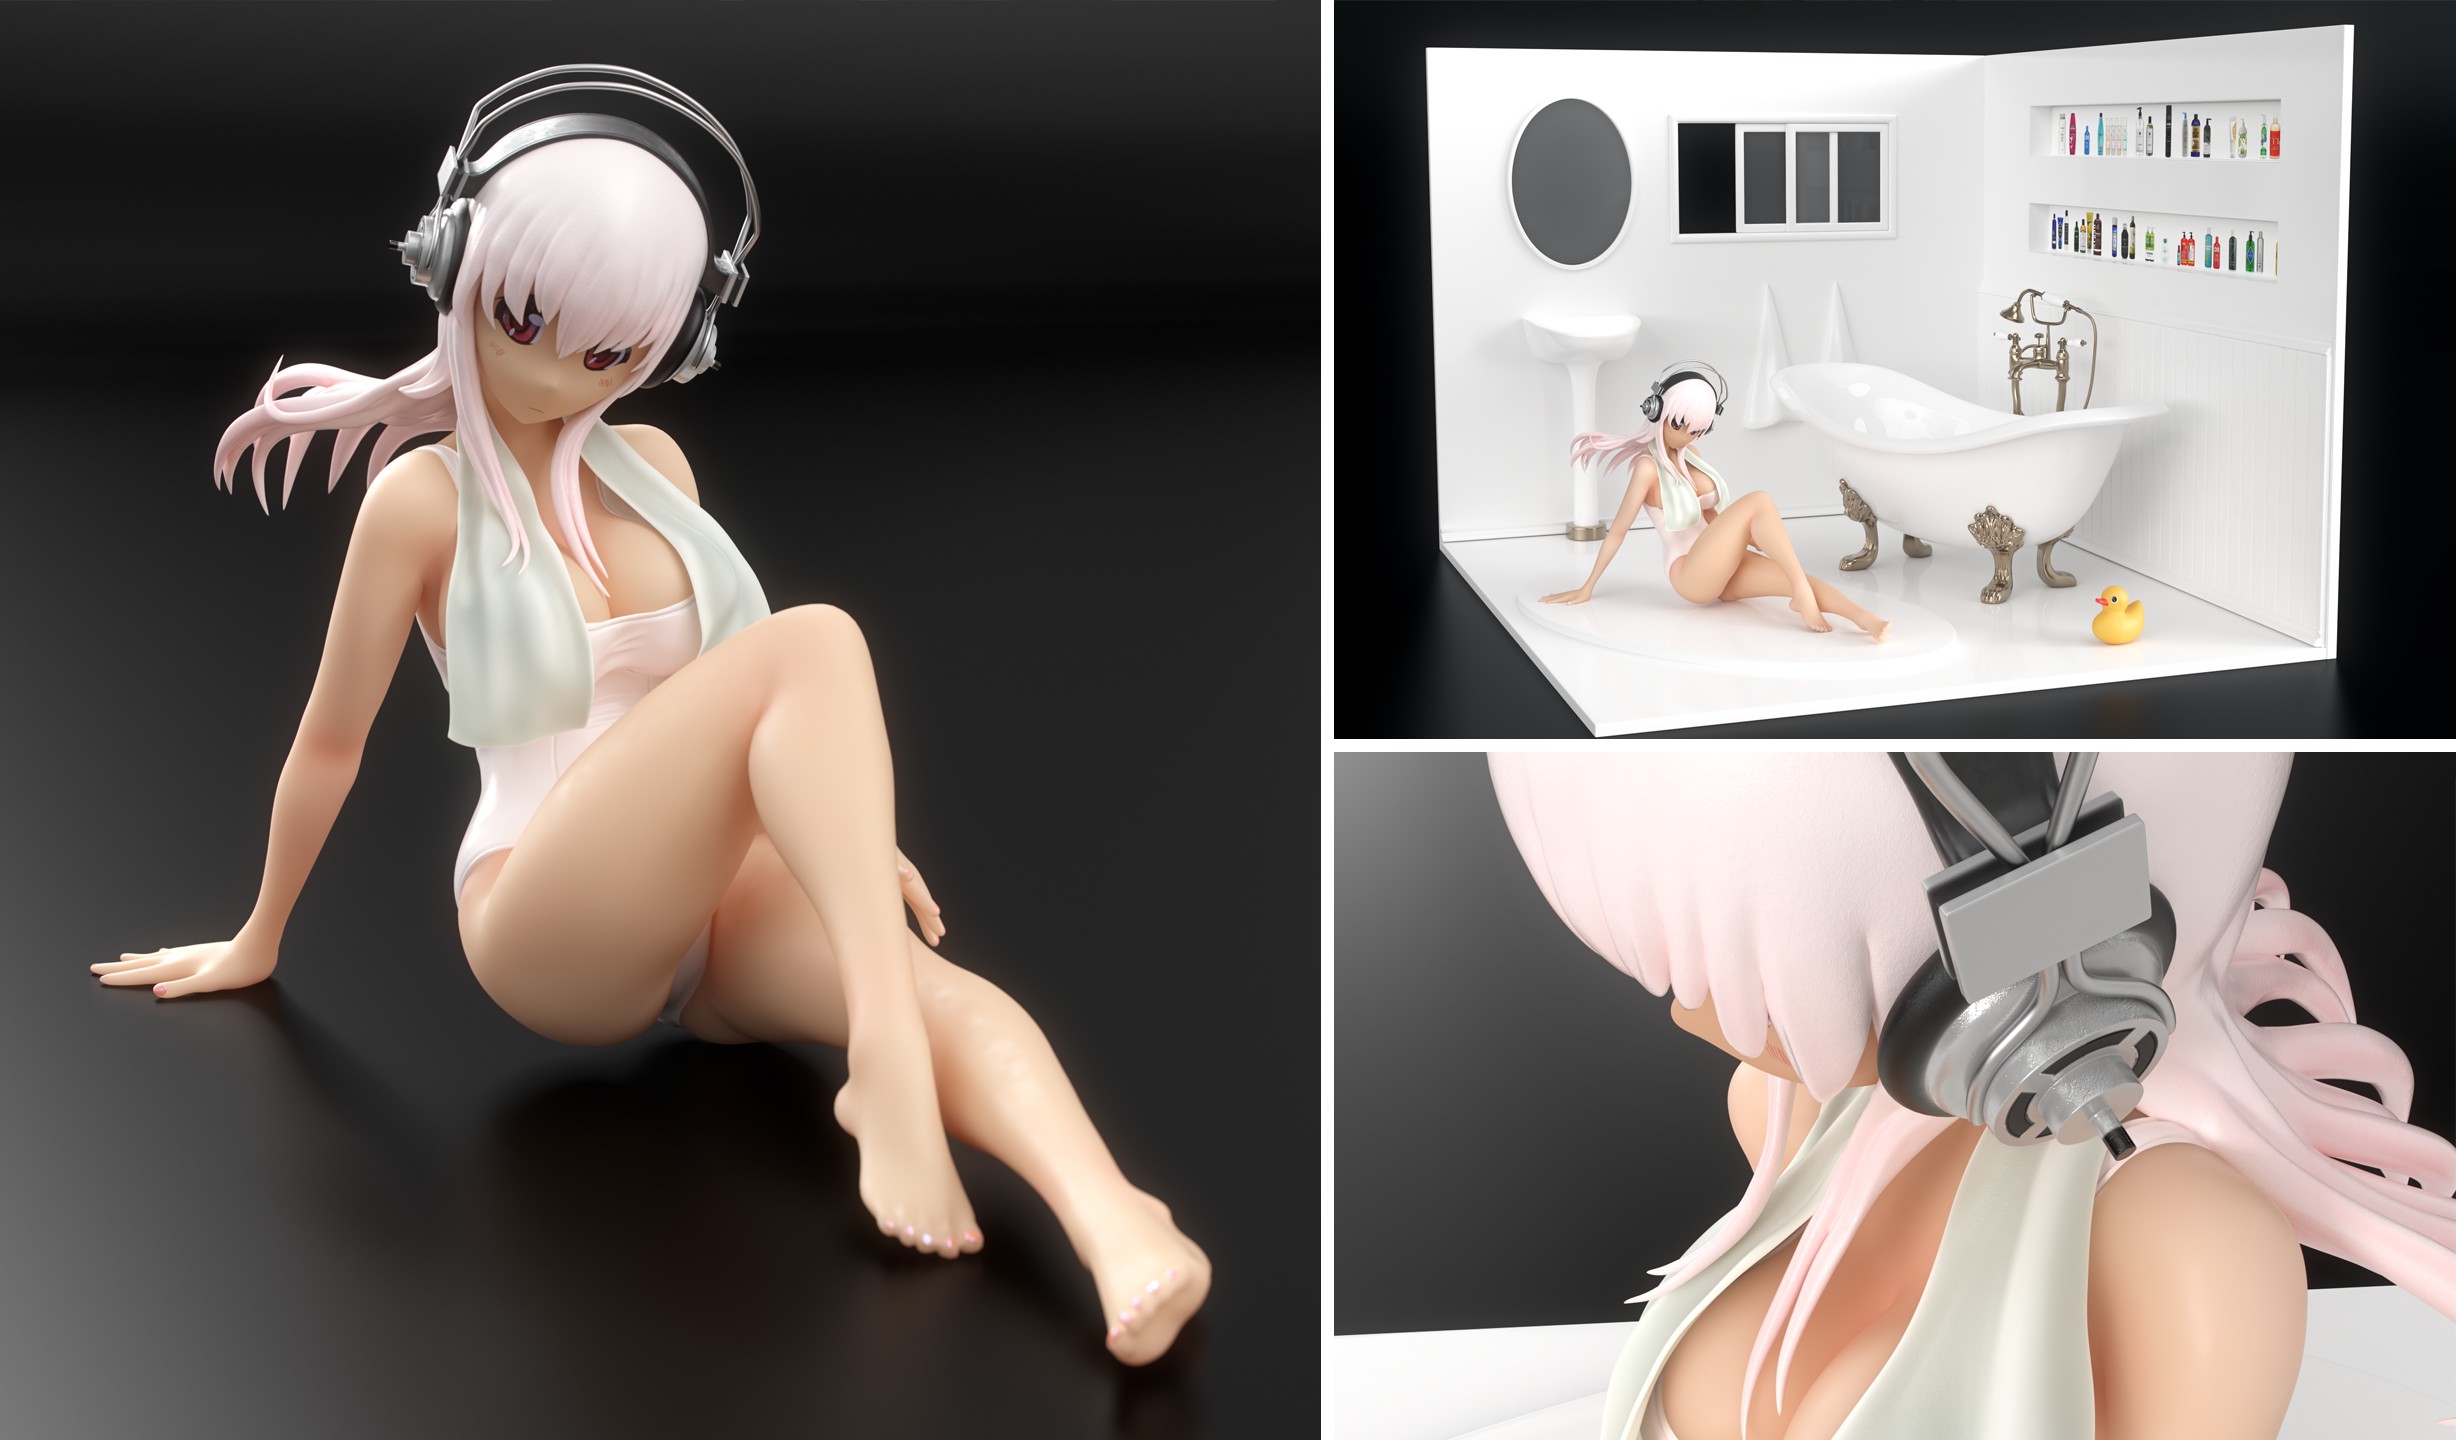
In the upcoming blog post series I will share my experience of creating a CG rendition of the Super Sonico School Swimsuit anime figure (with an OC bathroom set) which I was preoccupied with in October.
Back-story
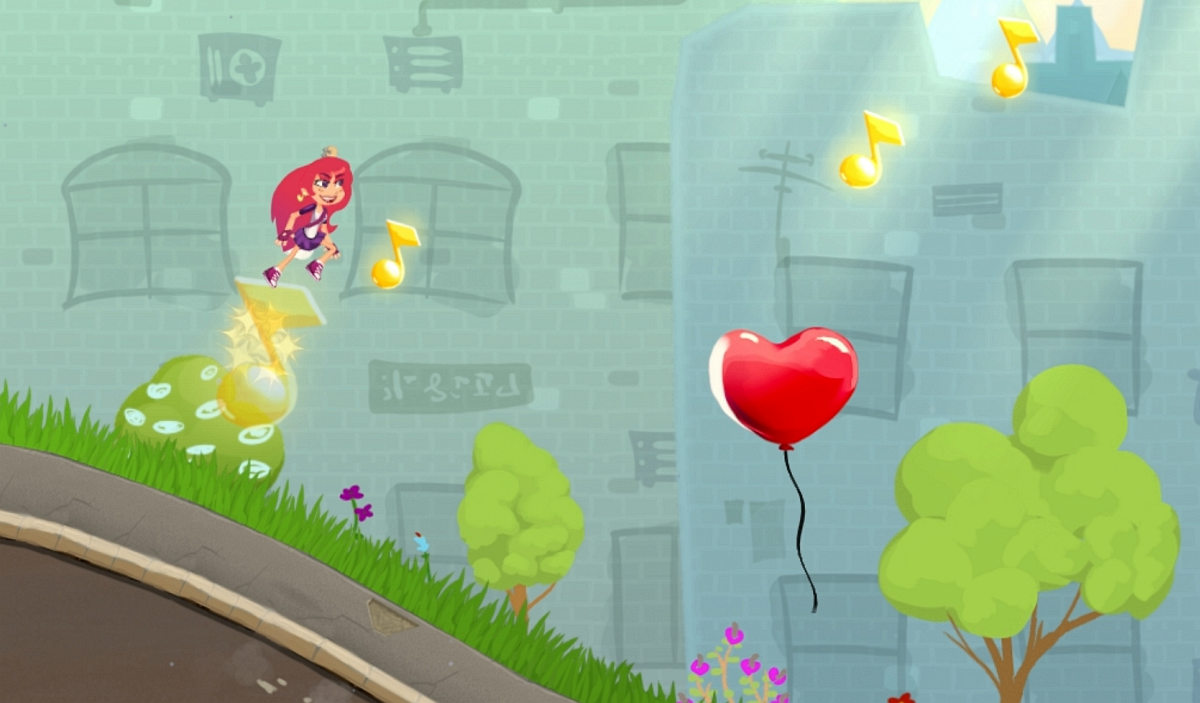
In 2014 when I was working on a prototype of my first mobile game Run and Rock-it Kristie I initially decided to make the game 2.5D, which would mean assets would need to be produced as 3D geometry and not sprites.
In fact, here's the early rendered prototype (watch out, the video has sound):
In the video you can see the first iteration of 2D character development, but even before that I was going to have Kristie as a 3D CG character and decided to sculpt her myself.
I was young and naive back then and decided to recklessly dive deep into that amazing piece of software everyone was talking about. I'm of course talking about ZBrush.
So I tried Zbrush... and simply could not adapt to its navigation style. I was struggling for hours and finally installed a trial of a Maya-style navigation plugin called ZSwitcher. I was then actually able to get to sculpting. But due to the fact that the plugin changed many default hotkeys, it was very confusing to try and follow ZBrush docs and training videos. So in the end in terrible frustration I gave up and switched the game to use 2D sprites.
I then returned to Softimage|XSI and its old-school sub-d modeling workflows, thinking that sculpting simply wasn't for me.
Present day
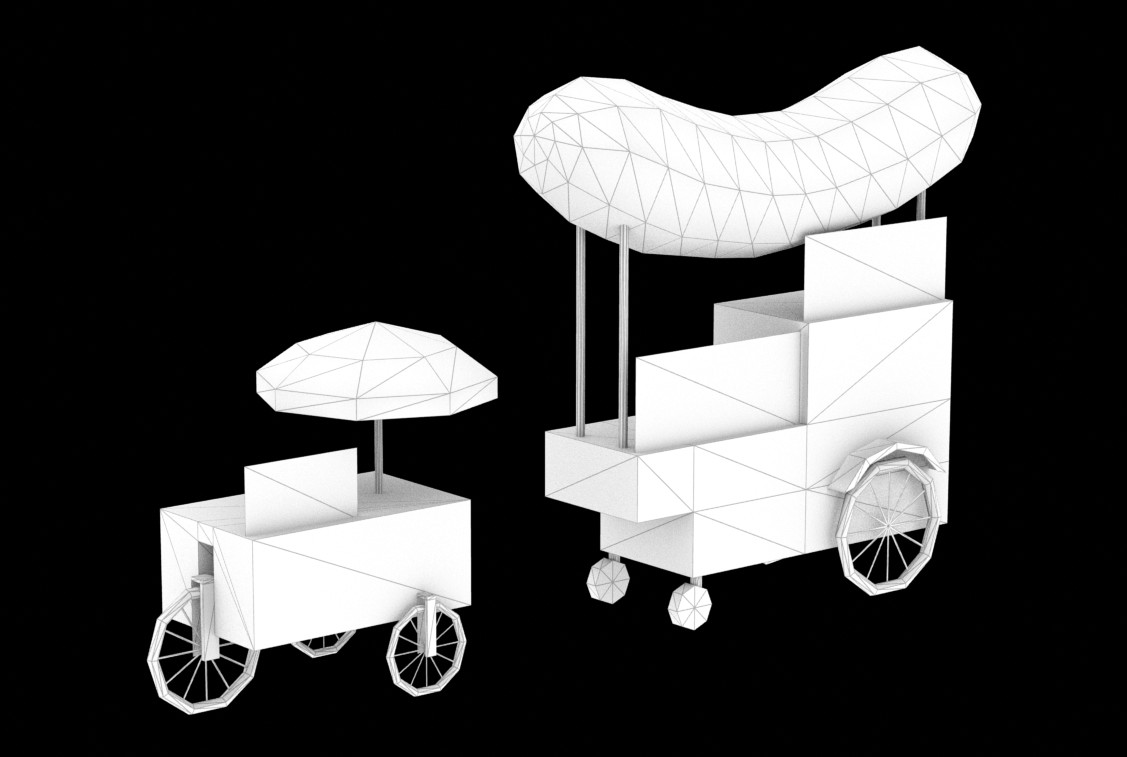
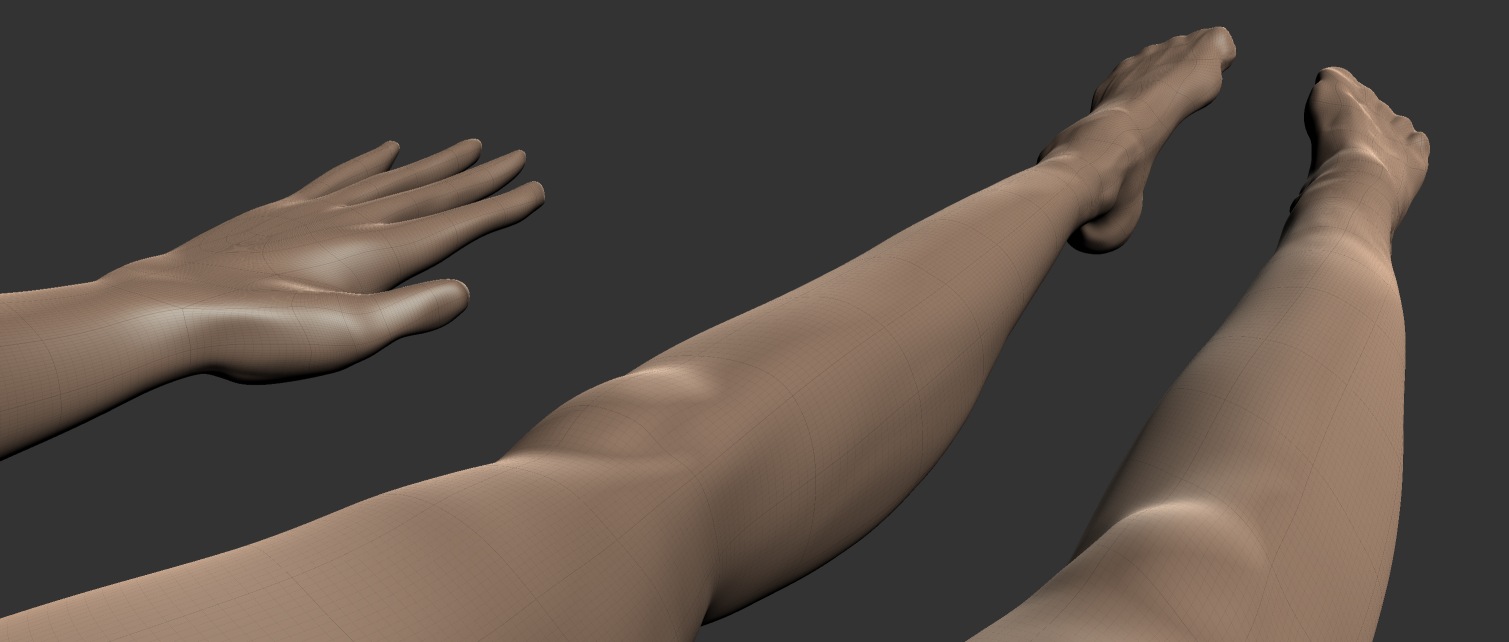
As I am slowly but surely working on my first animated CG film, I will at some point need to produce a bunch of realistic 3D assets for set dressing as well as develop the characters themselves.
As the animation-rich previz is in the process of making, I have to establish the sets, including placements of assets and overall presentation. I could simply place boxes and spheres around, but it's not fun and absolutely doesn't help to see what the movie would actually look like even if it's just a previz. So I've been creating assets in XSI with classic sub-d modeling workflow, when I remembered that there was another way.
The sculpting way.
Hence I had to get sculpting another chance, but this time – making an educated choice of the tool which would suit me the most.
Therefore I needed two things:
- Something interesting to sculpt.
- Some software to sculpt in.
Figures
Mass-produced quality figures (or "statues") never seized to amaze me. Not just because most of them are small pieces of art, but also of the sheer production quality of such mass-manufactured products.
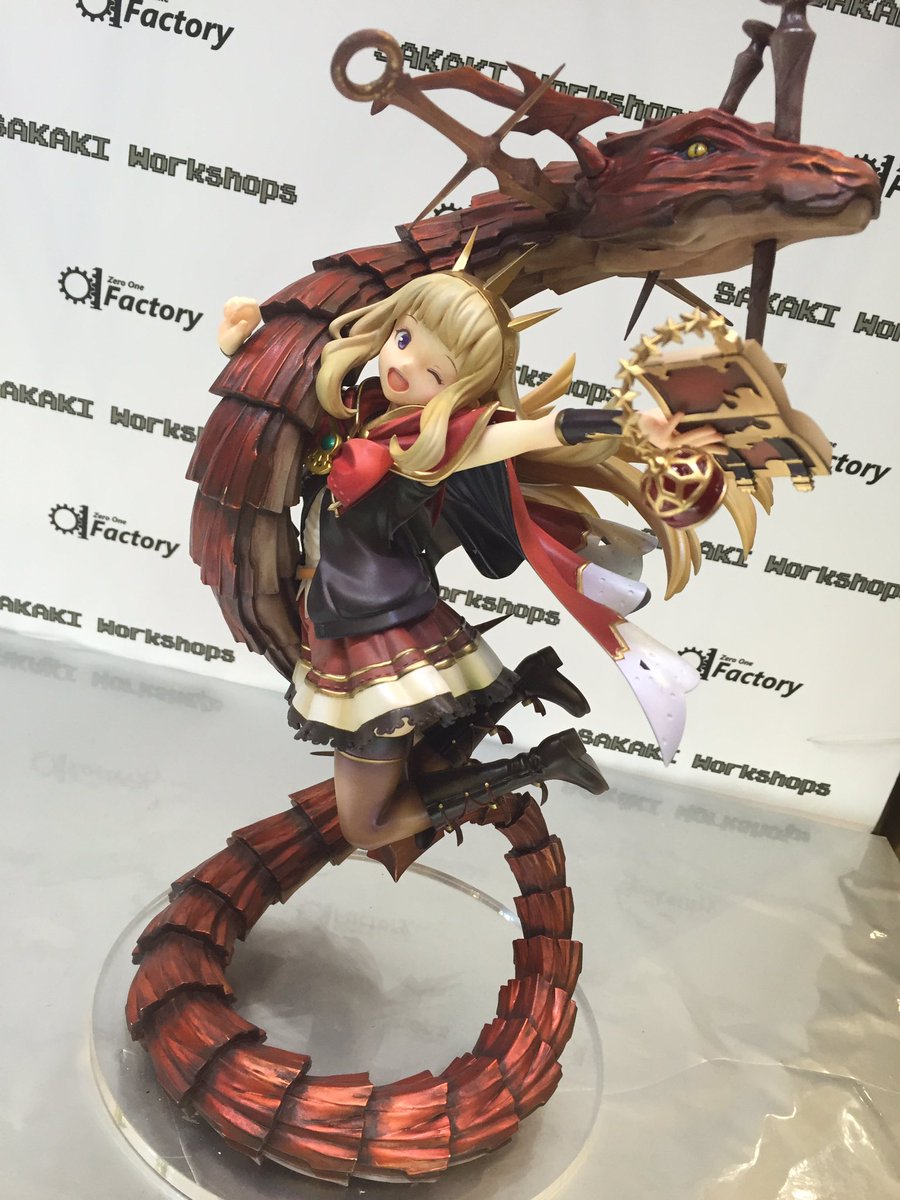 Granblue Fantasy - Cagliostro by Sakaki Workshops
Even though I never cared for anime it never stopped me from admiring the enormous figure market and the variety of figures available.
A couple of weeks ago I had a conversation with a talented engineer. We mostly discussed 3D printing and that's when a question popped up: "how are figures produced"? I mean it's obvious that mass-production of PVC products is done with Plastic Injection Molding, but what about the prototypes? Are they still being created with classic sculpting techniques or did 3D finally come into the mix?
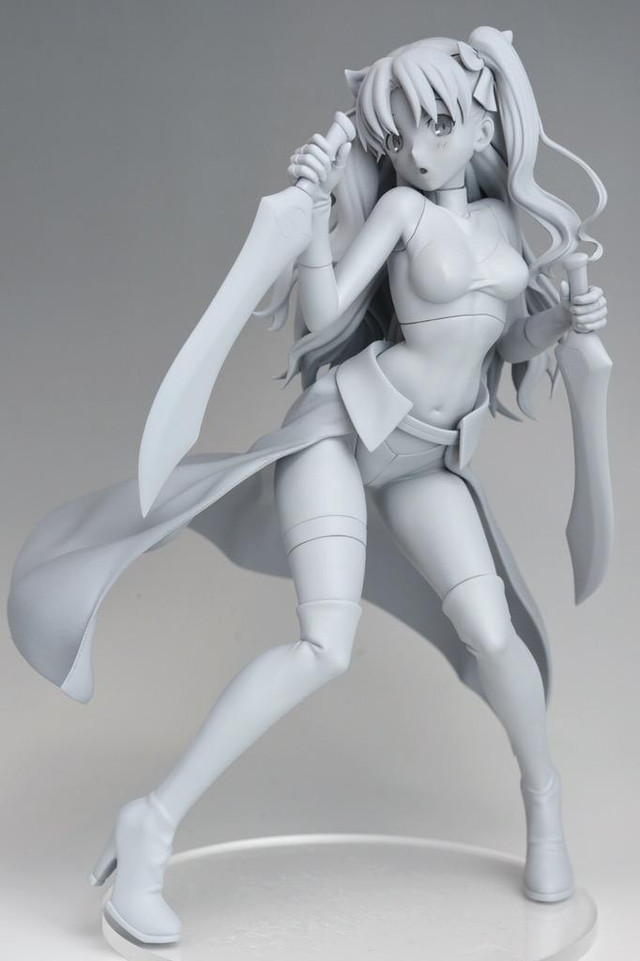 Rin Tohsaka Archer Costume ver Fate/stay night Figure (prototype)
That's when I started digging up through the web to find the answer.
Culture Japan
While sifting though the Internets I stumbled upon a TV show called Culture Japan. It is a Japanese TV show developed by Danny Choo – a British-born pop culture blogger currently working in Japan. The first pilot episode of Culture Japan was broadcast on Animax Asia and in it Danny Choo visited the offices of the Good Smile Company – one of the Japanese manufacturers of hobby products such as scale action figures.
You can watch the episode on Youtube. The GSC-segment begins at 33:22:
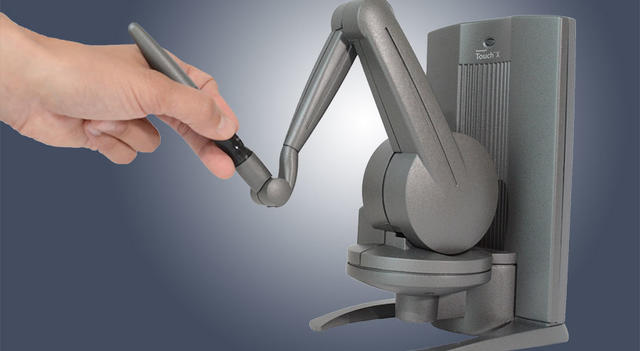
So that's how it's done!
Welcome to the future, where an artist creates digital prototype sculptures with a force-feedback haptic device called Touch X, then sends them to an in-house 3D printer. What a great idea!
"You should totally sculpt this!"
Since I was already going to look for an amateur-friendly sculpting app, naturally, being a control freak, I decided to create a project out of it.
Some time ago out of curiosity I ordered an anime figure from the Super Sonico series by Nitroplus, a Japanese visual novel developer. Super Sonico character was originally created by Tsuji Santa and first appeared as a mascot for a Nitroplus-sponsored music festival in 2006.
The figure turned out to be a bootleg, but it was one of a decent quality (save for the missing signature Sonico metal headphones frame), so I didn't care to order the original version.
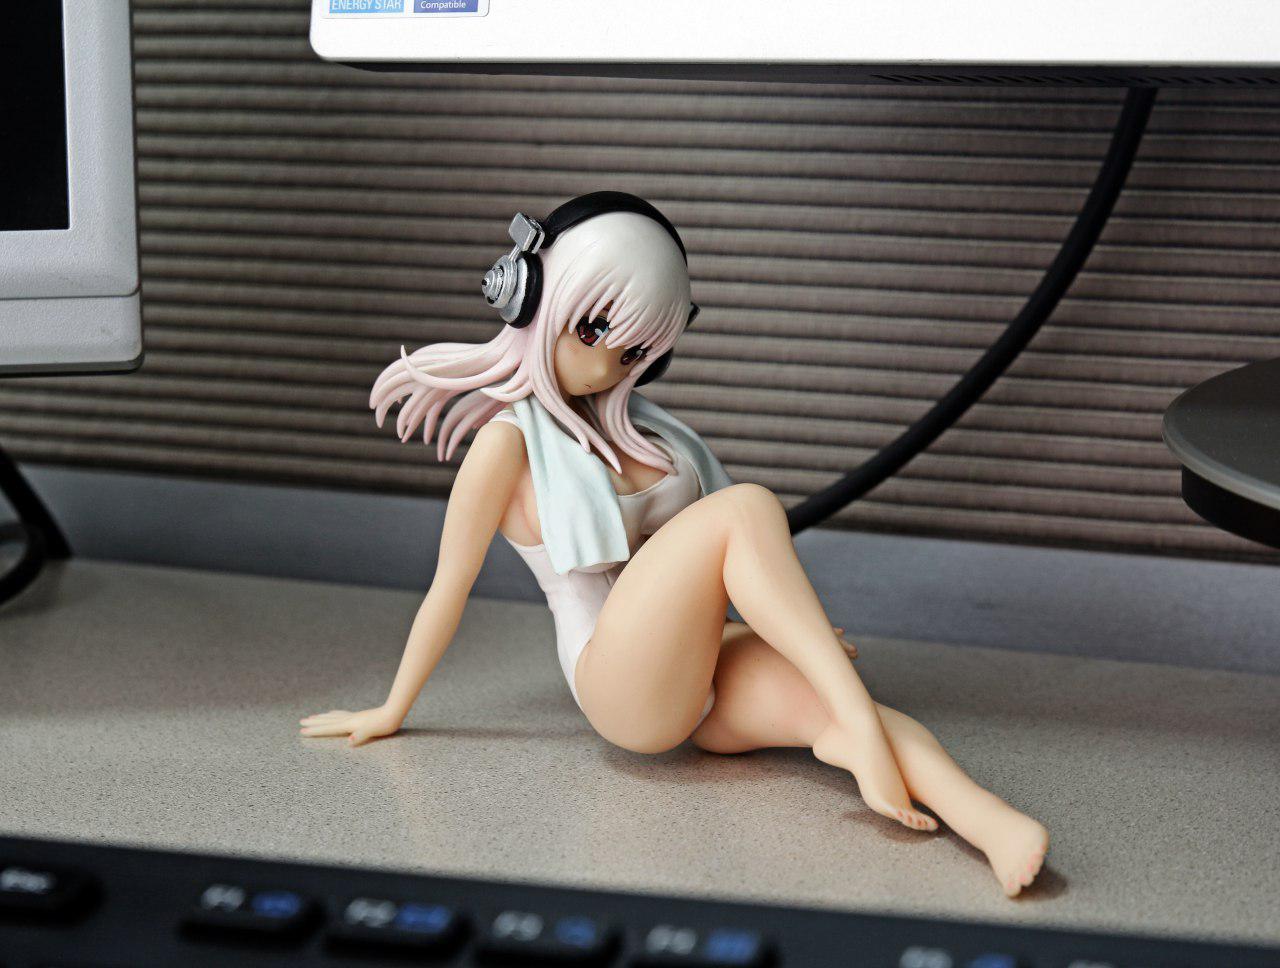
When the figure arrived I showed it to a friend and he suggested I should sculpt it as a practice project.
It seemed like quite a challenge for someone without any artistic training, but I liked the idea and accepted the challenge.
So having something to sculpt already picked, I went on to look for an amateur-friendly sculpting app, and will share the results of my search in the next post.
Stay tuned!
You never know until you try, right?
Remember how in this post I was looking for a sculptor?
Well, scratch that.
Turns out all I needed to unleash my inner sculptor was a suitable tool and gawd knows it wasn't ZBrush.
Which one was it, exactly? A-ha! Now that is a great idea for a post, isn't it? ;)
Perception Neuron Inertial Motion Capture vs Optical Mocap Systems and the First Production Motion Capture Session Experience
Well, the first motion capture session is over and I finally managed to find time to write a post about this exciting experience. The video of the process is still in progress and I will probably be able to post it after finalizing the 4-th and final redaction of the previz.
Or not, since it's getting more and more difficult to find time for logging. Go figure.
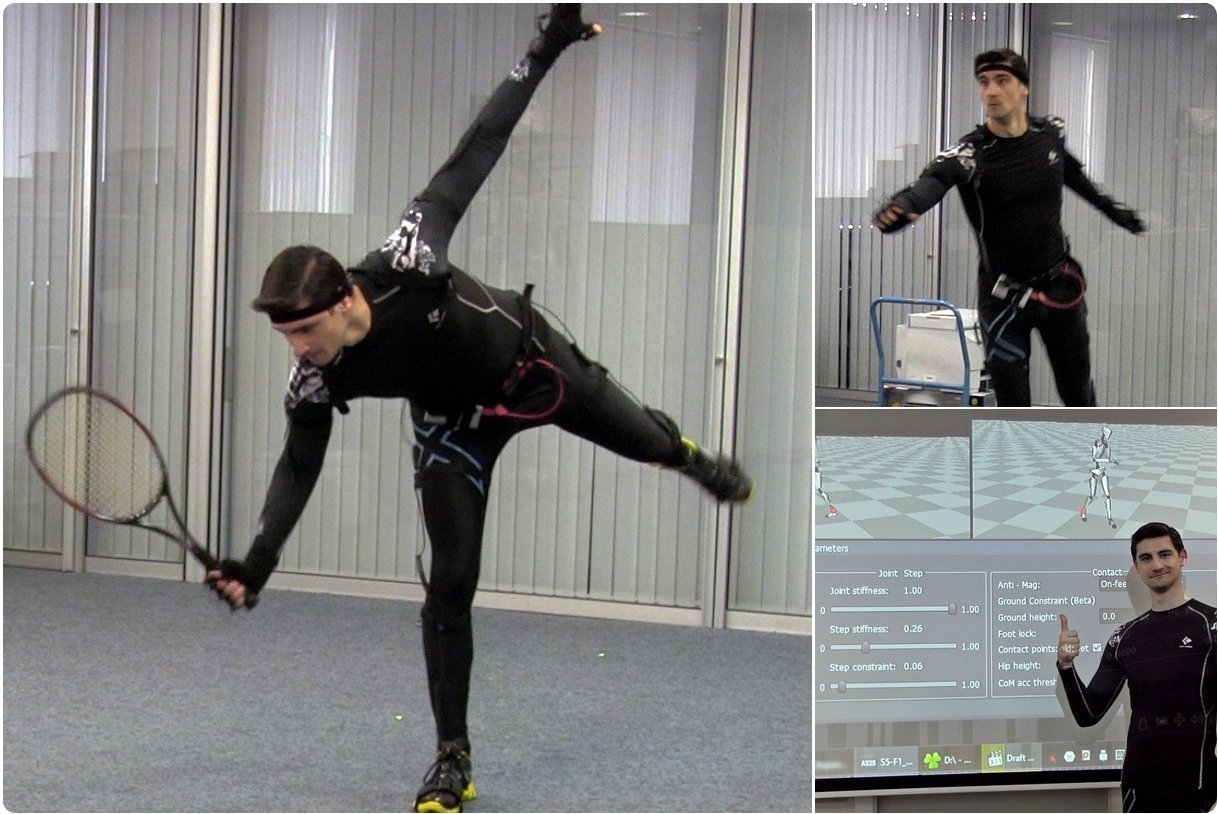
Hence today I'll mostly talk nonsense about the differences between optical and inertial motion capture systems and what pros and cons the latter can have in comparison with traditional optical systems like Optitrack. It's something I had to study before investing into the full inertial Neuron MoCap kit to make sure I'd get the most bang for buck when recording action sources for the film.
Optical tracking systems
Pretty sure you're familiar with those "classic" motion capture markers used by cameras and specialized software to track each marker's spacial data for transferring calculated translation onto 3D objects or skeletons. If not, here's an excellent article at Engadget to get you up to speed.
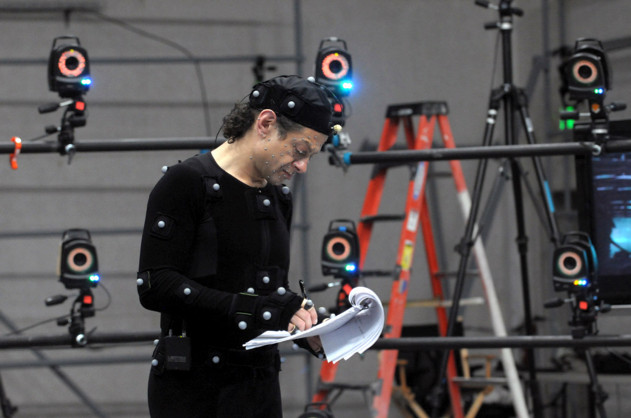 Looking good, Mr. Serkis!
Among optical MoCap solutions OptiTrack is arguably one of the better known ones. Guys at OT aim at providing the most affordable optical MoCap cameras and gear. Here's the simplest set-up one would need to capture motion using an optical MoCap system: