Sneak Peek At Blender's DLSS Real-Time Denoiser — You Have To See This!
The Future is finally here!* (almost)
Deep Learning Super Sampling (DLSS) Ray Reconstruction might make its way into Blender (at least, it's in the works). And the potential is, without exaggeration, astonishing.
Unlike "traditional" denoisers, DLSS has a different way of reconstructing an image, and doesn't really care about scene lighting or polygonal complexity. Because of this, it's used in games to "upscale" a rather low-res natively-rendered output to a much higher-res target, like 4K or more. It's very effective and, ironically, despite being an upscaler, nowadays is almost synonymous with the "best quality" rendering preset in games. Simply because more and more devs get lazy and spend less effort on optimization, especially anti-aliasing techniques, simply "offloading" this task to a dedicated (and, unfortunately deeply proprietary) neuralnet upscaler like DLSS.
I bet like me, you have always wondered if this very approach could be used in a traditional 3DCG Creation app like Blender.
Well, wonder no more! Someone took an unfinished alpha version of Blender codebase with a DLSS integration, and compiled it into an actual test build.
Prepare to be amazed.
New Unity 2019 2D Sprite Rigging and Lighting Tools
With the latest 2019.1 update Unity team have seriously upgraded the 2D tool-set of the editor:
Seems like a lot of those tools were inspired by the Rayman Legends engine. Something I was drooling over 5 years ago, hoping one day Unity would implement some of those. And they finally did!
It really makes me all warm and fuzzy inside, remembering how most of those automated 2D tools and thingies were not available when I was working on Run and Rock-it Kristie in the freeware version of Unity 4 (which back then lacked even the Sprite packaging functionality!) and had to be either developed from scratch or achieved with some cool Asset Store stuff you would need to purchase and integrate into your product.

Oh, the tools... The tools...
IK and rigging with bone weighting? Check:
Manual sprite atlasing and set-up? Check (atlasing is vital for mesh batching and draw call reduction):
Sprite assembly and animation? Check:
Dynamic level-building tools? Check (with a modded version of the Ferr2D asset):
Dynamic lighting? Check! — With up to 4 live vertex lights and camera-distance based light culling to make sure the game would run at stable 60 fps on iPhone 4 (heavily reliant on the amazing but now deprecated Core Framework asset by echoLogin):
It was... Fun!
You know what I also remember? I remember almost every day working on the game I felt excited and driven. It was FUN. Even when it was challenging to solve some technical issues (there were a lot of those, especially for a beginner) or work around Unity limitations or bugs, it felt truly rewarding and would give such a powerful motivation boost that I would continue working until the end.
Until the release.

But the "serious" CG movie stuff I'm doing now?.. Honestly? Meh. It's so slow and clunky compared to my previous game development experience. Everything needs to be either cached, or rendered... I'm also having some grave issues with hair simulation which I wasn't able to overcome for the last 6+ months, many operations in the "classic" world of 3D editors are still either single-threaded, unstable, or require some very specific knowledge or particular and elaborate set-up... It's almost no fun! No fun means much, much less motivation to continue.
It's a problem.

Therefore this July I will instead be checking out the latest Unity Engine and see whether most of what I'm doing right now could be ported into Unity. Starting with simulation and scene assembly and hopefully — ending up animating, rendering and applying post effects right within the Unity Editor where everything is real-time and fun! I miss the real-time aspect! Oh boy, do I miss the ability to tweak materials and see the more or less finalized render of the scene even during assembly. The ability to import assets and build "smart" prefabs (like Softimage Models, but with interactivity and intrinsic scene-aware scripting via MonoBehavior) e.t.c...
I miss you, Unity!
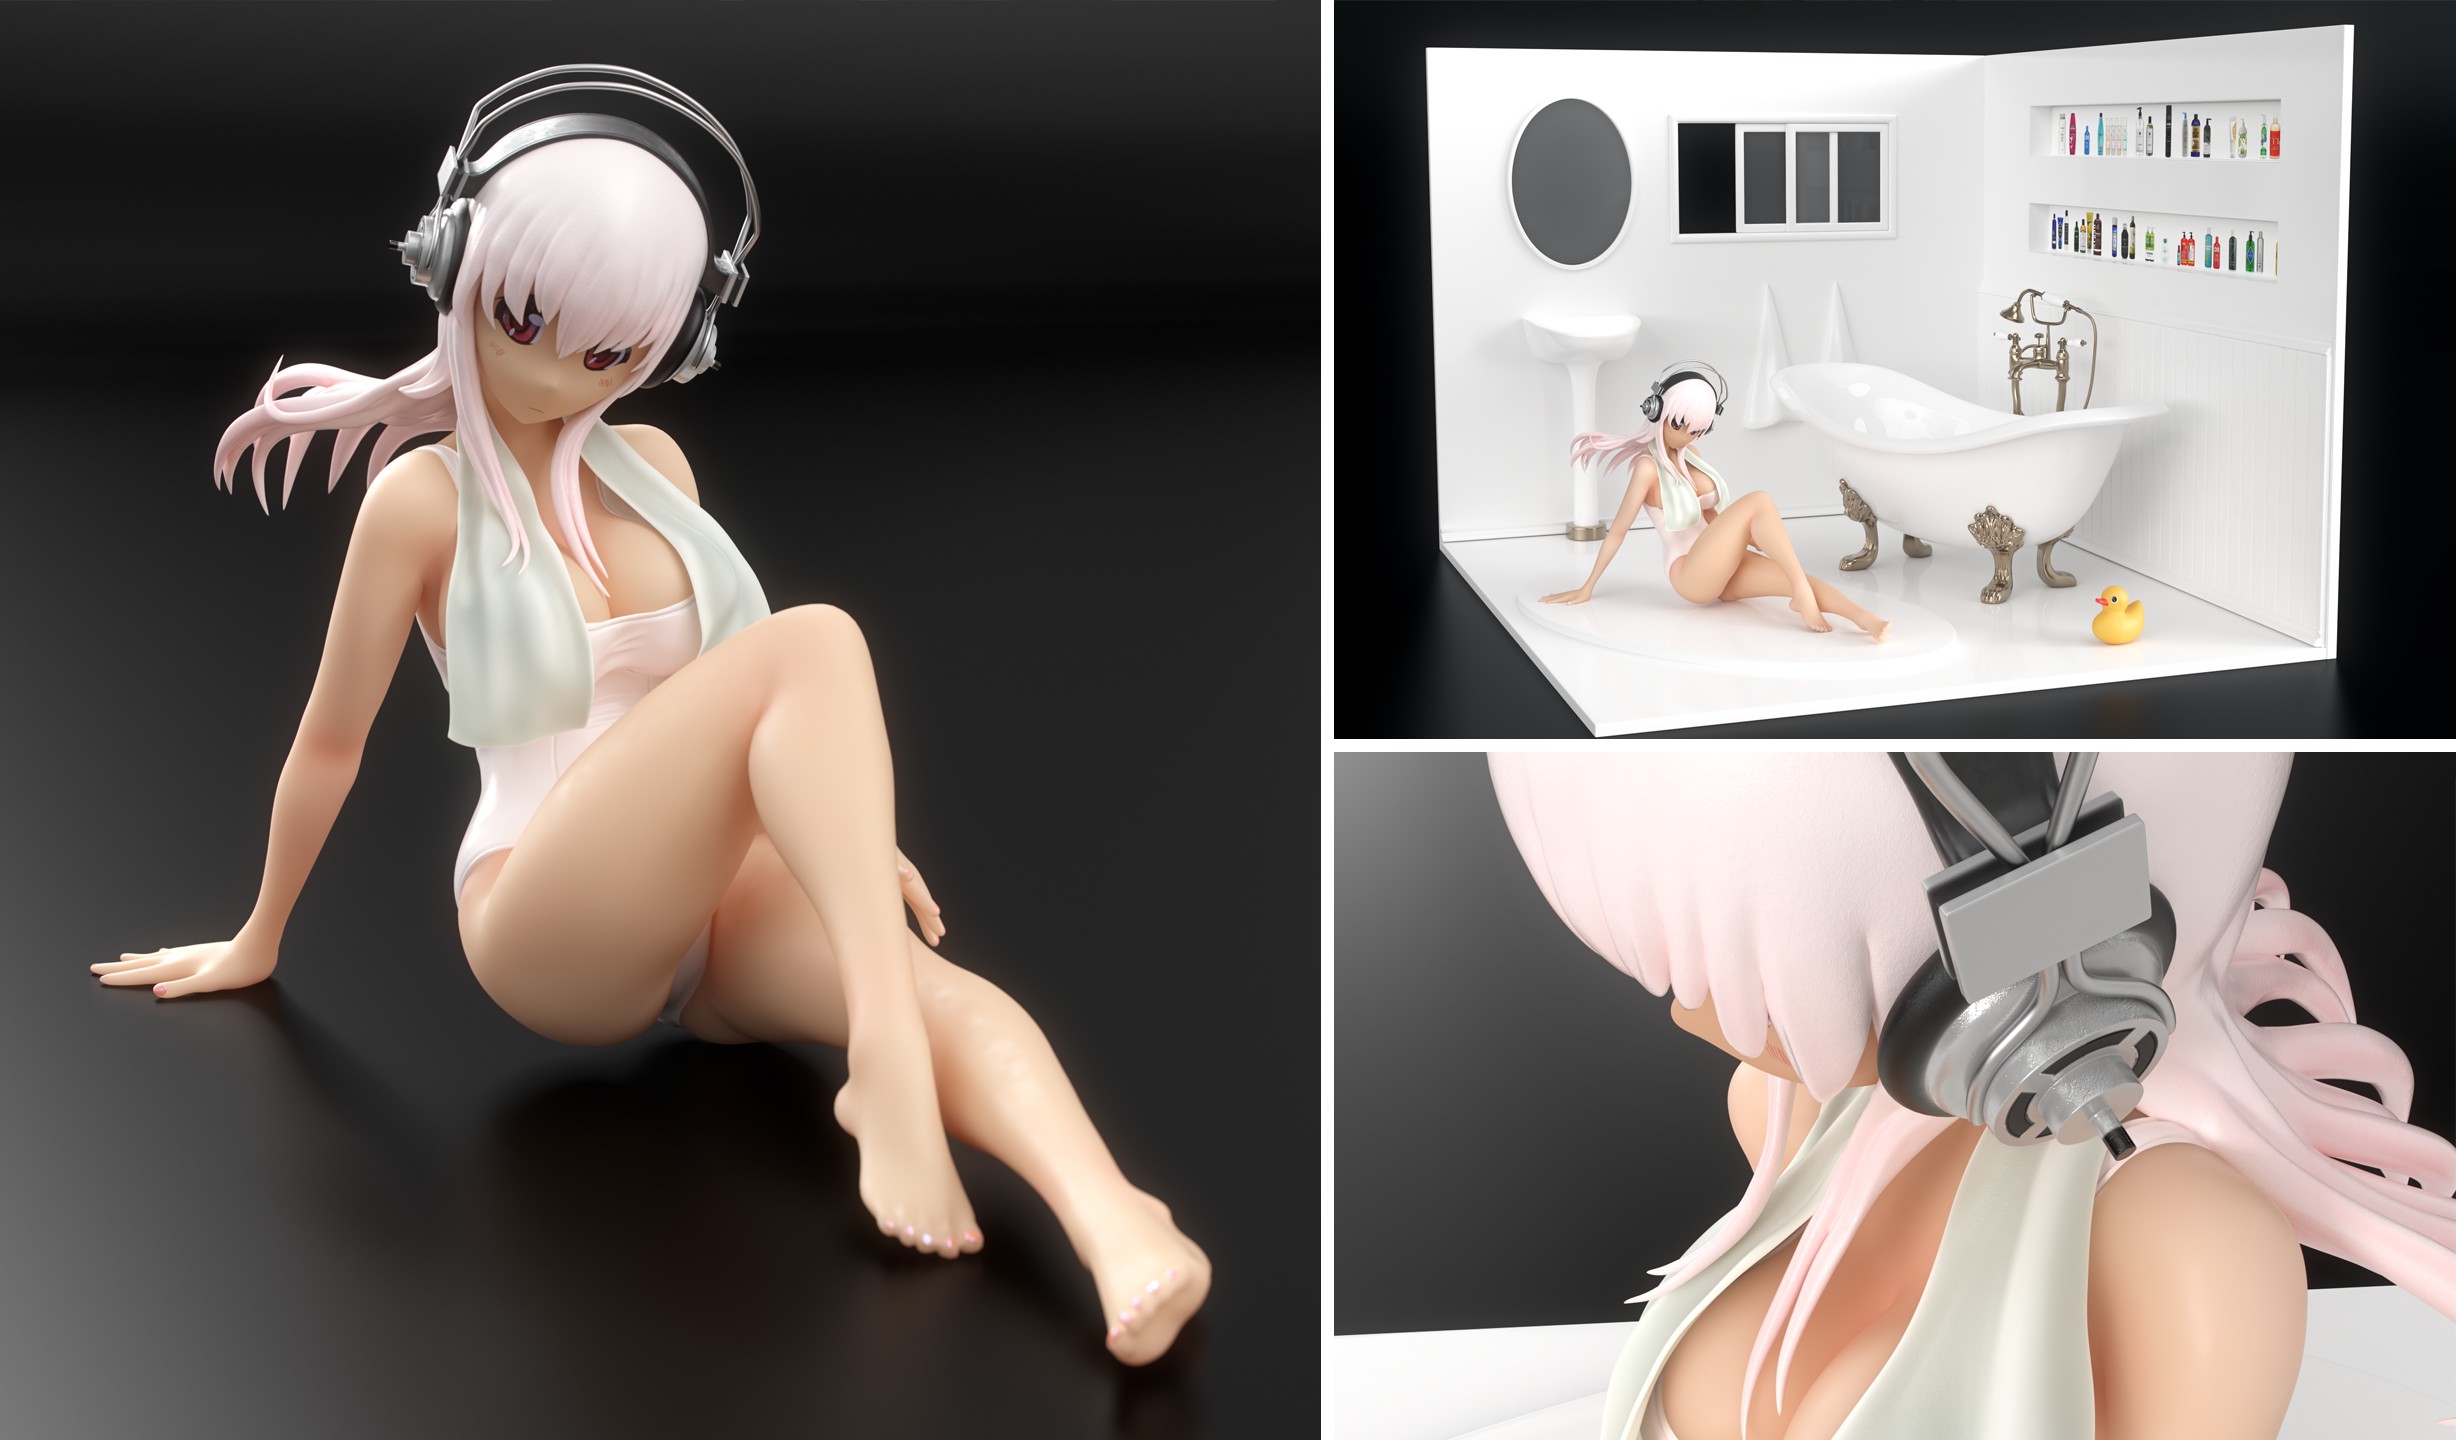
Making of Super Sonico School Swimsuit 3D Figure Set. Part 2: Choosing Sculpting Software
As I mentioned in my previous post, I had an idea for a practice sculpture project and needed to find some software to bring it to fruition.
If there is one thing I love doing, it's trying out different pieces of software. This time an app of my choice would need to be capable of providing a comfortable and intuitive sculpting workflow as well as being more or less affordable.
So let's check out the results of my quest to find the perfect sculpting app.
Making of Super Sonico School Swimsuit 3D Figure Set. Part 1: A New Project
In the upcoming blog post series I will share my experience of creating a CG rendition of the Super Sonico School Swimsuit anime figure (with an OC bathroom set) which I was preoccupied with in October.
Back-story
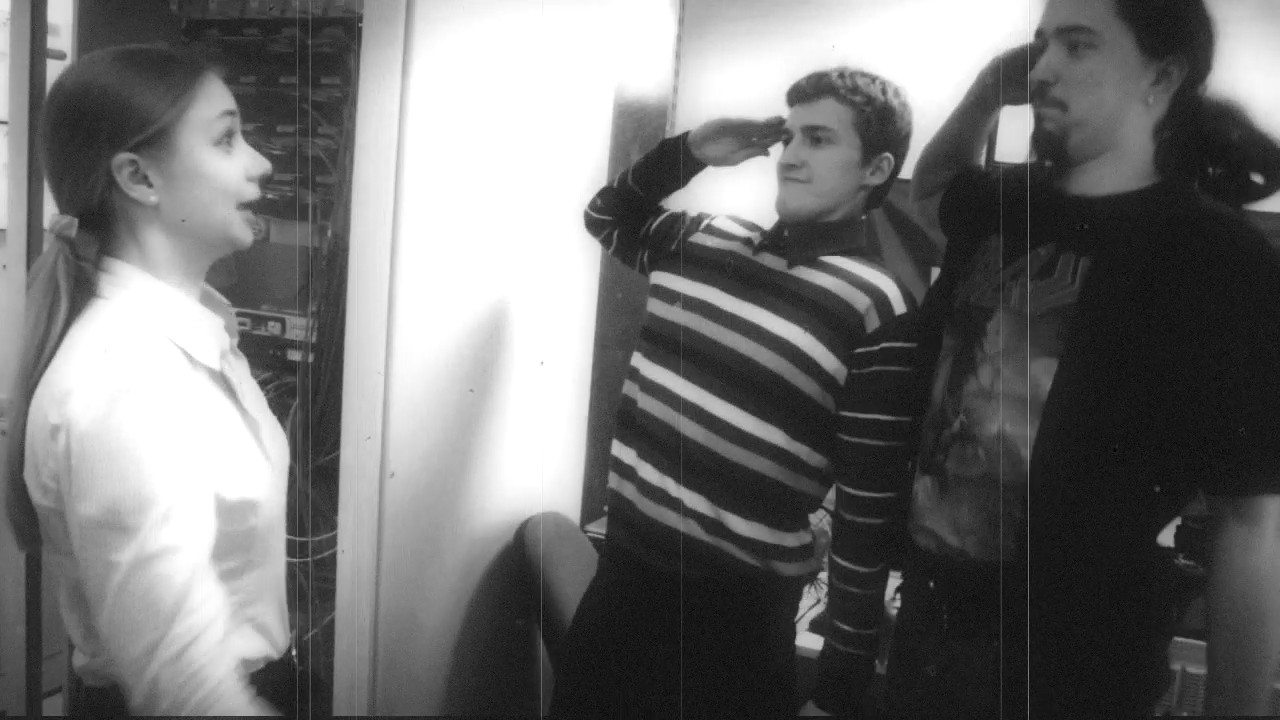
In 2014 when I was working on a prototype of my first mobile game Run and Rock-it Kristie I initially decided to make the game 2.5D, which would mean assets would need to be produced as 3D geometry and not sprites.
In fact, here's the early rendered prototype (watch out, the video has sound):
In the video you can see the first iteration of 2D character development, but even before that I was going to have Kristie as a 3D CG character and decided to sculpt her myself.
I was young and naive back then and decided to recklessly dive deep into that amazing piece of software everyone was talking about. I'm of course talking about ZBrush.
So I tried Zbrush... and simply could not adapt to its navigation style. I was struggling for hours and finally installed a trial of a Maya-style navigation plugin called ZSwitcher. I was then actually able to get to sculpting. But due to the fact that the plugin changed many default hotkeys, it was very confusing to try and follow ZBrush docs and training videos. So in the end in terrible frustration I gave up and switched the game to use 2D sprites.
I then returned to Softimage|XSI and its old-school sub-d modeling workflows, thinking that sculpting simply wasn't for me.
Present day
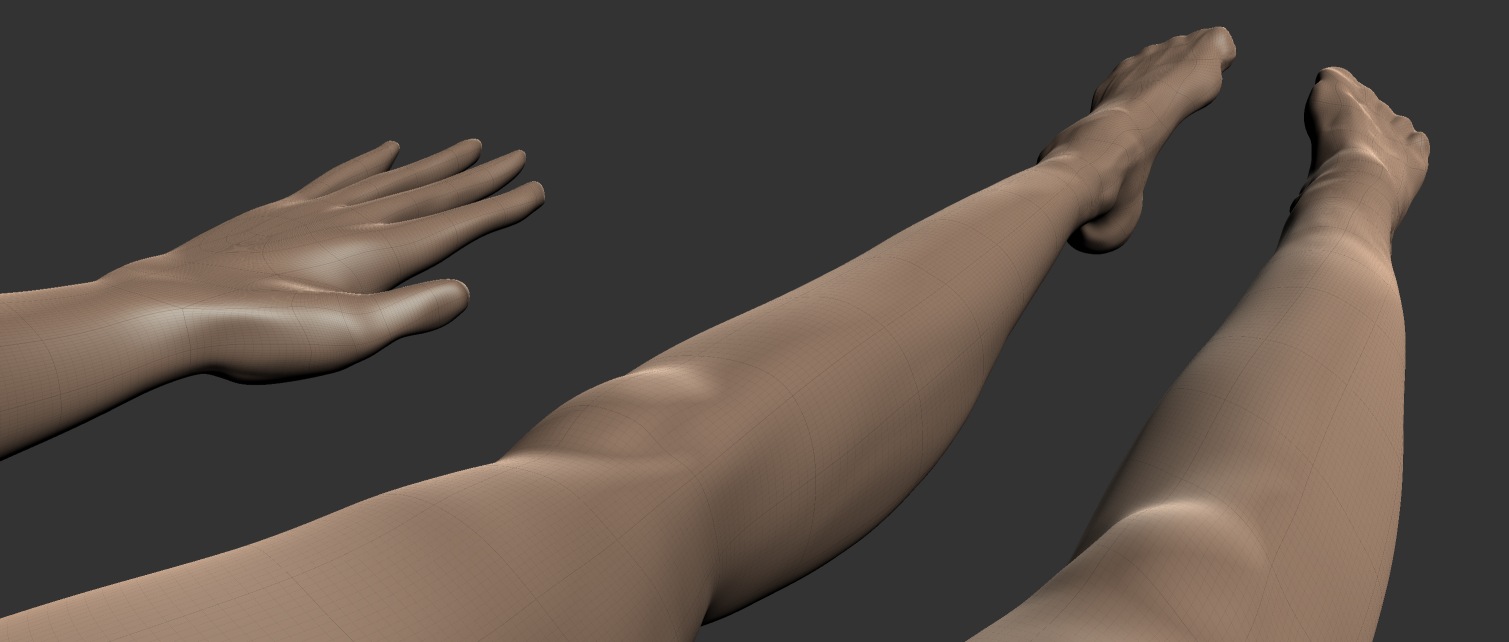
As I am slowly but surely working on my first animated CG film, I will at some point need to produce a bunch of realistic 3D assets for set dressing as well as develop the characters themselves.
As the animation-rich previz is in the process of making, I have to establish the sets, including placements of assets and overall presentation. I could simply place boxes and spheres around, but it's not fun and absolutely doesn't help to see what the movie would actually look like even if it's just a previz. So I've been creating assets in XSI with classic sub-d modeling workflow, when I remembered that there was another way.
The sculpting way.
Hence I had to get sculpting another chance, but this time – making an educated choice of the tool which would suit me the most.
Therefore I needed two things:
- Something interesting to sculpt.
- Some software to sculpt in.
Figures
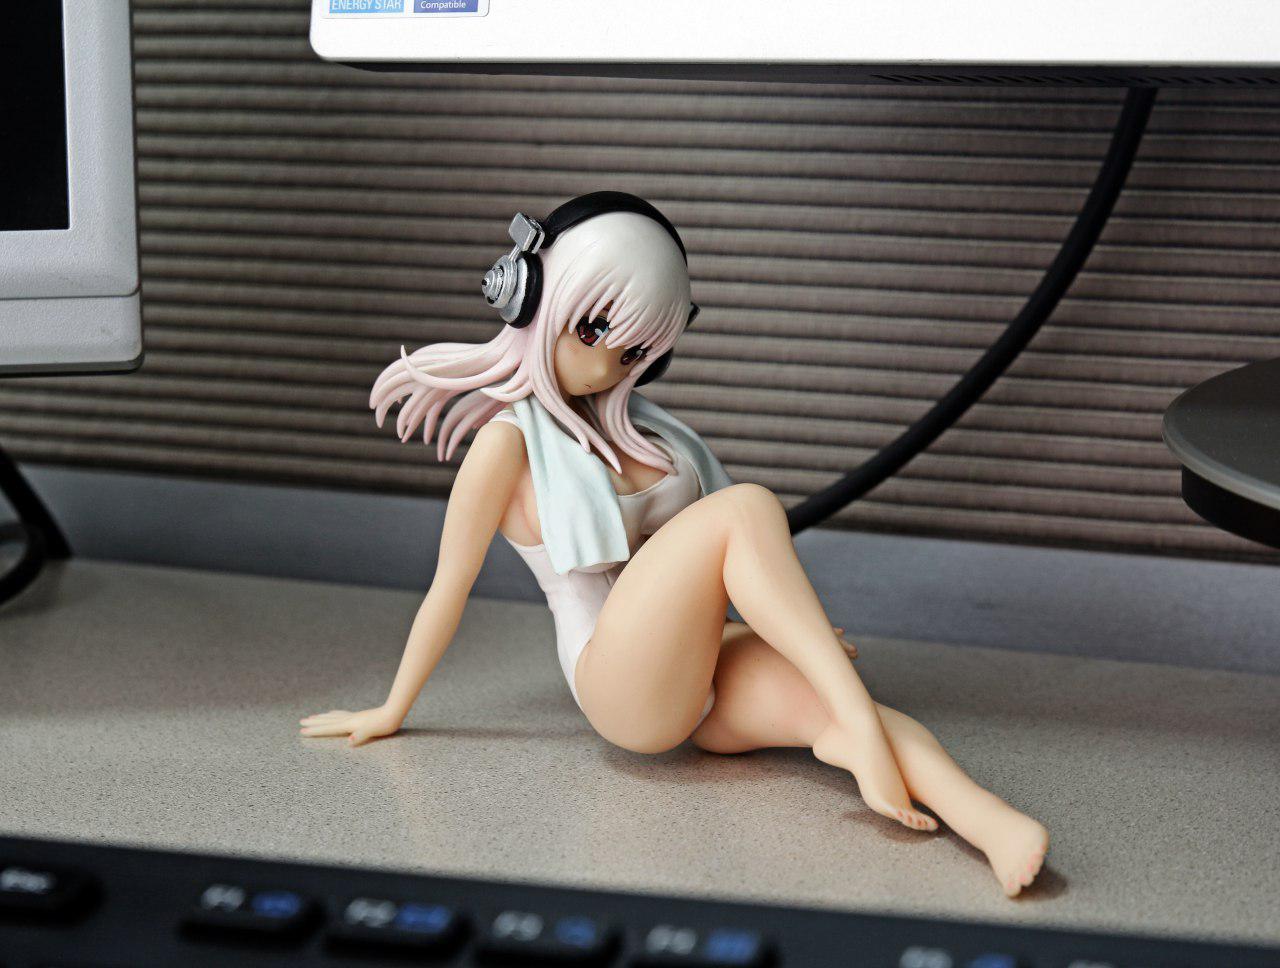
Mass-produced quality figures (or "statues") never seized to amaze me. Not just because most of them are small pieces of art, but also of the sheer production quality of such mass-manufactured products.
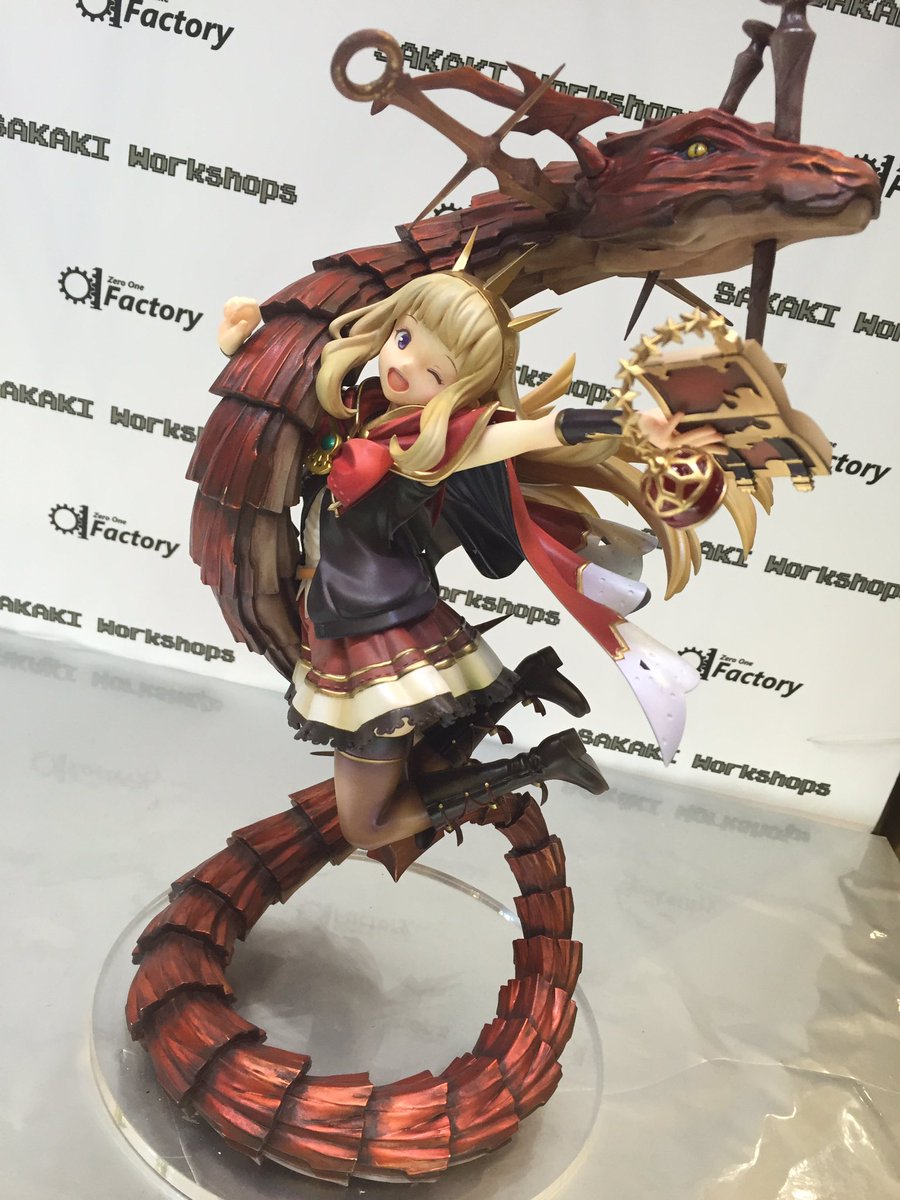 Granblue Fantasy - Cagliostro by Sakaki Workshops
Even though I never cared for anime it never stopped me from admiring the enormous figure market and the variety of figures available.
A couple of weeks ago I had a conversation with a talented engineer. We mostly discussed 3D printing and that's when a question popped up: "how are figures produced"? I mean it's obvious that mass-production of PVC products is done with Plastic Injection Molding, but what about the prototypes? Are they still being created with classic sculpting techniques or did 3D finally come into the mix?
 Rin Tohsaka Archer Costume ver Fate/stay night Figure (prototype)
That's when I started digging up through the web to find the answer.
Culture Japan
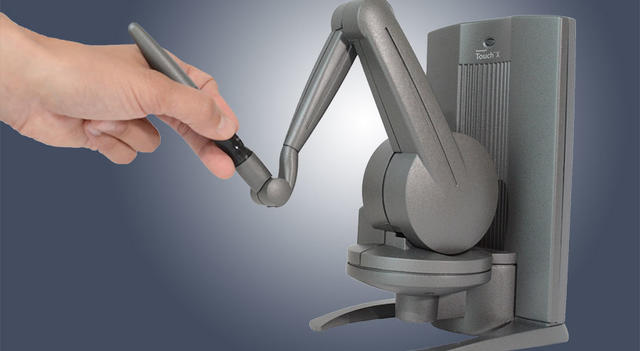
While sifting though the Internets I stumbled upon a TV show called Culture Japan. It is a Japanese TV show developed by Danny Choo – a British-born pop culture blogger currently working in Japan. The first pilot episode of Culture Japan was broadcast on Animax Asia and in it Danny Choo visited the offices of the Good Smile Company – one of the Japanese manufacturers of hobby products such as scale action figures.
You can watch the episode on Youtube. The GSC-segment begins at 33:22:
So that's how it's done!
Welcome to the future, where an artist creates digital prototype sculptures with a force-feedback haptic device called Touch X, then sends them to an in-house 3D printer. What a great idea!
"You should totally sculpt this!"
Since I was already going to look for an amateur-friendly sculpting app, naturally, being a control freak, I decided to create a project out of it.
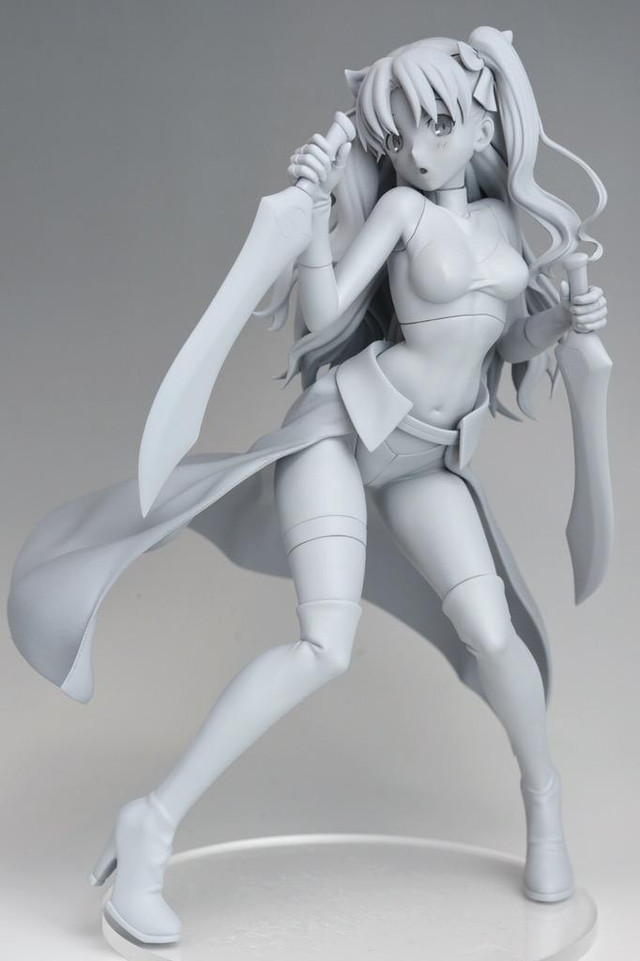
Some time ago out of curiosity I ordered an anime figure from the Super Sonico series by Nitroplus, a Japanese visual novel developer. Super Sonico character was originally created by Tsuji Santa and first appeared as a mascot for a Nitroplus-sponsored music festival in 2006.
The figure turned out to be a bootleg, but it was one of a decent quality (save for the missing signature Sonico metal headphones frame), so I didn't care to order the original version.
When the figure arrived I showed it to a friend and he suggested I should sculpt it as a practice project.
It seemed like quite a challenge for someone without any artistic training, but I liked the idea and accepted the challenge.
So having something to sculpt already picked, I went on to look for an amateur-friendly sculpting app, and will share the results of my search in the next post.
Stay tuned!
You never know until you try, right?
Remember how in this post I was looking for a sculptor?
Well, scratch that.
Turns out all I needed to unleash my inner sculptor was a suitable tool and gawd knows it wasn't ZBrush.
Which one was it, exactly? A-ha! Now that is a great idea for a post, isn't it? ;)
Film production and the upcoming blog post series
As promised, I will do my best to document each and every step of the process of the short animated film production (for archival purposes of course, for no one should ever take some weekend scientist's ramblings seriously).
Therefore, I'm starting a series of blog posts under the "Production" category I will gradually fill with new articles along the way.
Preliminaries
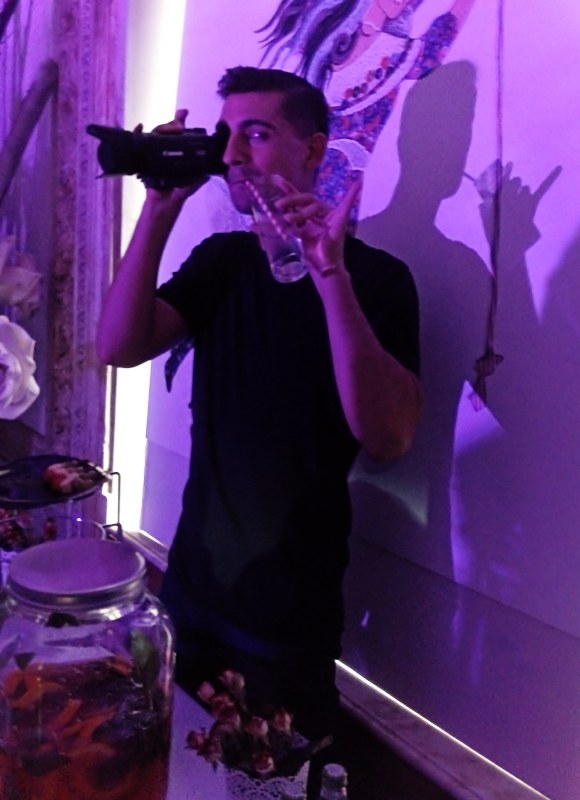
Film production is not a new experience for me. I've produced and directed several short films and a couple of music videos over the years with my trusty line of Canon EOS cameras, starting with the very first entry-level EOS 550D capable of recording full HD 24p video.
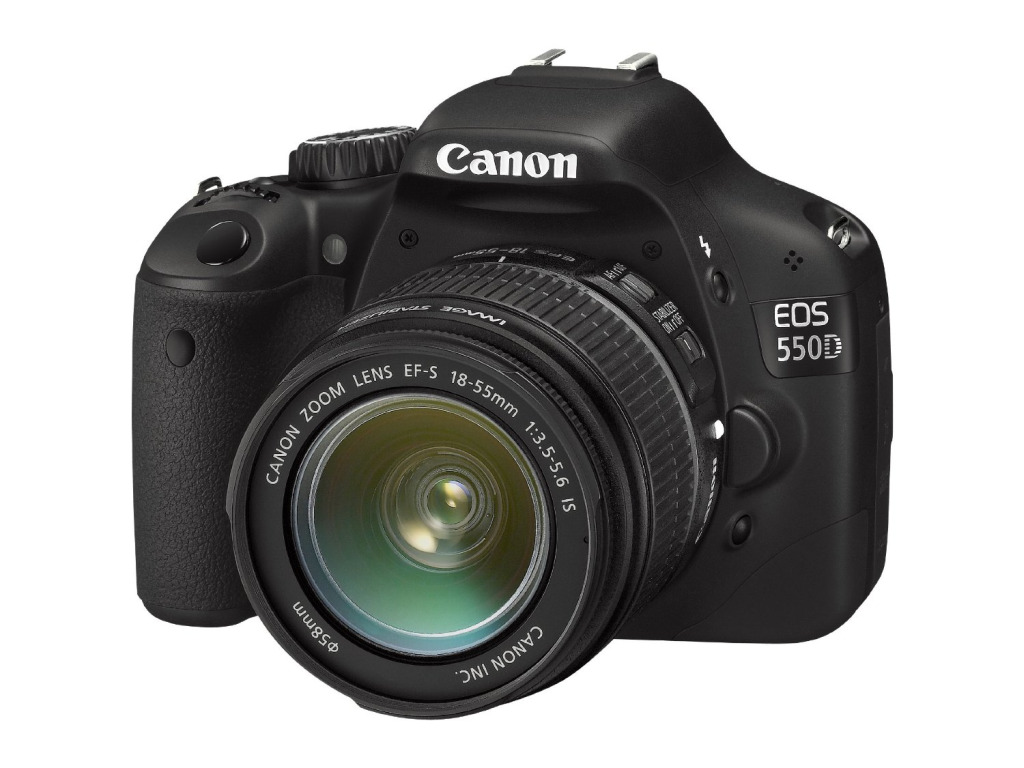
It has long been superseded by a series of upgrades and as of today - with EOS 750D with a Cinestyle Profile and the Magic Lantern firmware hack.
I have a bit of practice working the cameras including rentals such as RED and Black Magic, the gear, all kinds of lenses, some steady-cams, cranes, mics and such.

Long story short, I produced a couple of stories, which at some point led me to a series of videos for a client that called for a massive amount of planar and 3D-camera tracking, chroma-keying, rig removal and, finally, an introduction of CG elements into footage. It felt like getting baptized by fire and in the end it was what made me fall in love with VFX and ultimately – 3D CGI.
Now what does this have to do with the topic of pure CG film production?
How and why it's different
In traditional cinema you write the script, plan your shots, gather actors and crew, scout locations, then shoot your takes and edit and post, and edit and post, until you're done. You usually end up with plenty of footage available for editing, if you plan ahead well. This is how I've been doing my films and other videos for a long time.
Animated feature production is vastly different from traditional "in-camera" deal. Even if we're talking movies with a heavy dose of CGI (Transformers, anyone?) it's not quite the same since even in this case you're mostly dealing with already shot footage whereas in CG-only productions there's no such foundation. Everything has to be created from scratch. Duh!
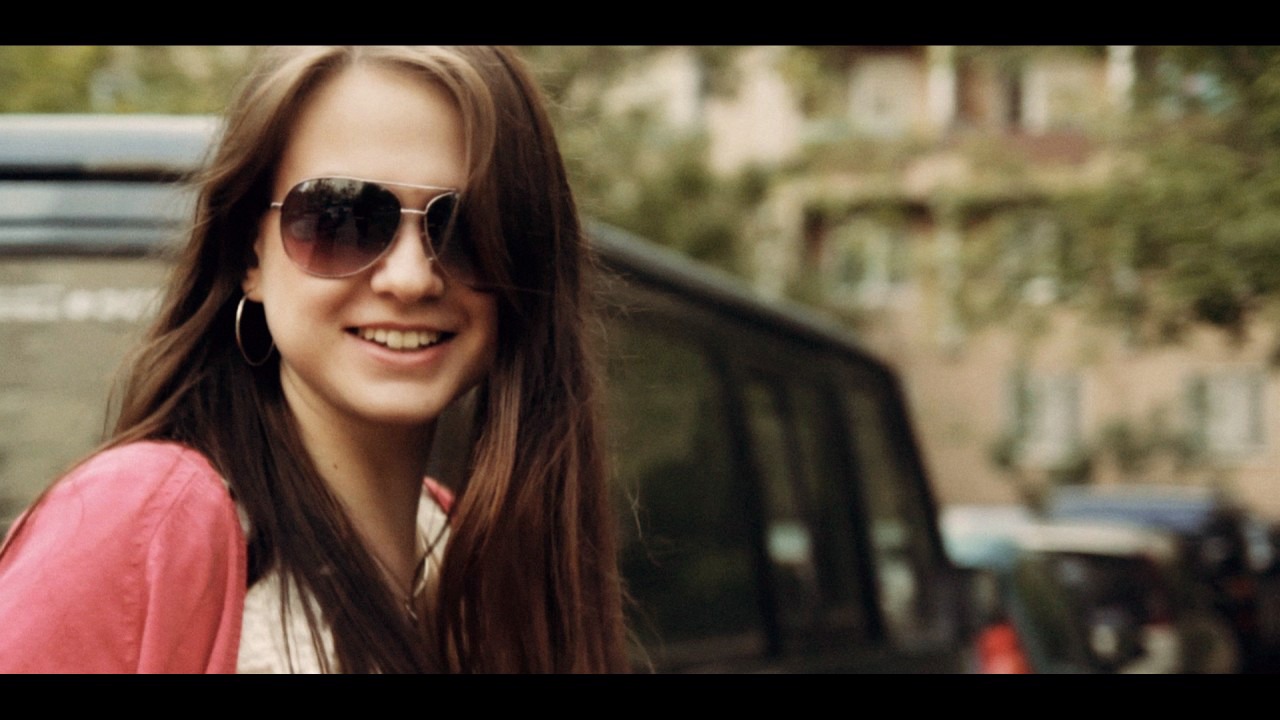
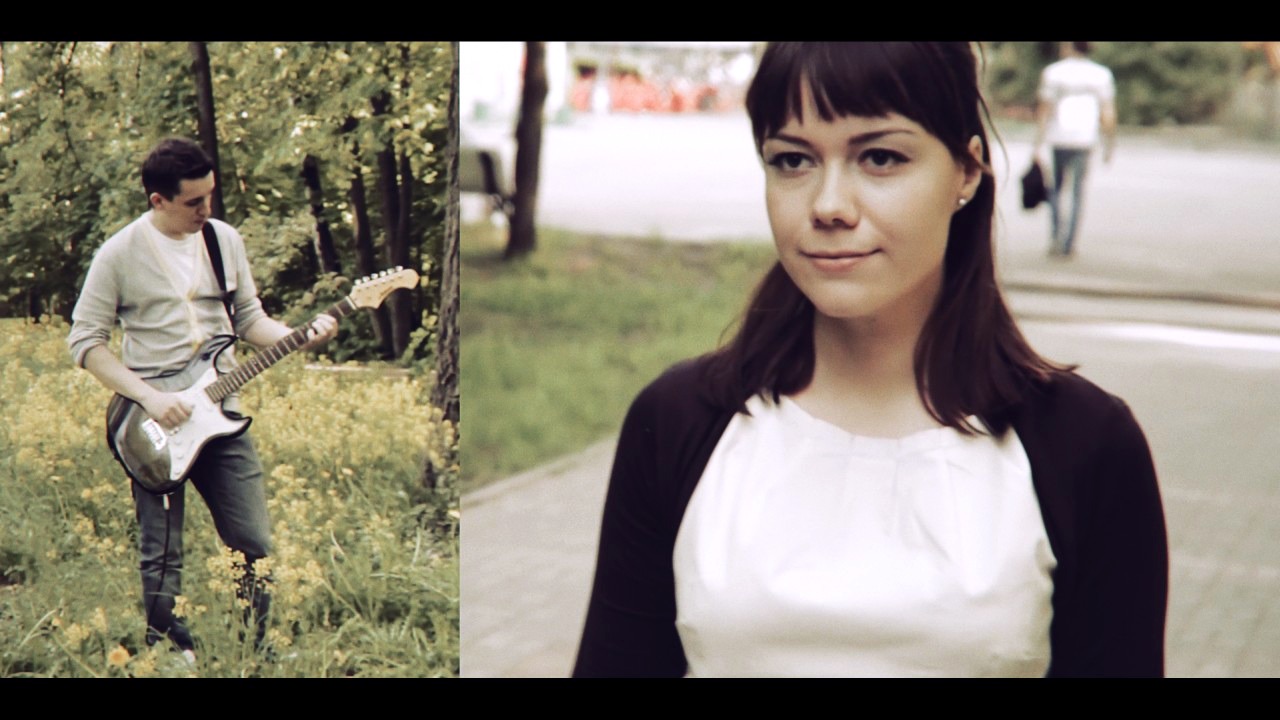
The first CG-only "animation" I've produced up to this day was a trailer for my iOS game Run and Rock-it Kristie:
Here I had to adapt and change the routine a bit, but even then 80% of the footage was taken from three special locations in the game I built specifically for the trailer. So basically the trailer was "shot" with a modified in-game follow-camera rig with plenty of footage available for me to edit afterwards.
In a way it was quite close to what I've well gotten used to over the years.
The process
As soon as you decide to go full retard CG, boy of boy, are you in trouble.
Since I'm not experienced enough in the area of animated CG production I'll give a word to Dreamworks and their gang of adorable penguins from the Madagascar and let them describe in detail what it takes to produce an animated film:
Wow that's a lot of production steps...
So in the long run you are free to create your own worlds, creatures and set up stories and shots completely the way you want them to be, the possibilities are limitless. The pay-off is obviously a much more complicated production process which calls for lots of things one often takes for granted when shooting with a camera: people, movement, environments and locations, weather effects and many more objects and phenomena that are either already available for you to capture on film or can be created either in-camera or on set and in post.
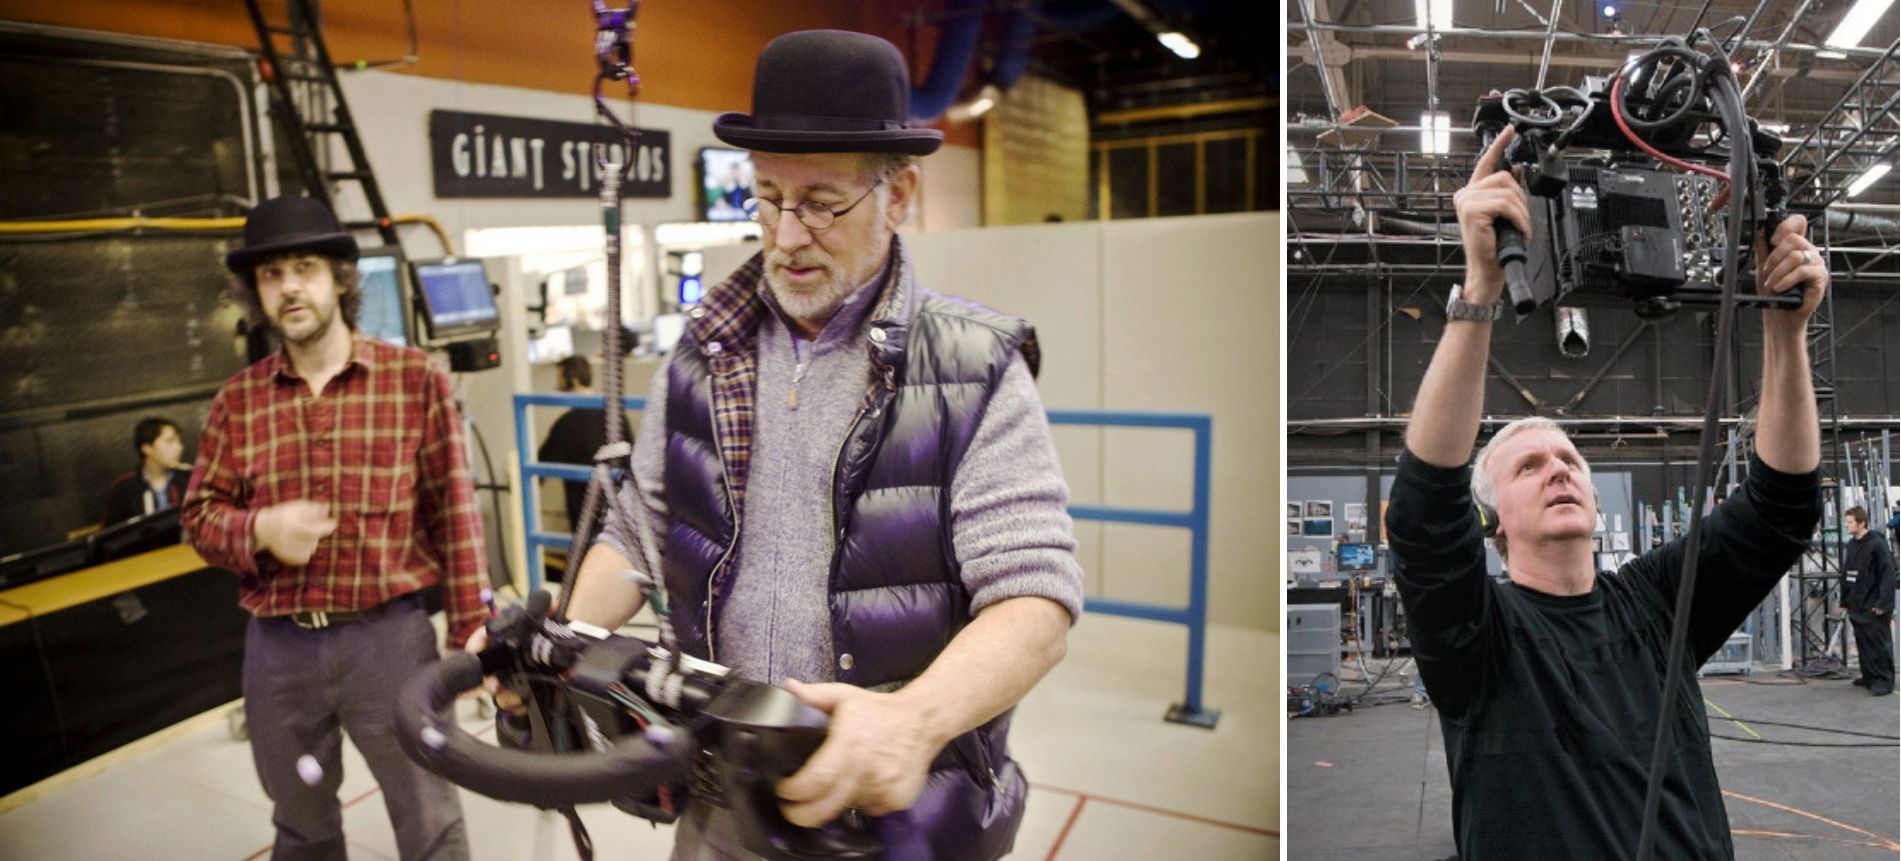
Hell, even when it comes to camera work, if you don't have access to the sweet tech James Cameron and Steven Spielberg use when "shooting" their animated features (Avatar, The Adventures of Tintin: The Secret of the Unicorn, respectively) you'll have to animate the camera in your DCC or shoot and track real camera footage for that sweet handheld- or steadycam-look.
Scared yet?
So, all things considered I should probably feel overwhelmed and terrified at what lies ahead. Right?
Nope.
It's a just a Project. And as project manager I thrive on challenge and always see every complication as a chance to learn new skills and follow each and every project to the end. And this one will be no different.
Thank you for reading and stay tuned!