Getting Ready for the First Production Mocap Session and Some Motion Capture Examples
I've been quite busy playing with the Perception Neuron 32-sensor Motion Capture kit recently. Long story short, it's an amazing affordable inertial full-body MoCap solution which can produce seriously impressive captures (some amateur examples below). By affordable I mean really affordable, since the only rival that comes to mind is the Xsens MVN suit which has a starting price of about $12,000. You can now clearly understand why I was so excited to receive my very own complete inertial MoCap suit for a fraction of the price of Xsens.
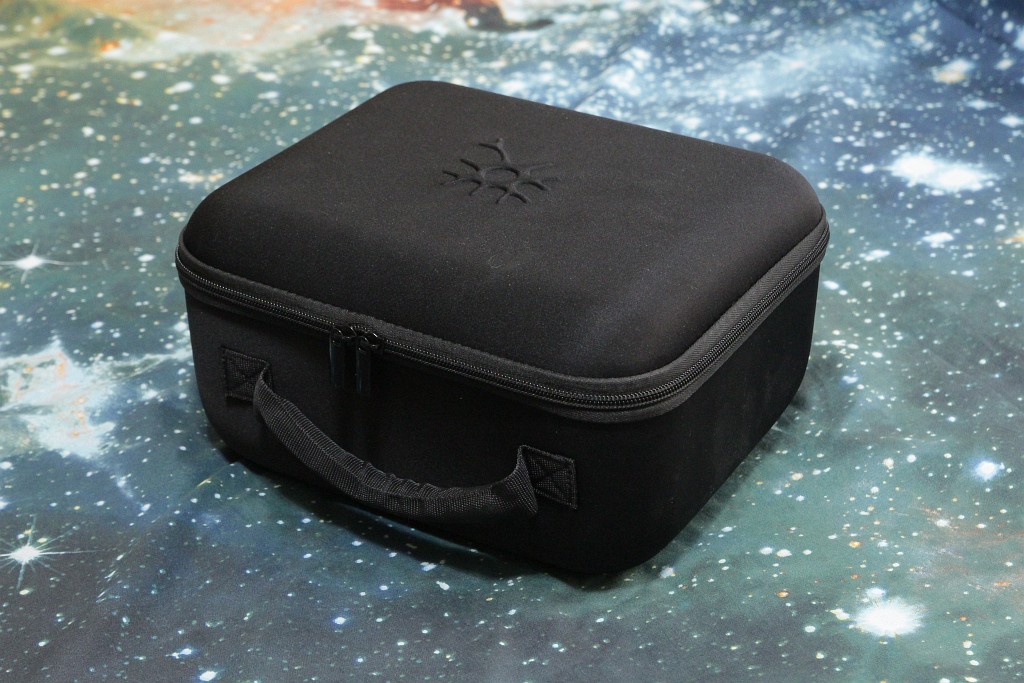
I received it about a week ago (not long after I reviewed the 6-neuron Lite kit) and still can't stop wondering how NOITOM team were able to achieve such level of performance with such democratic pricing.
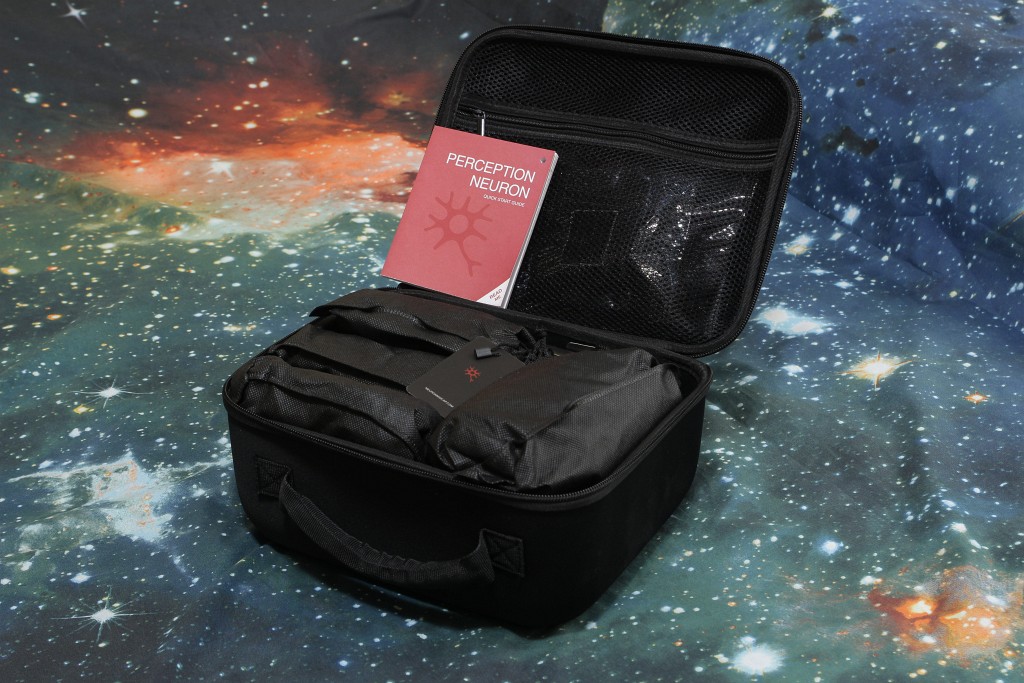
The kit comes with everything you'll need to start capturing right away (apart from a 2-amp USB powerbank you will need to do captures over WiFi).
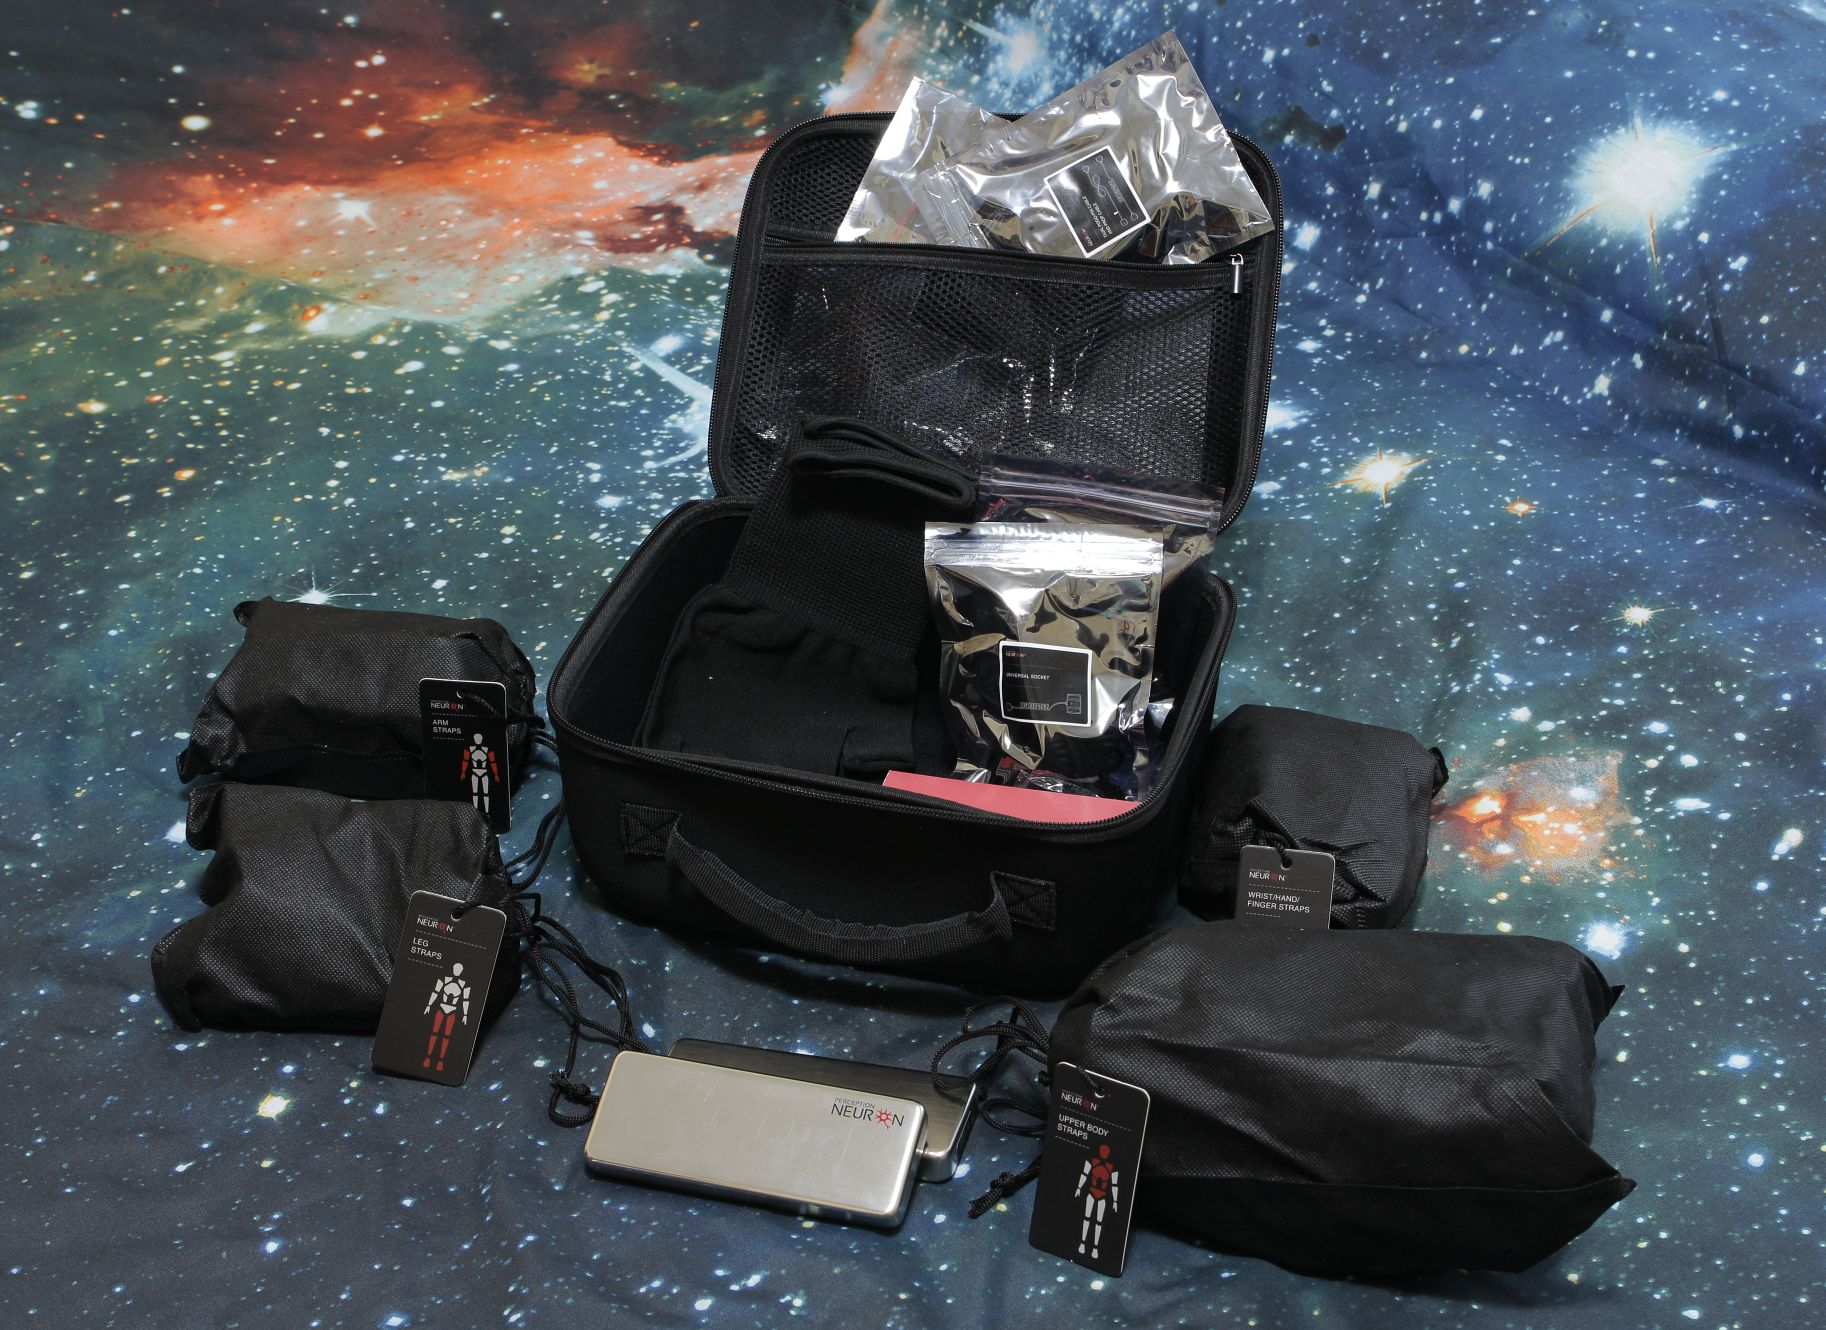
Everything is neatly packed and grouped by the body part. Cool thing is that this is a universal MoCap system. That is, you can only equip certain parts and connect them to the hub and capture, in case you don't need the data from all 32 neurons.
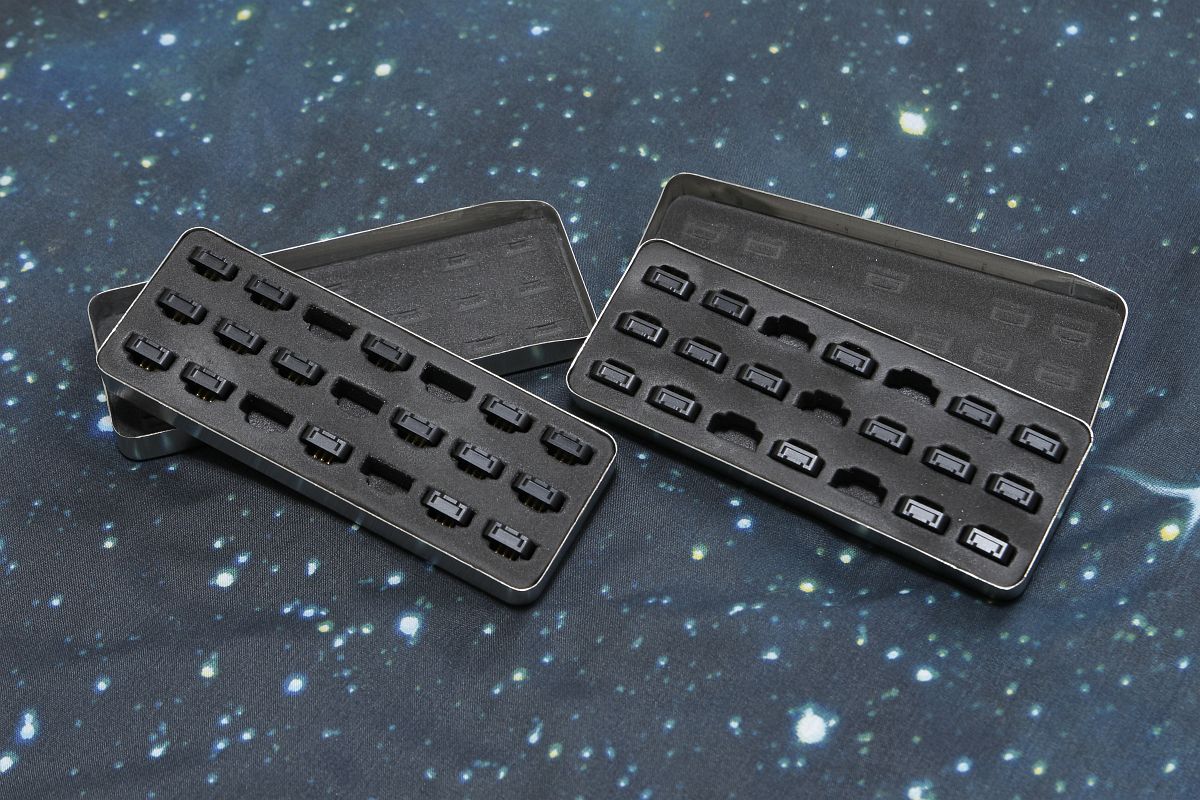 The magnificent neurons
I've also found out that the neurons' cases (not storage cases, actual sensors) are made of aluminum, so they are very sturdy which helps, since you need to pop them in and out every time you put on the suit and take it off respectively.
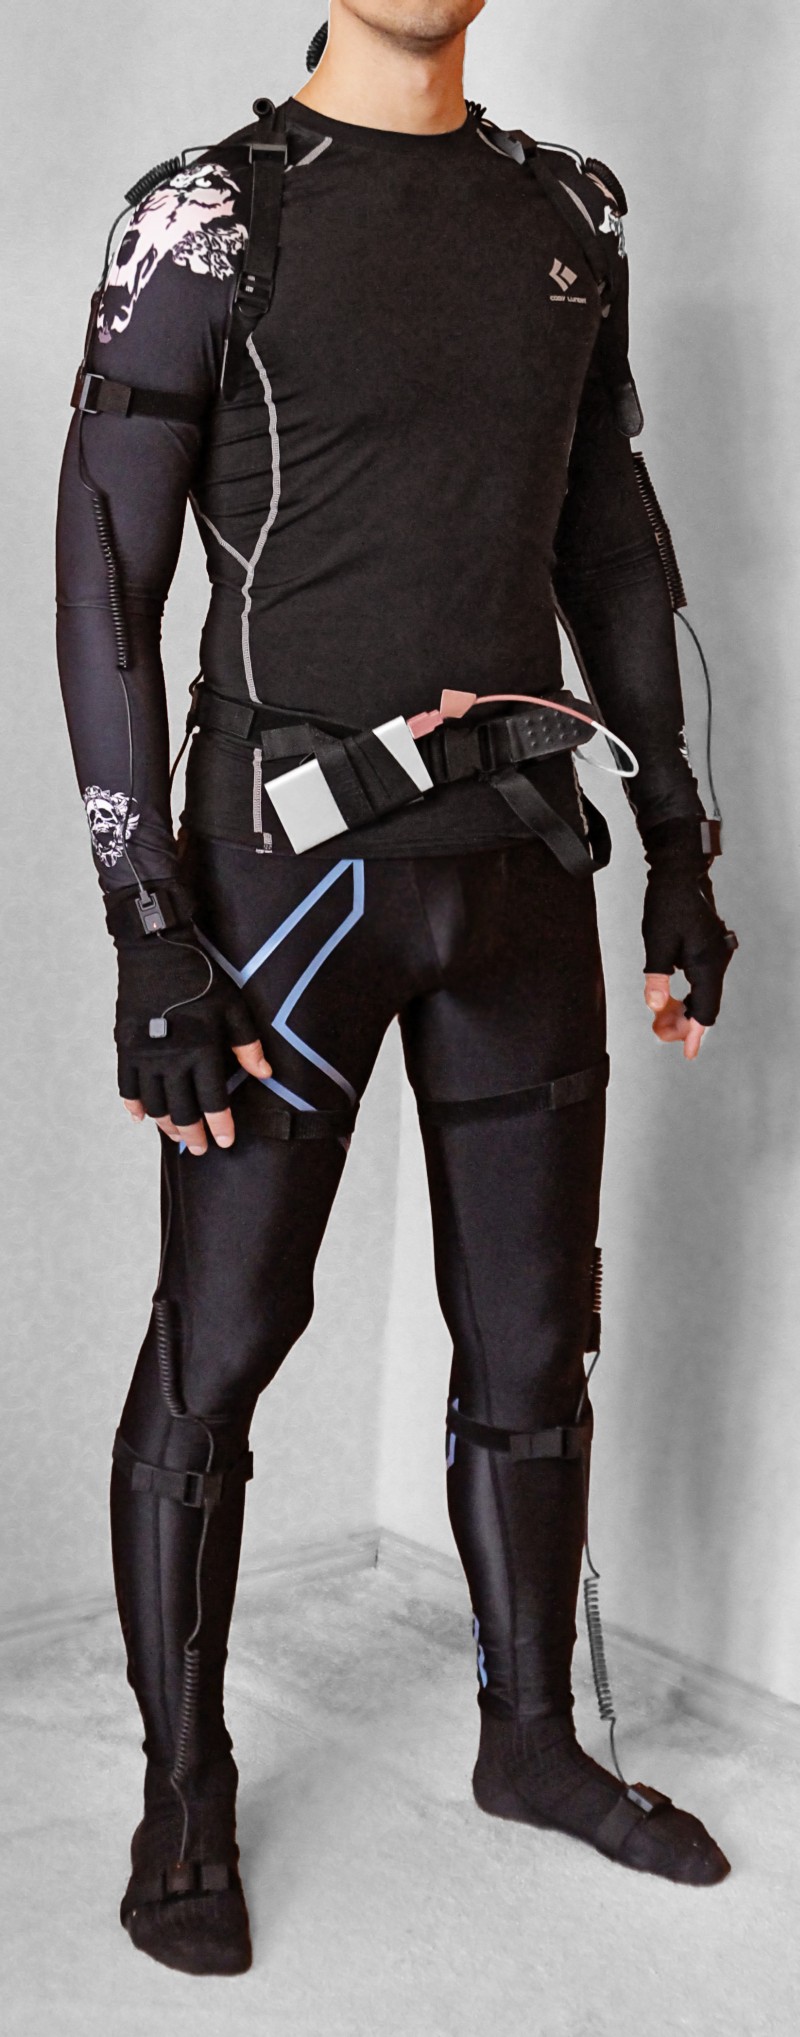 Does anyone else get the "Minority report" vibe?
I believe the gloves are the highlight of the system:
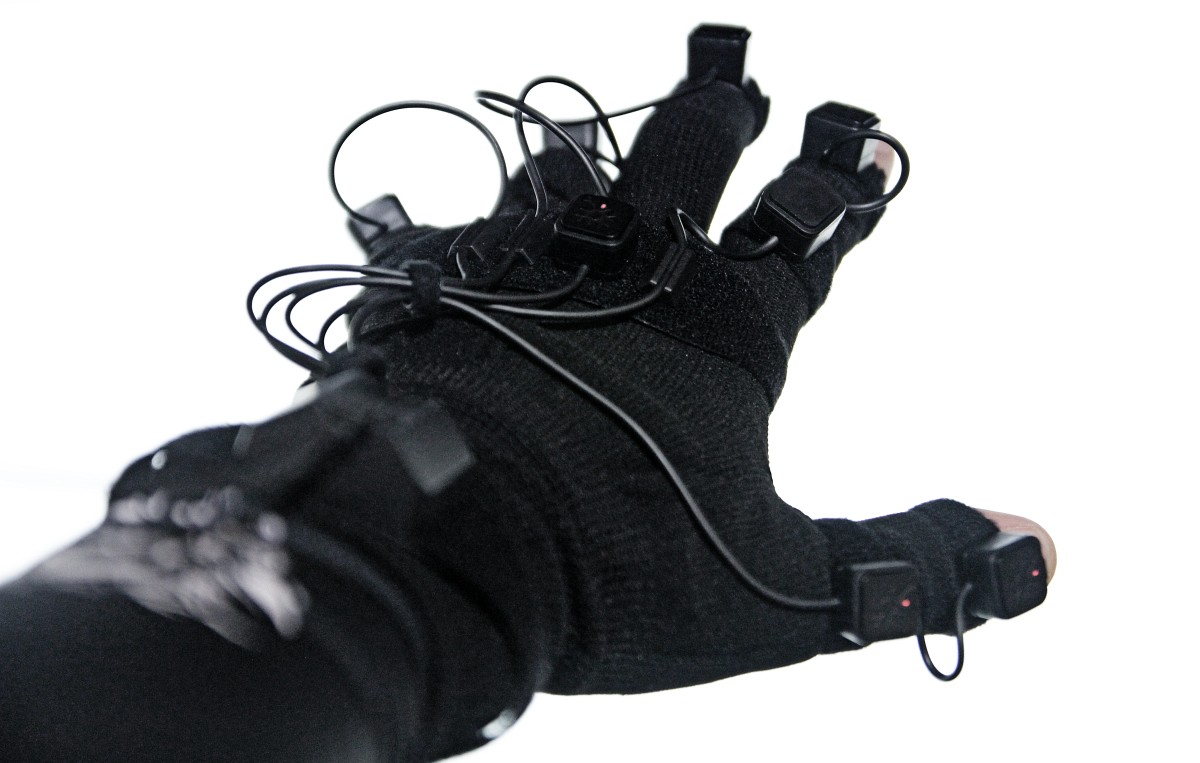 Perception Neuron MoCap gloves
Being able to capture hands is really something! Imagine animating all those digits frame by frame! Granted, captured data is not production-ready off the bat, but it's stable enough you can get to cleaning right away and save tens, no, hundreds of hours on animation!
This saturday I will be doing my very first motion capture session. To satisfy your curiosity while I record and edit the MoCap session video, I quickly put together a couple of short clips I produced while testing the kit.
In the video:
- The very first attempts at capturing and re-targeting raw motion capture data (hence shaky) without any filtering whatsoever.
- Demonstration of how full-body capture with hands and fingers can help tell a story in real-time.
- Finished re-targeting rig and a nuanced finger capture. One-click filtering only.
- Just some random rendered scene.
Note: one of those will probably end up as a very short animation I will do before the main 8-minute film to practice every aspect of a feature production. Try to guess which one it is. =)
Well done, NOITOM, really, really well done... Thank you for making top-quality affordable MoCap available for the masses!

Thank you for reading and stay tuned for more MoCap related posts.
Film Production and The Upcoming Blog Post Series
As promised, I am doing my best to document each and every step of the process of short animated film production (for archival purposes, of course. After all, no one should ever take some weekend scientist's ramblings seriously).
Therefore, I'm starting a series of blog posts under the "Production" category, which I will gradually fill with new articles along the way.
Preliminaries
Film production is not a new experience for me. I've produced and directed several short films and a couple of music videos over the years with my trusty line of Canon EOS cameras, starting with the very first entry-level EOS 550D, which was capable of recording full HD 24p video.
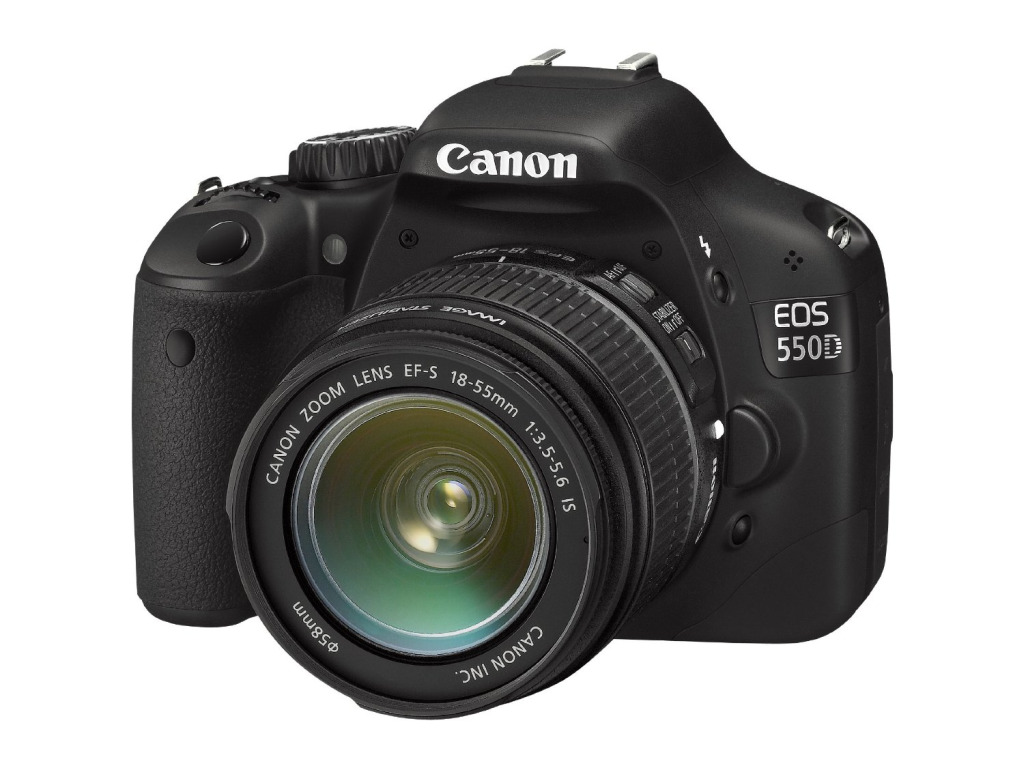
It has long since been superseded by a series of upgrades, culminating in my current setup: the EOS 750D running Cinestyle Profile and the Magic Lantern firmware hack.
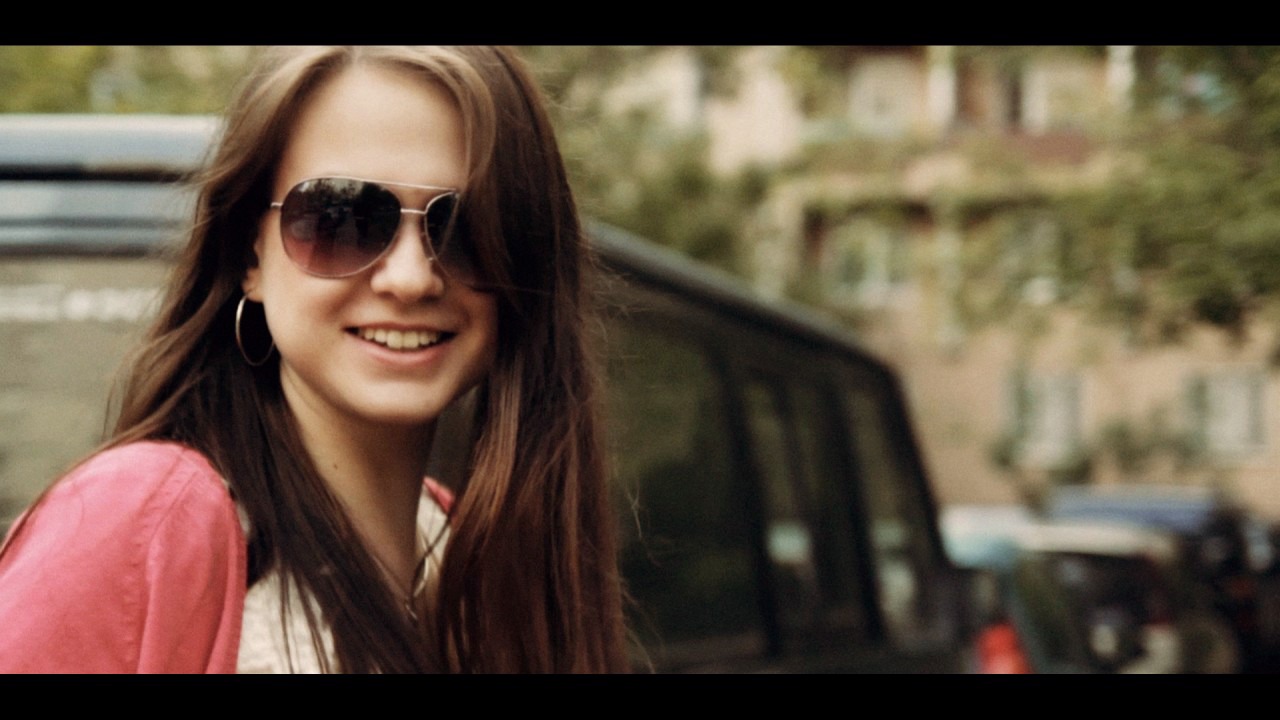
I have quite a bit of experience working with various cameras, including rentals like RED and Blackmagic, along with the associated gear: all kinds of lenses, steadicams, cranes, mics, and so on.
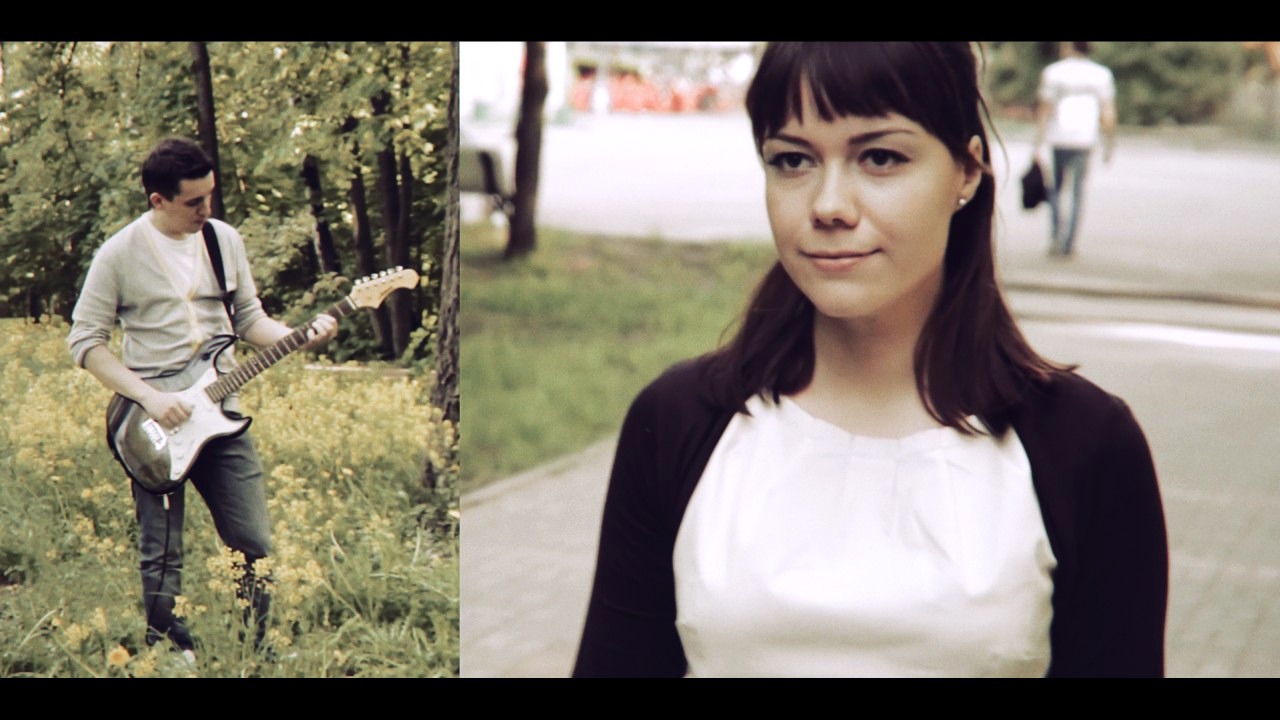
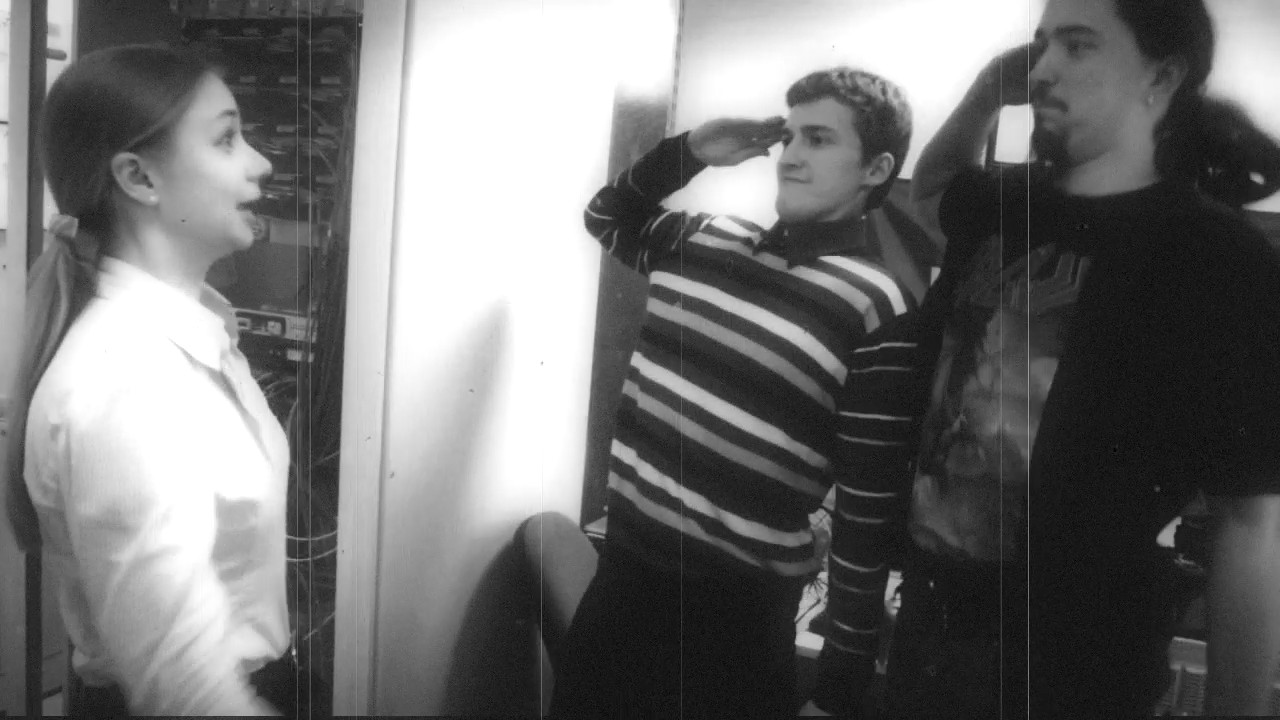
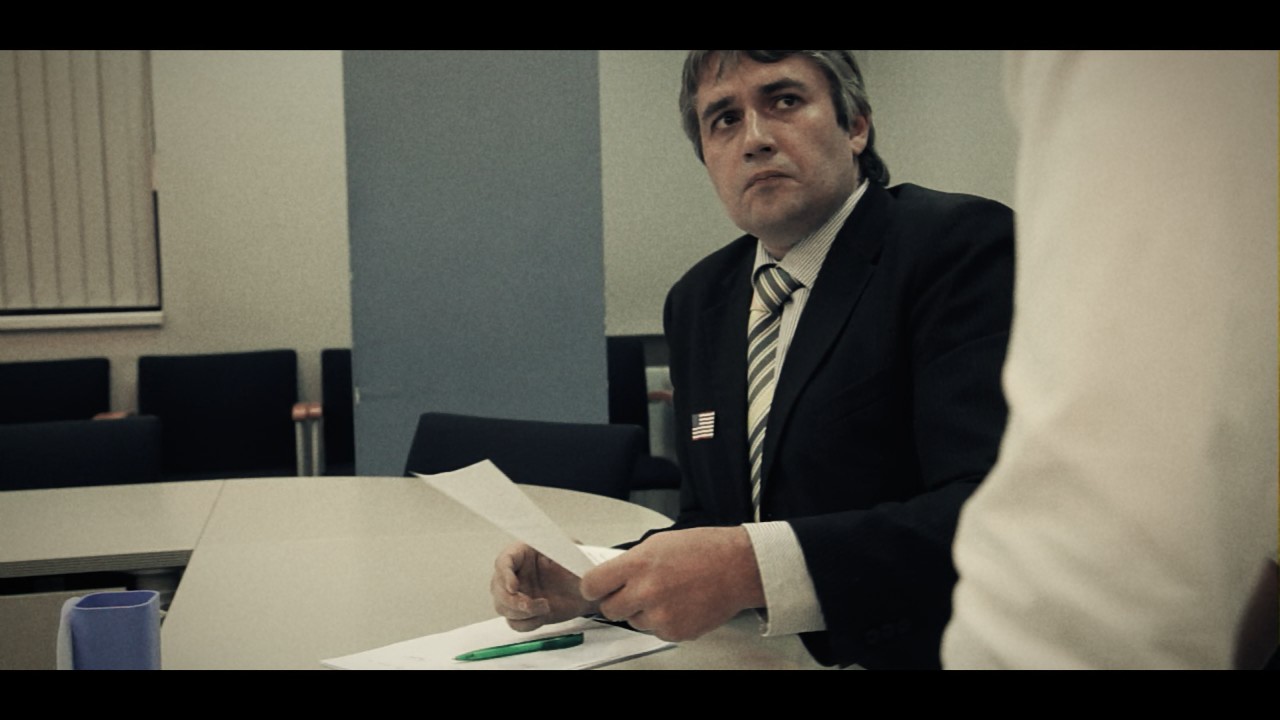
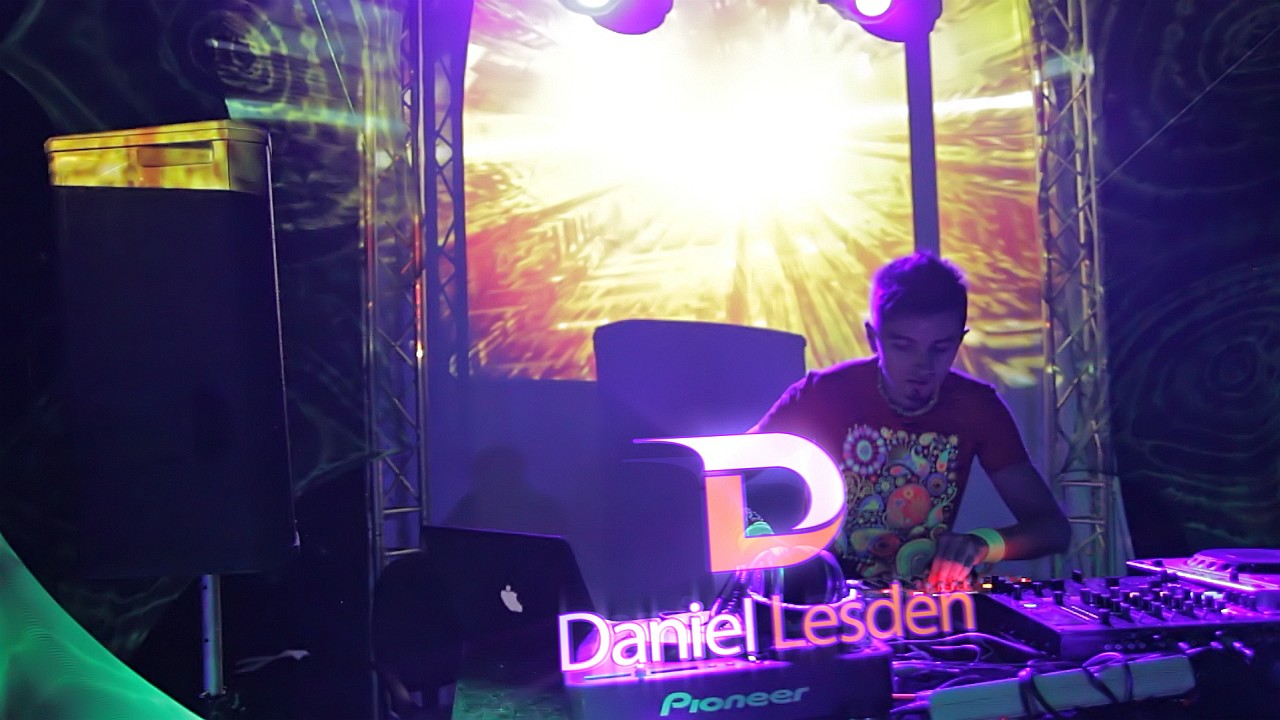
In short, I produced a few stories, which eventually led to a series of videos for a client requiring a massive amount of planar and 3D camera tracking, chroma-keying, rig removal, and finally, the introduction of CG elements into footage. It felt like a baptism of fire, and in the end, that experience made me fall in love with VFX and ultimately — 3D CGI.
Now what does this have to do with the topic of pure CG film production?
How and why it's different
In traditional cinema, you write the script, plan your shots, gather actors and crew, scout locations, then shoot your takes and edit and post-process repeatedly until you're done. You usually end up with plenty of footage available for editing if you plan ahead well. This is how I've been doing my films and other videos for a long time.
Animated feature production is vastly different from traditional "in-camera" deal. Even if we are talking about movies with a heavy dose of CGI (Transformers, anyone?), it's not quite the same, because even in those cases you're mostly dealing with already-shot footage, whereas in CG-only productions there's no such foundation. Everything has to be created from scratch. Duh!
The first CG-only "animation" I have produced to date is a trailer for my iOS game Run and Rock-it Kristie:
Here, I had to adapt my workflow a bit, but even so, 80% of the footage came from three specific locations within the game that I built specifically for the trailer. Basically, the trailer was "shot" using a modified in-game follow-camera rig, providing plenty of footage available for me to edit afterwards.
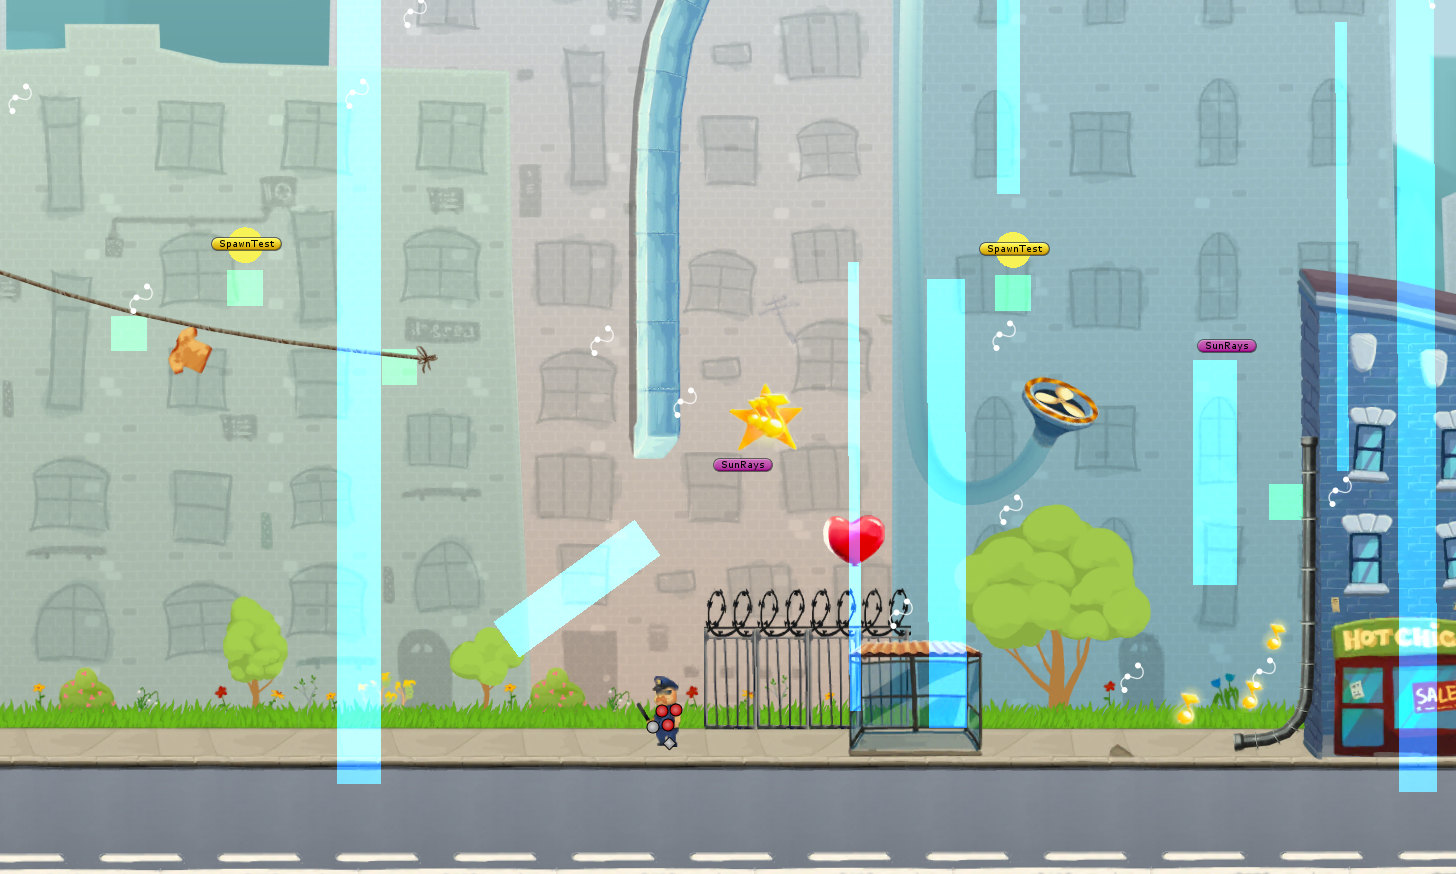
In a way, it was quite close to what I had grown accustomed to over the years.
The process
As soon as you decide to go full retard CG, boy oh boy, you are in trouble.
Since I'm not experienced enough in the field of animated CG production, I'll hand it over to DreamWorks and their gang of adorable penguins from Madagascar to describe in detail what it takes to produce an animated film:
Wow, that's a lot of production steps...
So in the long run, you are free to create your own worlds, creatures, and set up stories and shots completely the way you want them to be. The possibilities are limitless. The pay-off is obviously a much more complicated production process which calls for lots of things one often takes for granted when shooting with a camera: people, movement, environments and locations, weather effects, and many more objects and phenomena that are either already available for you to capture on film or can be created either in-camera, on set, or in post.
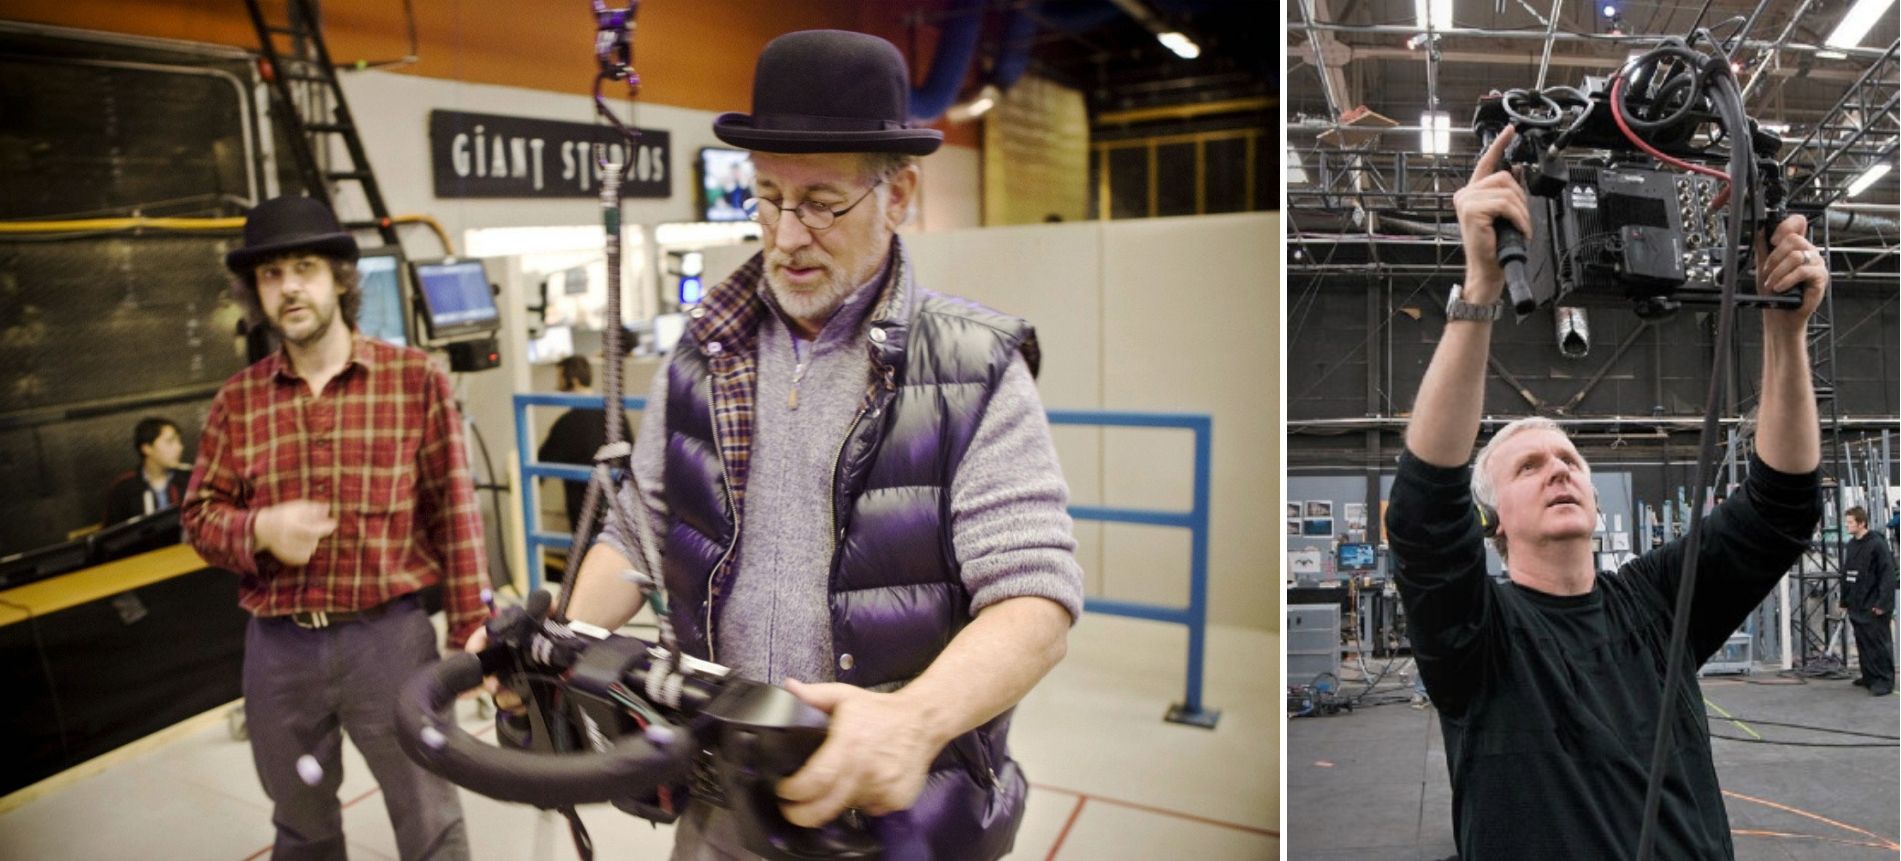
Hell, even when it comes to camera work: if you don't have access to the sweet tech that James Cameron and Steven Spielberg use when "shooting" their animated features (Avatar and The Adventures of Tintin: The Secret of the Unicorn, respectively), you'll have to animate the camera in your DCC or shoot and track real camera footage for that sweet handheld or Steadicam look.
Scared yet?
So, all things considered, I should probably feel overwhelmed and terrified by what lies ahead. Right?
Nope.
It is just one project. And as a project manager, I thrive on challenges and always view every complication as a chance to learn new skills while seeing each and every project through to the end. This one will be no different.
Thank you for reading and stay tuned!